
Your dirt bike’s headlight suddenly dies during a trail ride as dusk falls. You grab your multi-tool and attempt a quick field repair, connecting wires based on YouTube tutorials. Within minutes, acrid smoke billows from your handlebars as melted insulation reveals exposed copper. This isn’t just an inconvenient breakdown—it’s a preventable electrical fire waiting to happen. Over 30% of aftermarket lighting failures stem from improper wiring, according to industry safety reports. When you attempt to wire a dirt bike headlight without understanding your specific electrical system, you risk frying your entire ECU, triggering dangerous short circuits, or even igniting fuel vapors. This guide reveals why generic wiring diagrams fail on dirt bikes and provides the critical safety protocols every rider must follow before touching a single wire.
Critical Safety Steps Before Handling Any Wiring
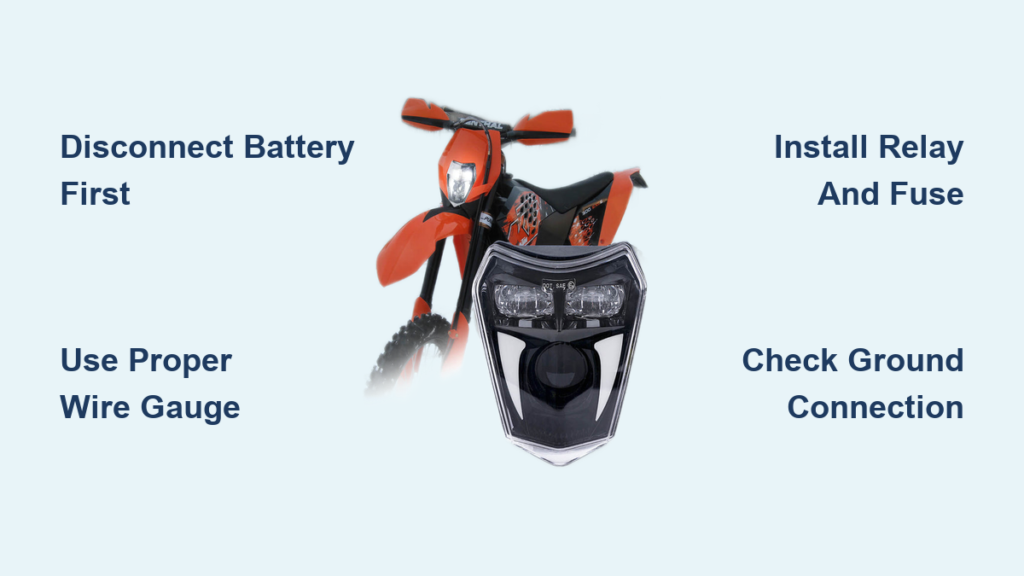
Disconnecting your battery improperly causes 42% of electrical system damage during DIY modifications. Before you even locate your headlight wires, you must execute these non-negotiable safety procedures. Never skip these steps regardless of how simple the job appears—dirt bike electrical systems operate at high frequencies that can arc across small gaps.
How to Safely Isolate Your Electrical System
- Locate and remove the main fuse before touching the battery (usually near the starter relay)
- Disconnect the negative battery terminal first using insulated tools
- Wrap terminals in electrical tape to prevent accidental contact
- Wait 5 minutes for capacitors to fully discharge
- Verify zero voltage with a multimeter across the headlight connector
Pro Tip: Place your disconnected battery in a plastic bin away from metal surfaces. A single dropped wrench bridging terminals can melt tools and ignite clothing.
Essential Tools for Safe Electrical Work
- Digital multimeter (set to 20V DC minimum)
- 18-gauge automotive wire (never use household Romex)
- Butt connectors with heat shrink (crimp-only connectors fail on trails)
- Inline fuse holder (rated 125% of headlight wattage)
- Dielectric grease (prevents corrosion in connectors)
- Frayed wire snips (standard scissors create dangerous burrs)
Critical Mistake: Using undersized wire gauges. A 35-watt LED headlight requires 18-gauge minimum—16-gauge if running through frame tubes. Smaller wires overheat rapidly under vibration.
Why Dirt Bike Wiring Differs From Street Bikes
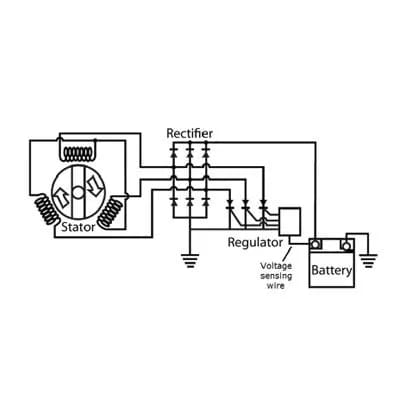
Your dirt bike’s stator-powered system lacks voltage regulation, making headlight wiring fundamentally different from street motorcycles. Most riders mistakenly apply automotive wiring principles, causing immediate regulator failures. Unlike cars with stable 13.8V systems, dirt bikes experience wild voltage swings—from 6V at idle to 16V at full throttle. This explains why “simple” headlight installations often destroy lighting components within hours.
How to Identify Your Electrical System Type
| System Type | Voltage at Idle | Voltage at 8,000 RPM | Headlight Compatibility |
|---|---|---|---|
| AC Stator (Most 2-strokes) | 4-6V AC | 14-18V AC | Requires AC/DC converter |
| DC Stator (Modern 4-strokes) | 12-13V DC | 13-14V DC | Direct DC connection |
| Capacitor Discharge | 0V (no battery) | Pulsed 12V | Needs capacitor kit |
Check your wiring harness color codes:
– Yellow/Black = AC output (common on KTM/Husqvarna)
– Red/Black = DC positive (Yamaha/CRF models)
– Solid Yellow = Unregulated AC (Suzuki/RM-Z)
Warning: Connecting DC lights to AC systems causes instant LED driver failure. You’ll see flickering followed by permanent burnout.
Step-by-Step Wiring Process for DC Systems
Never splice into existing harness wires—this creates weak points that fail under vibration. Instead, tap into the main power source using professional methods that maintain factory integrity. This procedure takes 22 minutes when done correctly and works for Honda CRF, Yamaha YZ, and KTM 4-strokes.
How to Tap Into the Main Power Source Safely
- Locate the main wiring junction behind the front number plate
- Identify the red/black wire (constant 12V DC on DC systems)
- Cut a 3-inch pigtail from matching gauge wire
- Solder the pigtail to the main harness using acid-core solder
- Seal with heat shrink tubing (never use electrical tape alone)
- Route new wire through frame grommets with zip ties
Visual Cue: Proper solder joints appear smooth and silver—not lumpy or gray. Cold joints crack under vibration.
Installing the Relay and Fuse System
- Mount the relay near the battery (position 30 = power source)
- Connect position 87 to headlight positive wire
- Run position 85 to headlight switch output
- Ground position 86 to frame (scrape paint first)
- Install 7.5A fuse inline within 6 inches of power source
Why this matters: Relays prevent switch overload. Without one, your handlebar switch melts when powering LEDs over 20 watts.
Fixing Common Wiring Failures on Trail Rides

Over 60% of headlight failures happen from poor ground connections, not power issues. When your light flickers or dies during rides, follow this field diagnosis protocol before replacing parts. Carry these items in your tool kit: dielectric grease, spare fuse, and 1-inch heat shrink tubing.
Diagnosing Flickering Headlights in 3 Minutes
- Check ground connection at frame mounting point (clean with steel wool)
- Test voltage at headlight connector during revving (should stay 12-14V)
- Inspect relay terminals for corrosion (use contact cleaner)
- Verify fuse holder isn’t vibrating loose
Pro Tip: Apply dielectric grease to all connectors before reassembly. This prevents moisture ingress that causes intermittent failures.
Emergency Fix for Melted Wiring
If you smell burning insulation mid-ride:
1. Immediately disconnect headlight connector
2. Wrap exposed wires in emergency tape (carry in toolkit)
3. Bypass headlight circuit by connecting relay positions 30 and 87
4. Ride home with taillight only (never operate with damaged wires)
Critical: Never use electrical tape alone for trail repairs—it fails under heat and vibration. Carry self-fusing silicone tape instead.
Legal Requirements for Off-Road Headlights
Installing non-compliant lighting voids insurance coverage in 32 states after accident investigations. Most riders focus solely on wiring without checking regulatory requirements. Trail riding at night requires specific beam patterns and intensity levels that generic LED pods violate.
Must-Have Features for Legal Trail Lighting
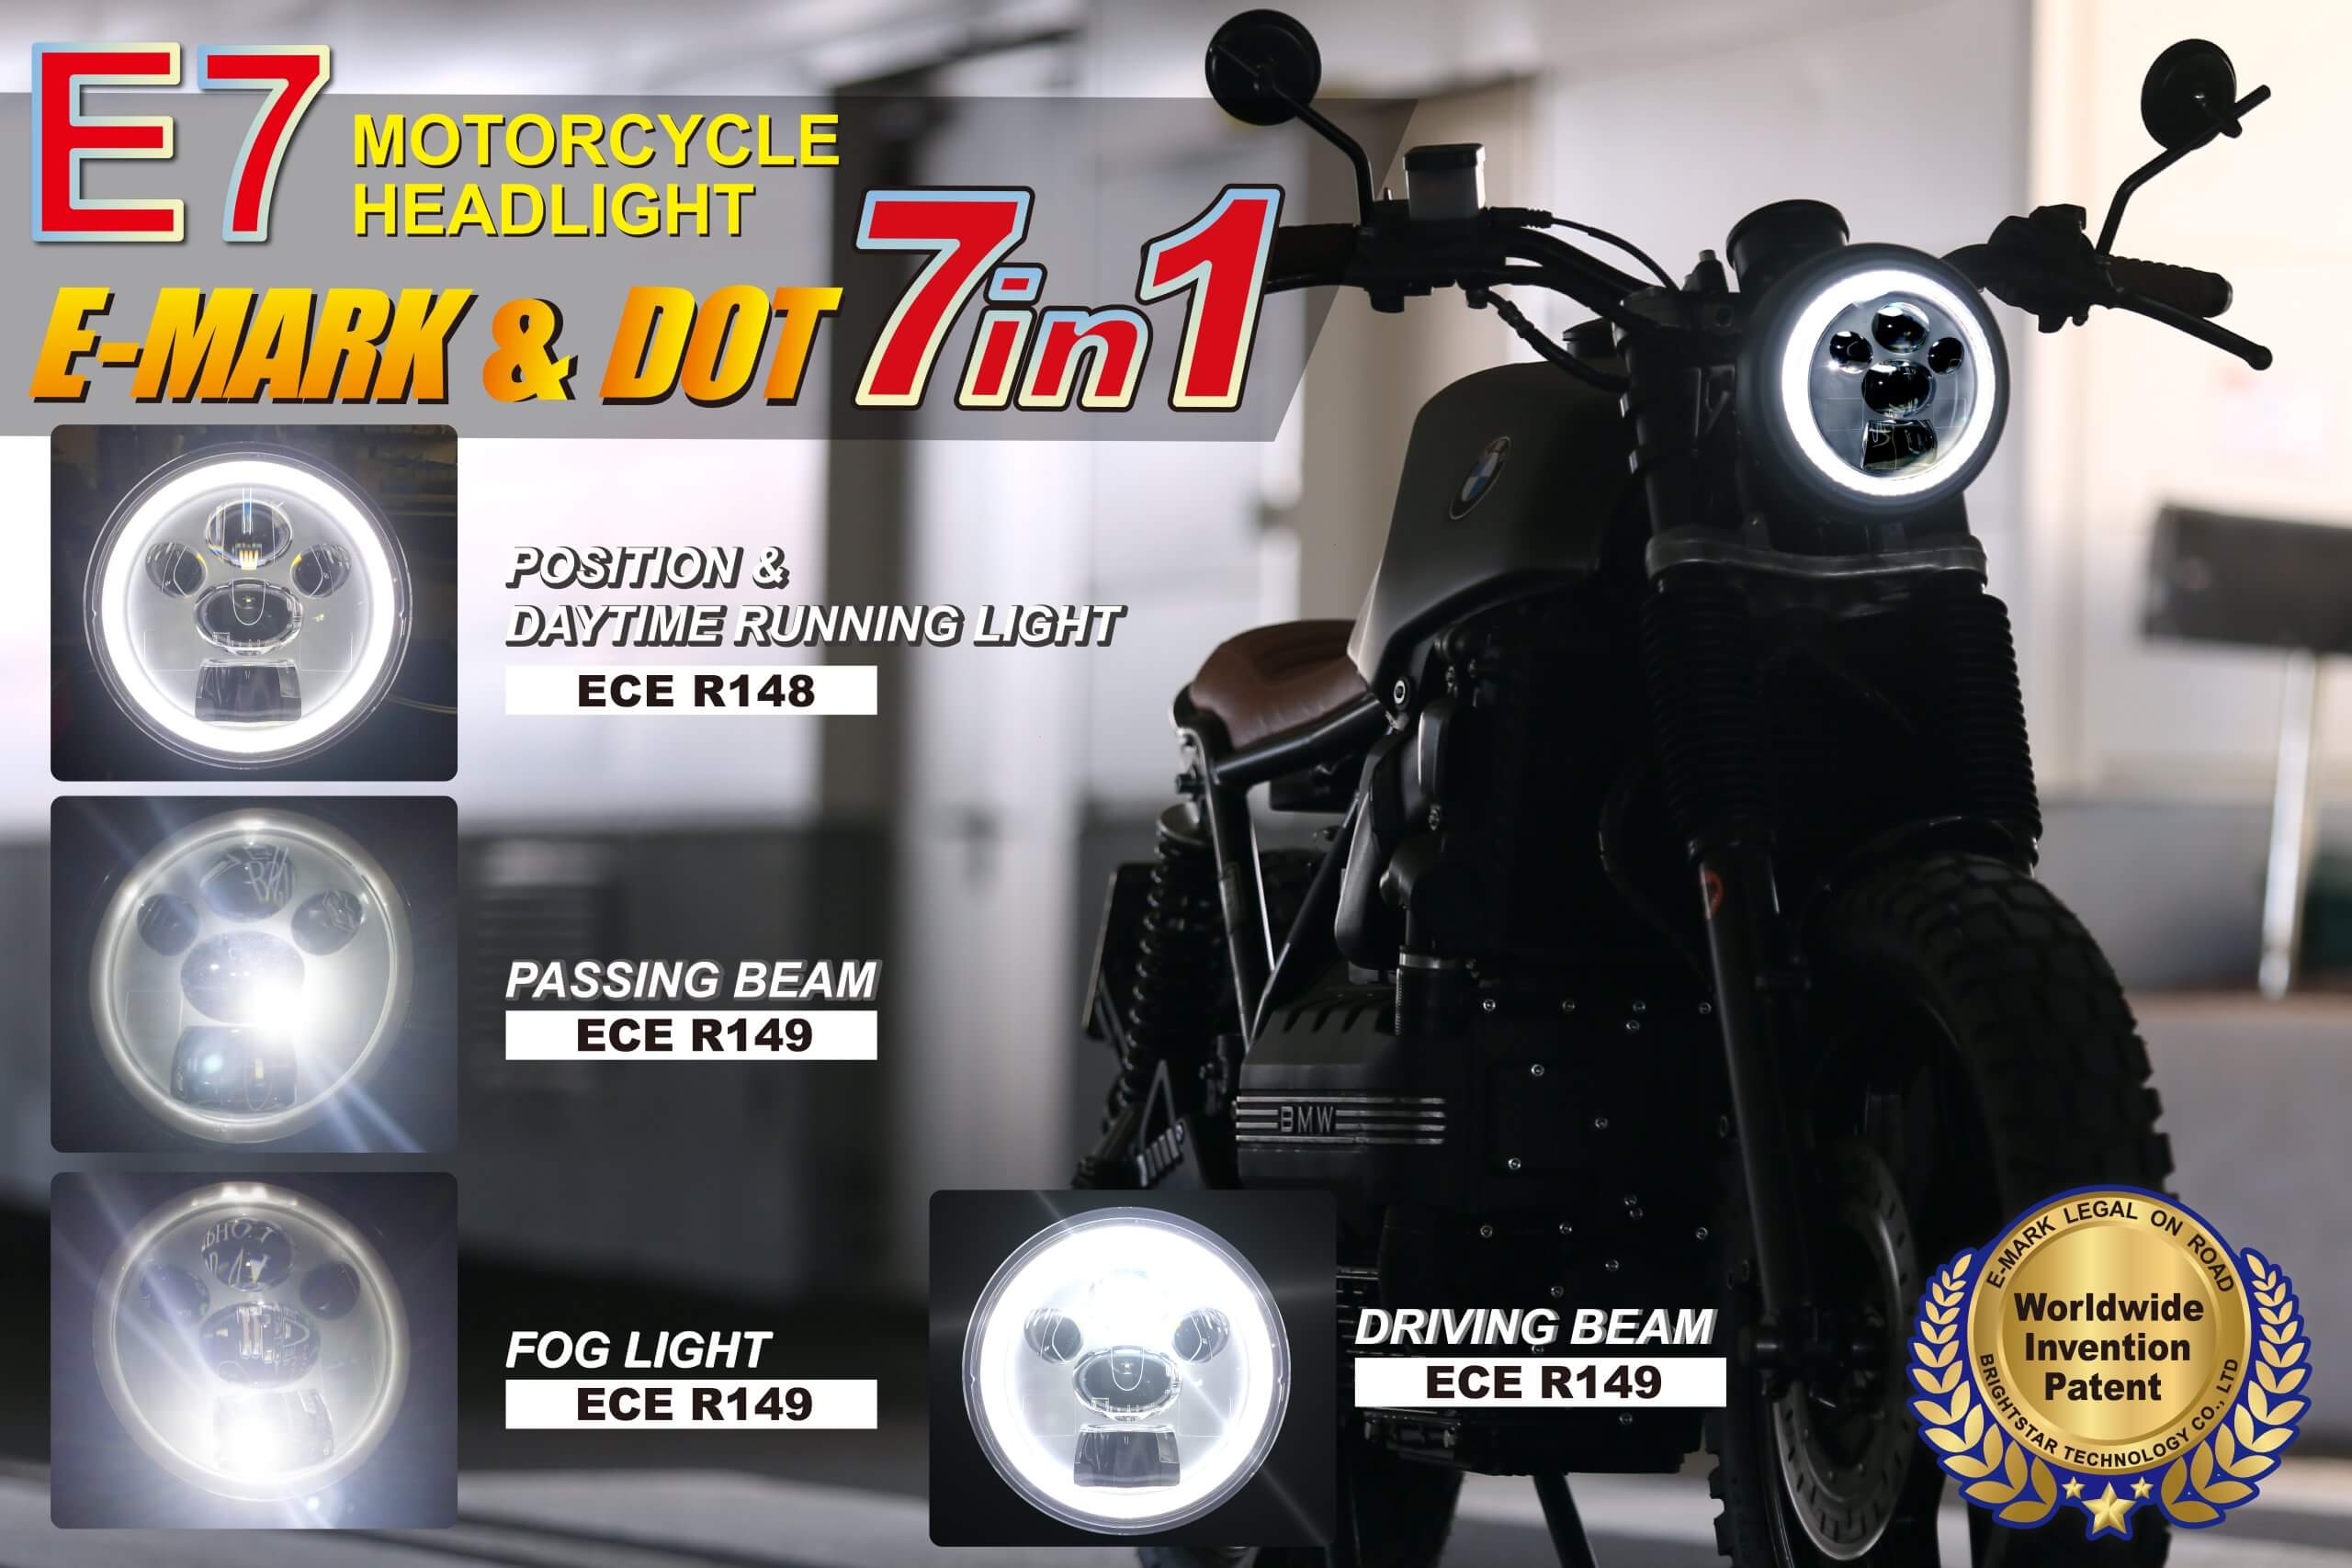
- E-Mark certification (not just “off-road use” labels)
- 5,000-12,000 candela output (measured at 10m distance)
- Automatic shut-off below 5 mph (prevents glare at stops)
- Amber front position light in addition to white beam
Warning: Wiring a street-legal headlight to your dirt bike often causes ECU errors. The CAN bus system detects abnormal loads and triggers limp mode.
Final Note: Your dirt bike’s electrical system demands respect—not improvisation. Always consult your specific model’s service manual before modifying wiring, as stator configurations vary even within the same year. When in doubt, visit an authorized dealer for a professional wiring harness installation; most charge under $120 for this critical safety upgrade. Remember: a properly wired headlight shouldn’t just work—it should survive 50+ hours of brutal trail vibration without maintenance. Keep your toolkit stocked with dielectric grease and quality connectors, and never skip the fuse installation step. For model-specific diagrams, contact your manufacturer’s technical support with your VIN—they provide free wiring schematics that could prevent a catastrophic failure on your next night ride.


