
Your hands are constantly connected to your dirt bike through the handlebars, making them the most critical interface between rider and machine. When your dirt bike handlebar setup is dialed in perfectly, you’ll notice immediate improvements in control, reduced fatigue, and heightened confidence whether tearing up the track or navigating technical trails. Get it wrong, and every bump, jump, or turn becomes a struggle that wears you down physically and mentally. This guide delivers everything you need to optimize your dirt bike handlebar setup for maximum performance and comfort.
Most riders overlook handlebar configuration until discomfort sets in, but proactive adjustment prevents problems before they start. Whether you’re installing new handlebars, troubleshooting persistent arm pump, or fine-tuning your bike for specific terrain, these evidence-based techniques transform your riding experience. We’ll break down the exact measurements, angles, and positioning that create the ideal dirt bike handlebar setup for your body and riding style.
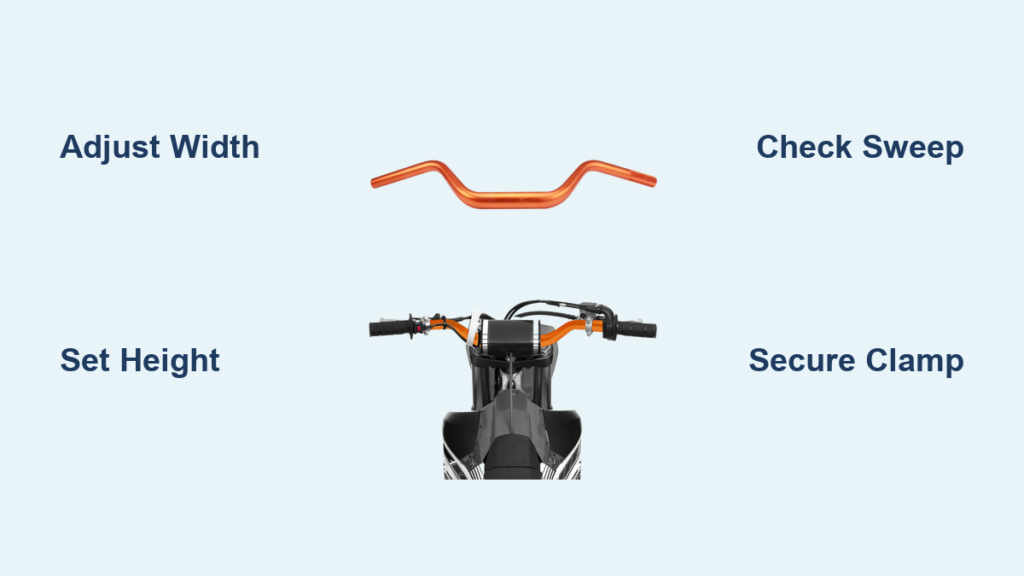
Find Your Perfect Handlebar Width

Handlebar width dramatically affects leverage, control, and comfort—more than most riders realize. Stock dirt bikes typically come with 31-32 inch wide handlebars, but this standard doesn’t suit every rider or riding scenario. Wider bars (32+ inches) deliver superior leverage for aggressive motocross riding and benefit taller riders who need more reach, while narrower options (28-30 inches) excel in tight trails where maneuverability trumps raw power.
To determine your ideal width, sit on your bike in riding position with arms relaxed at your sides. Your handlebar ends should align with your fingertips when arms extend forward naturally. This positioning prevents shoulder strain while maintaining optimal control. Many experienced riders trim stock bars by ½ inch per side, which reduces arm fatigue during long rides without sacrificing too much leverage. Remember that cutting bars is permanent, so start wider and gradually narrow down as needed—never the reverse.
Pro Tip: Keep multiple handlebar sets for different riding conditions—one wider setup for motocross and a narrower configuration for technical trail riding. This simple swap transforms your bike’s handling characteristics to match the terrain.
Optimize Handlebar Height for Your Riding Style

Handlebar height directly impacts your riding posture, weight distribution, and fatigue levels during extended sessions. Most dirt bikes offer 2-3 height positions through adjustable handlebar mounts, with significant differences in handling characteristics between each setting.
Motocross competitors typically choose the lowest position for maximum front-end feedback and responsive steering during jumps and high-speed corners. Trail and enduro riders often prefer middle or highest positions that shift weight rearward, reducing arm pump during multi-hour rides. If you ride both disciplines, start with middle height and adjust based on post-ride fatigue—lower for track days, higher for trail adventures.
Critical Mistake to Avoid: Never install bars at different heights on each side. Uneven positioning creates asymmetric steering that causes premature fatigue and discomfort on one side of your body. Always verify both sides match before tightening clamps.
Decipher Handlebar Sweep and Bend Characteristics

The angle at which your handlebars curve back toward you—known as sweep or bend—determines wrist position and long-term comfort more than most riders appreciate. Standard “crossbar” bends position grips slightly behind the bar centerline for neutral wrist alignment ideal for general trail riding. ProTaper designs curve grips farther back and slightly lower, reducing arm pump by promoting a more natural wrist angle favored by enduro enthusiasts.
Handlebar rise—the vertical distance between clamping area and center section—also significantly affects riding position. High-rise bars create upright postures perfect for trail riding, while low-rise configurations position you forward over the bike for aggressive motocross handling. Consider any existing wrist or forearm discomfort when selecting bend characteristics; what feels perfect for trail riding may cause strain during motocross sessions.
Ensure Correct Clamp Diameter and Mounting
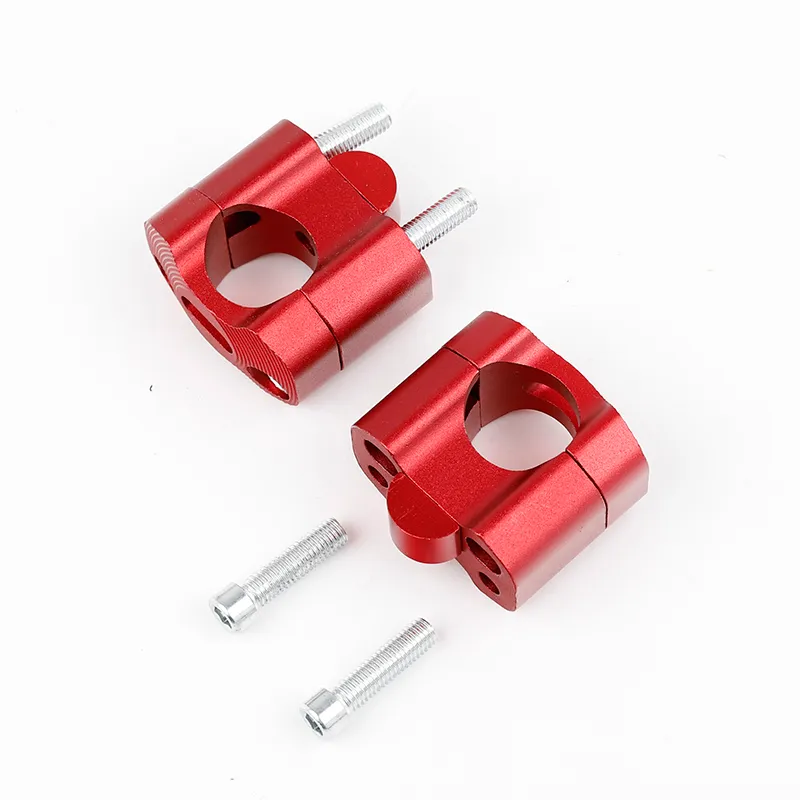
Mismatched clamp diameters cause dangerous handlebar slippage or damage—never compromise on this critical specification. Modern dirt bikes primarily use 22mm (budget/older models), 28mm, or 28.6mm (current standard) clamps, with high-end models sometimes requiring 31.8mm or 35mm hardware. Always verify your bike’s exact specifications before purchasing new bars.
When installing handlebars, center them carefully before initial tightening, then recheck positioning after your first test ride. Bars often shift slightly as clamps seat against the bar surface. Torque bolts to manufacturer specifications (typically 17-25 Newton-meters) using an accurate torque wrench—under-tightening risks slippage, while over-tightening cracks clamps or strips threads. Re-torque all hardware after your first ride and periodically thereafter as vibration gradually loosens connections.
Position Controls for Maximum Leverage and Comfort
Throttle, clutch, and brake lever placement directly impacts your ability to control the bike efficiently. The ideal position places lever pivots roughly level with your wrist in normal grip position, allowing finger operation without wrist bending. Most riders prefer a slight downward angle on clutch and brake levers, letting gravity assist in return movement.
Throttle position should feel natural with a neutral wrist—significant rotation to operate indicates misalignment. Maintain proper free play to prevent binding when turning handlebars fully. Leave adequate space between grip ends and levers (approximately two finger widths) for optimal finger placement; positioning levers too close to grips reduces control and increases fatigue.
Install Grips for Optimal Vibration Damping
Your grip installation technique affects comfort more than many realize. Begin with thoroughly cleaned bars—remove all old adhesive residue using isopropyl alcohol. For glue-on grips, apply adhesive sparingly inside the grip and on the bar, then twist the grip into position to distribute adhesive evenly. Allow 24 hours for full curing before riding. Lock-on grips require even bolt tightening to 3-5 Newton-meters—uneven torque causes grip misalignment.
Position grips so clamps sit 1-2 inches from bar ends. Too close reduces leverage; too far diminishes control. Consider grip hardness based on your needs: softer compounds dampen vibration better but wear faster, while harder grips last longer at the expense of increased vibration transmission. Gel or padded grips significantly reduce hand fatigue during long rides on vibration-heavy bikes.
Choose Handlebar Material Strategically
Handlebar material affects weight, strength, vibration characteristics, and longevity. Aluminum bars dominate the market with their optimal strength-to-weight ratio and reasonable cost—modern heat-treated alloys withstand demanding trail and motocross use. Steel handlebars offer superior impact resistance at the cost of added weight, appealing to riders who prioritize durability over weight savings. Carbon fiber provides the best vibration damping and lightest weight but commands premium pricing and requires careful post-crash inspection for hidden damage.
Avoid These Common Handlebar Setup Mistakes
Even experienced riders sabotage their dirt bike handlebar setup through preventable errors. Under- or over-torqued clamp bolts top the list—always use a calibrated torque wrench. Misaligned bars create asymmetric steering that’s particularly noticeable during standing riding; verify centering by sighting from behind the bike. Ignoring lever position changes as your riding evolves leads to cumulative fatigue. Using inappropriate width for your primary terrain—overly wide bars in tight trails, too narrow for open terrain—compromises control and increases fatigue.
Fine-Tune Through Purposeful Test Rides
Perfect handlebar setup requires iterative refinement based on real-world feedback. After initial installation, take a short test ride focusing on specific handling characteristics in controlled environments. Note discomfort locations and when they occur during different riding positions. Make only one adjustment between rides to isolate variables—changing height and sweep simultaneously prevents identifying what actually improved (or worsened) your experience. Document changes and reactions in a simple log to track patterns and avoid undoing successful modifications.
Maintain Your Handlebar Setup Religiously
Regular maintenance preserves your carefully dialed-in dirt bike handlebar setup. Check clamp bolt torque before every ride—vibration gradually loosens connections. Inspect grips for wear, tears, or movement; replace glue-on grips entirely rather than reapplying adhesive over old residue. After any crash or hard impact, thoroughly examine bars, clamps, and controls for damage—even minor impacts can create hidden weaknesses that lead to failure later. Handlebar system failure during riding creates extremely dangerous situations that proper maintenance prevents.
The perfect dirt bike handlebar setup balances width, height, sweep, clamp compatibility, control positioning, and vibration management specifically for your body and riding style. Start with manufacturer specifications as your baseline, then make incremental adjustments based on real-world feedback. What works for others may not suit you—your ideal configuration is personal. With proper setup and maintenance, you’ll experience noticeably improved control, reduced fatigue, and greater enjoyment on every ride. Take the time to dial in your handlebars correctly, and you’ll wonder how you ever rode without this critical optimization.


