If you’ve just received your BlessReach knee scooter and need to get it up and running quickly, you’re in the right place. The BlessReach scooter assembly process is designed to be straightforward, tool-free for most steps, and completable in under 20 minutes. Whether you’re preparing for surgery recovery or need immediate mobility assistance, this guide walks you through every component, from unboxing to your first test ride. You’ll learn exactly how to attach wheels, install handlebars, secure the knee pad, adjust the disc brakes, and avoid common mistakes that slow down new users.
This comprehensive assembly guide covers everything you need for a safe, confident setup. We break down each phase with clear steps, expert tips, and troubleshooting advice so you can navigate your home or outdoor spaces with full stability from day one.
Unbox and Verify Your BlessReach Scooter Parts
Before starting assembly, lay out all components on a clean surface and confirm nothing is missing. This prevents mid-assembly trips to the hardware store and ensures you have everything needed for a smooth setup.
Complete Parts Inventory
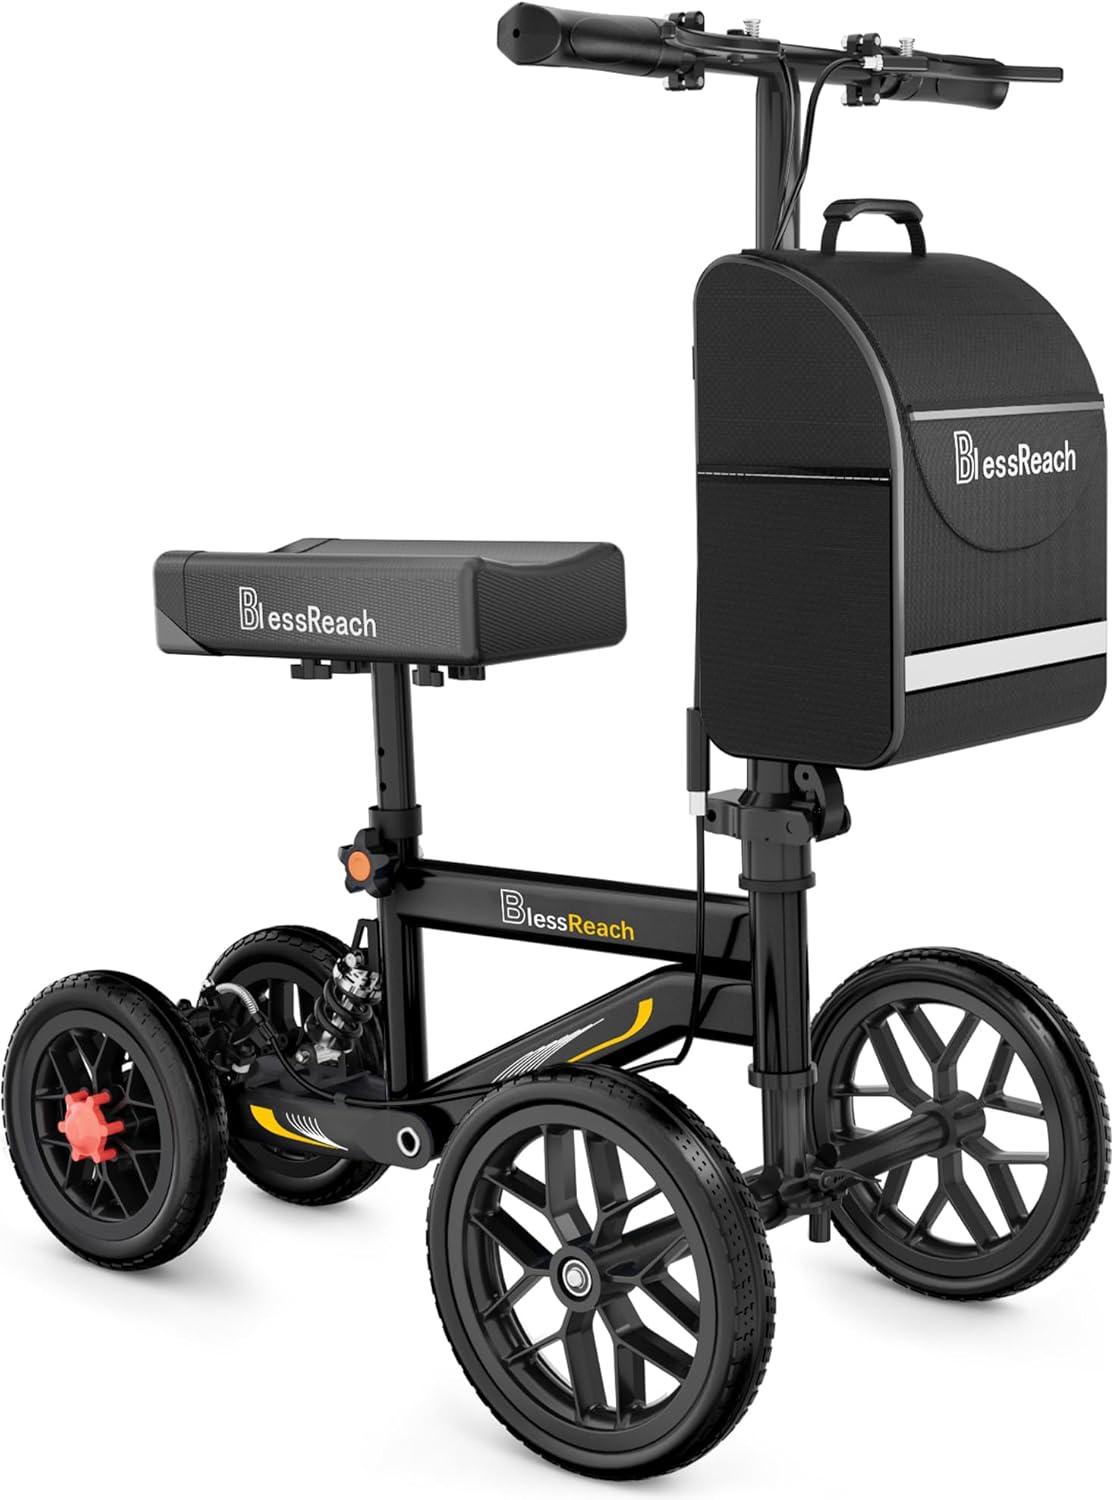
Your BlessReach knee scooter box contains these main components:
Structural Parts:
• Main frame with rear wheels (pre-attached)
• Front steering column with built-in shock absorber
• Pre-assembled seat and knee pad unit with brake cable
• Handlebars with dual brake levers
• Two 12-inch all-terrain front wheels
• Front axle rod
Hardware Kit:
• Two hex bolts with knobs for seat attachment
• Two plastic lock washers (gaskets) for wheel security
• Assorted hex nuts and mounting screws
• Wing nuts for shock absorber mounting
• Reflective strip for night visibility
Included Tools and Accessories:
• Allen wrench (hex wrench) for all tightening
• Storage bag with hard plastic insert
• Bungee cord for bag stabilization
• Cardboard base insert for additional rigidity
Pro Tip: Keep your original box for storage or potential returns. Store the Allen wrench inside the base compartment once assembly is complete.
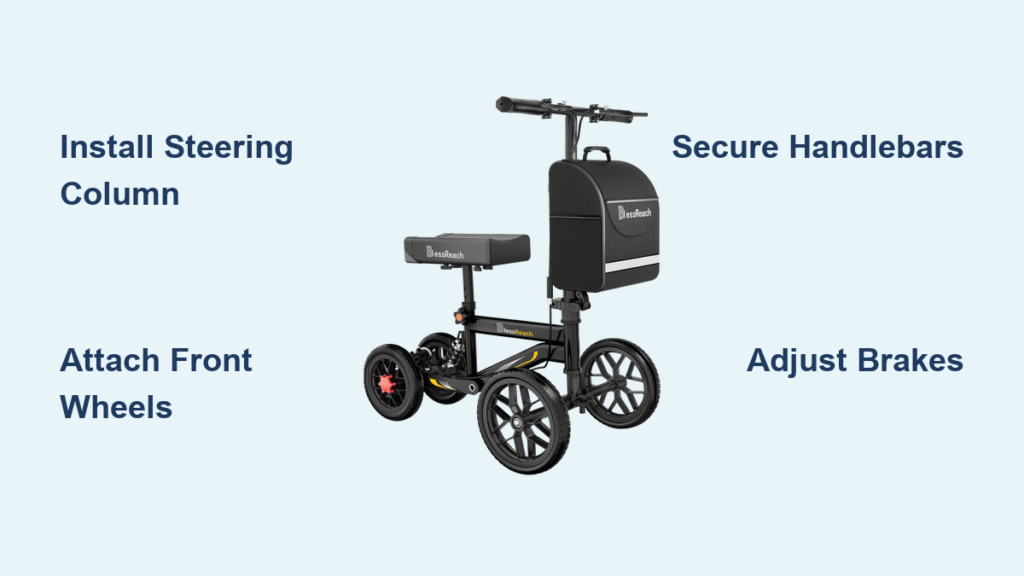
Install the Front Steering Column and Shock Absorber

The steering column is the foundation for smooth steering and shock absorption. Getting this right ensures comfortable rides on both indoor floors and outdoor paths.
Step-by-Step Column Installation
- Insert the front column into the main frame housing.
- Push upward until you hear a distinct click. This click confirms the column is locked into position.
- Check that the small internal spring faces forward, toward the front of the scooter. This orientation ensures proper tension during use.
Mounting the Shock Absorber
- Locate the shock absorber bracket on the front base of the frame.
- Pull apart the two spring legs of the shock absorber.
- If extra tension is needed, insert plastic washers into the spring legs.
- Slide the shock shaft into the round mounting hole on the frame.
- Secure with the provided hex screw using your Allen wrench.
- Tighten fully to prevent wobbling during movement.
Expert Note: Keep the Allen wrench accessible. This connection may need periodic tightening after regular use to maintain stability.
Mount the Front Wheels and Axle

The 12-inch all-terrain wheels are designed to handle hardwood, tile, concrete, and mild outdoor surfaces. Proper wheel installation prevents wobbling and ensures smooth rolling.
Axle and Wheel Installation
- Push the base of the frame up into the locked position before installing wheels.
- Slide the axle through the first front wheel.
- Pass the axle through the frame brackets. These brackets have no left or right orientation.
- Insert the axle through the second front wheel.
- Loosen the clamp bolts slightly to make axle insertion easier.
- Once the axle is fully seated, tighten the bolt until the clamp snaps closed.
Securing Wheels with Lock Washers
- Place the plastic lock washer (gasket) onto the axle.
- Important: The black rubber side must face upward, touching the lever mechanism.
- Incorrect placement: Washer tucked inside the frame causes instability and wobbling.
- Hand-tighten first. Use the Allen wrench only if additional torque is needed.
- Hold the top of the axle while tightening to prevent spinning.
Visual Cue: Wheels should spin freely without resistance or side-to-side movement. If they drag or wobble, recheck alignment and washer positioning.
Attach the Handlebars Correctly
Proper handlebar installation gives you control over steering and braking. The brake levers should squeeze toward you when activated, matching natural hand movement.
Handlebar Setup Steps
- Slide the handlebar stem into the front column tube.
- Rotate so the brake levers squeeze toward your body when pulled.
- Check alignment marks. Any lines on the stem should be hidden, facing the frame.
- Adjust handlebar height to match your forearm length when standing upright.
- Insert the locking screw through the clamp mechanism.
- Tighten fully with the Allen wrench.
Note: Nuts may protrude slightly due to locking cutouts in the design. This is normal and does not affect function.
Troubleshooting Tip: If minor wobble persists, try increasing torque or add a thin shim between the clamp and stem for tighter fit.
Secure the Knee Pad and Seat Assembly
Comfortable knee positioning is essential for extended use. The pre-assembled seat unit saves time, but proper placement relative to your injury boot matters.
Seat and Knee Pad Installation
- Place the pre-assembled seat/knee pad unit onto the main frame.
- The seat installs perpendicular to the frame with no front or back marking.
- Use the four hex bolts with knobs to secure the seat.
- Do not over-tighten. The base contains wood with metal inserts. Excessive force can crack plastic or split the wood insert.
- Tighten in a crisscross pattern to keep the seat level and centered.
Reflective Strip and Knee Position
- When attaching the rear knob, position the reflective strip facing backward for night visibility.
- Adjust the knee pad forward or backward based on your boot height.
- Test position: Your knee should rest comfortably with the boot clearing the frame.
- Problem: Boot hits frame when pad is forward. Solution: Slide the pad backward.
Comfort Hack: Add a gel cushion to the knee pad surface if you plan to use the scooter for extended periods.
Connect and Adjust the Brakes
The BlessReach features a disc brake system, a significant upgrade over basic friction brakes found on competitor models. This provides superior stopping power on slopes and uneven terrain.
Understanding the Brake System
• Dual levers allow stopping with either hand.
• Locking feature: Squeeze the lever, push the lock down, then release. The brake stays engaged.
• Unlock: Squeeze again and release. The lever pops up automatically.
• Test: Rear wheels lock when brake is engaged. Front wheels should still turn freely.
Adjusting Brake Lever Travel
- Locate the adjustment screw on the brake lever.
- Want less travel (faster engagement)? Turn the screw clockwise.
- Want more reach (more room before engagement)? Turn counterclockwise.
- Target: Approximately 1.5 fingers width between grip and lever at rest.
- Tighten the locking screw after adjustment to secure your setting.
Fixing Weak Brakes by Tensioning Cable
- Locate the hex nut at the bottom of the brake cable.
- Loosen the nut with your Allen wrench.
- Use pliers to pull the cable tighter, removing slack.
- Retighten the nut while maintaining tension.
- Test: Brakes should feel firm and responsive.
Safety Check: Always test brakes on a slight incline before relying on them for daily use.
Attach the Storage Bag

The storage bag solves a common problem: carrying items while using a knee scooter. Keep water, medication, snacks, or small groceries hands-free.
Bag Setup Steps
- Insert the hard plastic base into the storage bag.
- Align the Velcro on the insert with the Velcro inside the bag bottom.
- This keeps the bag open and structured for easy loading.
- Slide the two metal hooks on the bag into the frame openings.
- Ensure the bag hangs straight without swinging.
- Use the bungee cord to secure the top to the frame.
- Store your Allen wrench in the base compartment for future adjustments.
User Benefit: Carry daily essentials without balancing items in your hands or pockets.
Fold Your Scooter for Transport and Storage
The folding design fits easily in most car trunks and closet spaces. Follow these steps to fold and unfold correctly.
Folding Process
- Unlock the steering column clamp.
- Pivot the rear wheels outward, away from the column.
- Remove and reposition the shock absorber. Reinsert the guide and thumb-tighten.
- Detach or reposition the front axle using guide tabs and the clamping washer.
- Secure the cap and locking nut by hand.
Critical Warning: Never place rear wheels under the steering column when folding. This damages the frame or wheels and prevents proper closure.
Portability Tip: Folded size fits easily in most vehicle trunks. Practice folding before your first trip.
Final Safety Check Before First Use
Run through this checklist before your initial ride. This ensures all connections are secure and the scooter responds correctly.
Pre-Use Verification Checklist
• All bolts tightened (handlebars, seat, wheels)
• Wheels spin freely and align straight
• Brakes lock and release smoothly
• Knee pad position allows full boot clearance
• Reflectors visible from front and back
Test Ride Instructions
- Start on a flat, hard surface like tile or hardwood.
- Practice turning, braking, and stopping.
- Adjust handlebar or knee pad height if needed.
- Allow 2-3 weeks to build full confidence with the scooter.
Learning Curve: If possible, practice before surgery to build muscle memory and confidence before recovery begins.
Troubleshooting Common Issues
Quick fixes for problems users commonly encounter during assembly and initial use.
Handlebar Wobble
• Cause: Loose clamp or misalignment
• Fix: Retighten locking screw. Add a thin shim if wobble continues.
Brakes Feel Weak
• Cause: Cable slack from shipping or use
• Fix: Re-tension cable using the procedure in the brake adjustment section.
Knee Pad Causes Discomfort
• Cause: Boot hits frame or pad positioned too far forward
• Fix: Slide pad backward. Add a cushion if the surface feels too firm.
Scooter Drifts to One Side
• Cause: Wheel misalignment or improper axle seating
• Fix: Check that both wheels are fully seated in the frame brackets. Recheck lock washer positioning.
Maintenance Tips for Long-Term Care
Regular maintenance keeps your BlessReach scooter running safely for months or years.
Cleaning Guidelines
• Remove the footrest for easy wipe-down.
• Use mild soap and water. Avoid harsh chemicals that damage plastic or metal.
• Dry thoroughly after outdoor use to prevent rust.
Storage Recommendations
• Store in a dry, indoor space when not in use.
• Fold the scooter if storing for more than a few days.
• Check plastic lock washers and brake cables monthly.
• Inspect all bolts and connections before extended use.
Durability Note: The 300-pound weight capacity is supported by quality materials. Regular checks ensure safety over the life of your scooter.
Why BlessReach Scooters Stand Out
Understanding what makes this model different helps you maximize its features.
Key Advantages
• Disc brakes provide better control than friction plate systems on slopes.
• 12-inch wheels with shock absorber deliver smooth rides indoors and outdoors.
• Storage bag with rigid base solves the hands-free carrying problem.
• Tool-free assembly completes in under 20 minutes with included hex wrench.
Pro Insight: Users report greater confidence on driveways, sidewalks, and uneven floors thanks to superior braking and wheel stability.
Frequently Asked Questions About BlessReach Scooter Assembly
How long does it take to assemble a BlessReach scooter?
Most users complete the BlessReach scooter assembly in under 20 minutes. The process requires no prior experience, and all necessary tools are included in the box.
Do I need extra tools for BlessReach scooter assembly?
The included Allen wrench handles all tightening needs. However, having pliers available makes brake cable tensioning easier. No power tools are required.
Can I adjust the knee pad position on my BlessReach scooter?
Yes. The knee pad slides forward and backward. Adjust it so your boot clears the frame without hitting when you plant your injured leg.
How do I fold my BlessReach knee scooter for car transport?
Unlock the steering column, pivot rear wheels outward, reposition the shock absorber, and secure the front axle. Never place wheels under the column when folding.
Why are my BlessReach brakes not stopping firmly?
Weak brakes usually mean the cable needs tensioning. Loosen the hex nut at the cable bottom, pull the cable tighter with pliers, then retighten the nut while holding tension.
Key Takeaways for Your BlessReach Scooter Assembly
The BlessReach scooter assembly process is straightforward when you follow the step-by-step sequence. Start by verifying all parts, then install the steering column and shock absorber before mounting wheels. Handlebar and seat installation complete the structural setup, followed by brake adjustment and storage bag attachment. Take time to test brakes on an incline before relying on the scooter for daily mobility.
Your next step: Gather your parts, follow this guide in order, and complete your first test ride today. Store the Allen wrench in the base compartment for future adjustments, and enjoy hands-free mobility during your recovery.