Your Apollo scooter is built for durability and performance, but like any electric vehicle, it requires regular maintenance and occasional repairs. Whether you’re dealing with a scooter that won’t power on, brakes that feel spongy, or error codes flashing on the display, understanding how to diagnose and fix common issues can save time and money. This guide covers everything from basic tire pressure checks to advanced diagnostics, using only the verified procedures and specifications from Apollo’s official repair ecosystem.
If you’re a rider or technician, this comprehensive resource ensures your Apollo scooter stays safe, reliable, and under warranty without relying on guesswork.
Decode Apollo Error Codes Fast

When your Apollo scooter behaves unexpectedly, the display often shows an error code. These codes are your first diagnostic tool, pointing directly to the root cause.
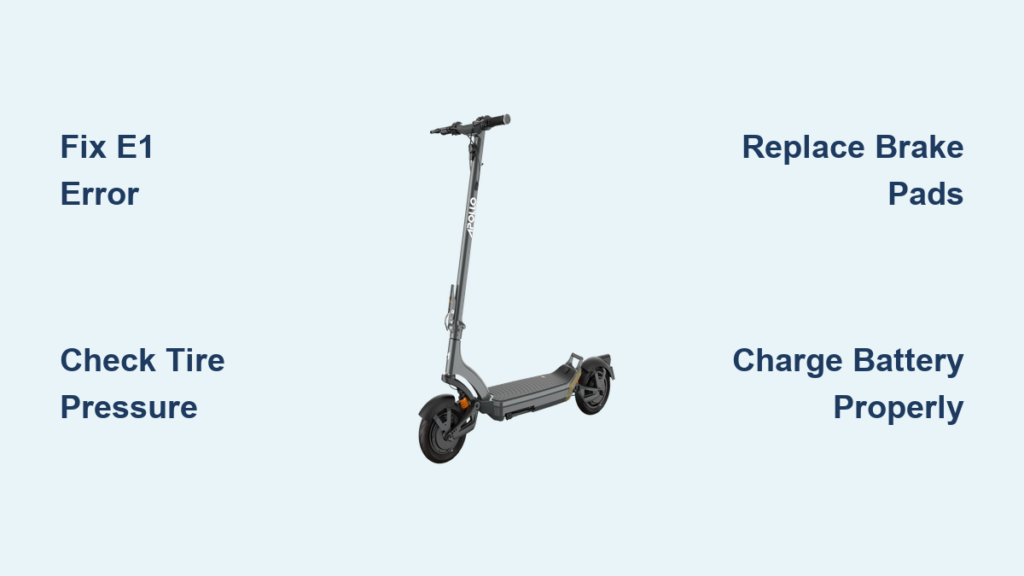
Fix E1 Motor Error Quickly
An E1 code means the system detected a motor fault. This could stem from a power interruption, controller glitch, or wiring issue.
Immediate steps:
- Power off the scooter completely.
- Wait 10 seconds, then restart.
- If the code returns, inspect the motor wheel for obstructions or damage.
If the motor makes grinding noises or fails to engage after a reset, the issue may be internal. Do not ride with an active E1 code. Contact a certified partner for further diagnostics.
Pro Tip: Sudden stops or riding over sharp debris can trigger E1. Always clear the wheel area after off-road use.
Resolve E2 Battery Error Safely
An E2 code indicates a battery communication failure. This does not always mean the battery is dead. It might just be disconnected or misaligned.
Troubleshooting steps:
- Turn the scooter off.
- Remove the battery pack fully.
- Inspect the terminals for dirt, corrosion, or bent pins.
- Clean gently with a dry cloth.
- Reinsert firmly until it clicks into place.
- Power on.
If the E2 code persists, try charging with the original Apollo charger. Third-party chargers can disrupt battery signaling and trigger false errors.
Warning: Never force the battery in. Misalignment damages connectors and voids warranty.
Diagnose E3 Sensor Malfunction
An E3 code signals a sensor failure, often in the brake, speed, or throttle system.
Quick fix:
• Restart the scooter.
• Test all sensors: Pull the brake levers, twist the throttle, and check if lights respond.
If E3 returns, suspect loose wiring near the handlebars, water damage from riding in rain, or faulty brake sensor magnet alignment. This is typically a Level 2 repair. Seek professional service if basic resets fail.
Perform Level 1 Repairs at Home
Many Apollo scooter issues fall under Level 1 repairs. These are simple fixes requiring minimal tools and no deep diagnostics. These include replacing displays, throttles, and lights.
Replace Display or Throttle Unit
Both components plug into the wiring harness and are secured with screws.
Tools needed:
• Allen key (included with scooter)
• Small Phillips screwdriver
Steps:
- Power off and remove the battery.
- Locate the component on the handlebar.
- Unscrew mounting hardware.
- Disconnect the wiring harness. Pull gently by the connector, not the wires.
- Connect the new unit and reattach securely.
- Reinstall battery and test.
Success sign: Display lights up, throttle responds smoothly with no stutter.
Fix Non-Working Lights
If headlights or taillights fail:
- Check for loose connections at the light housing.
- Inspect wiring along the stem for pinches or cuts.
- Replace the light assembly if damaged.
Use only OEM parts from Apollo’s B2B portal or authorized sellers to ensure compatibility.
Handle Battery Issues Correctly
Battery performance is critical to range and reliability. Knowing how to manage charging, storage, and replacement prevents premature degradation.
Charge Without Damaging the Battery
Follow these rules:
• Always use the original Apollo charger.
• Charge duration: 4 to 6 hours for full capacity.
• Charging indicator: Red means charging, Green means full.
• Unplug once green. Overcharging reduces lifespan.
Never leave the battery plugged in overnight regularly.
Store the Battery Properly
For long-term storage over 30 days:
- Charge to 50 to 60 percent.
- Store in a cool, dry place. Ideal temperature is 15 to 25 degrees Celsius.
- Avoid direct sunlight or damp garages.
Check charge level every 4 to 6 weeks and top up to 50 percent if needed.
Know When to Replace the Battery
Replace the battery if:
• Range drops below 50 percent of original despite full charge.
• Scooter shuts off unexpectedly during rides.
• E2 error persists after terminal cleaning.
Certified partners offer battery rebuilding services to restore capacity at lower cost than full replacement.
Maintain Tires at 50 PSI
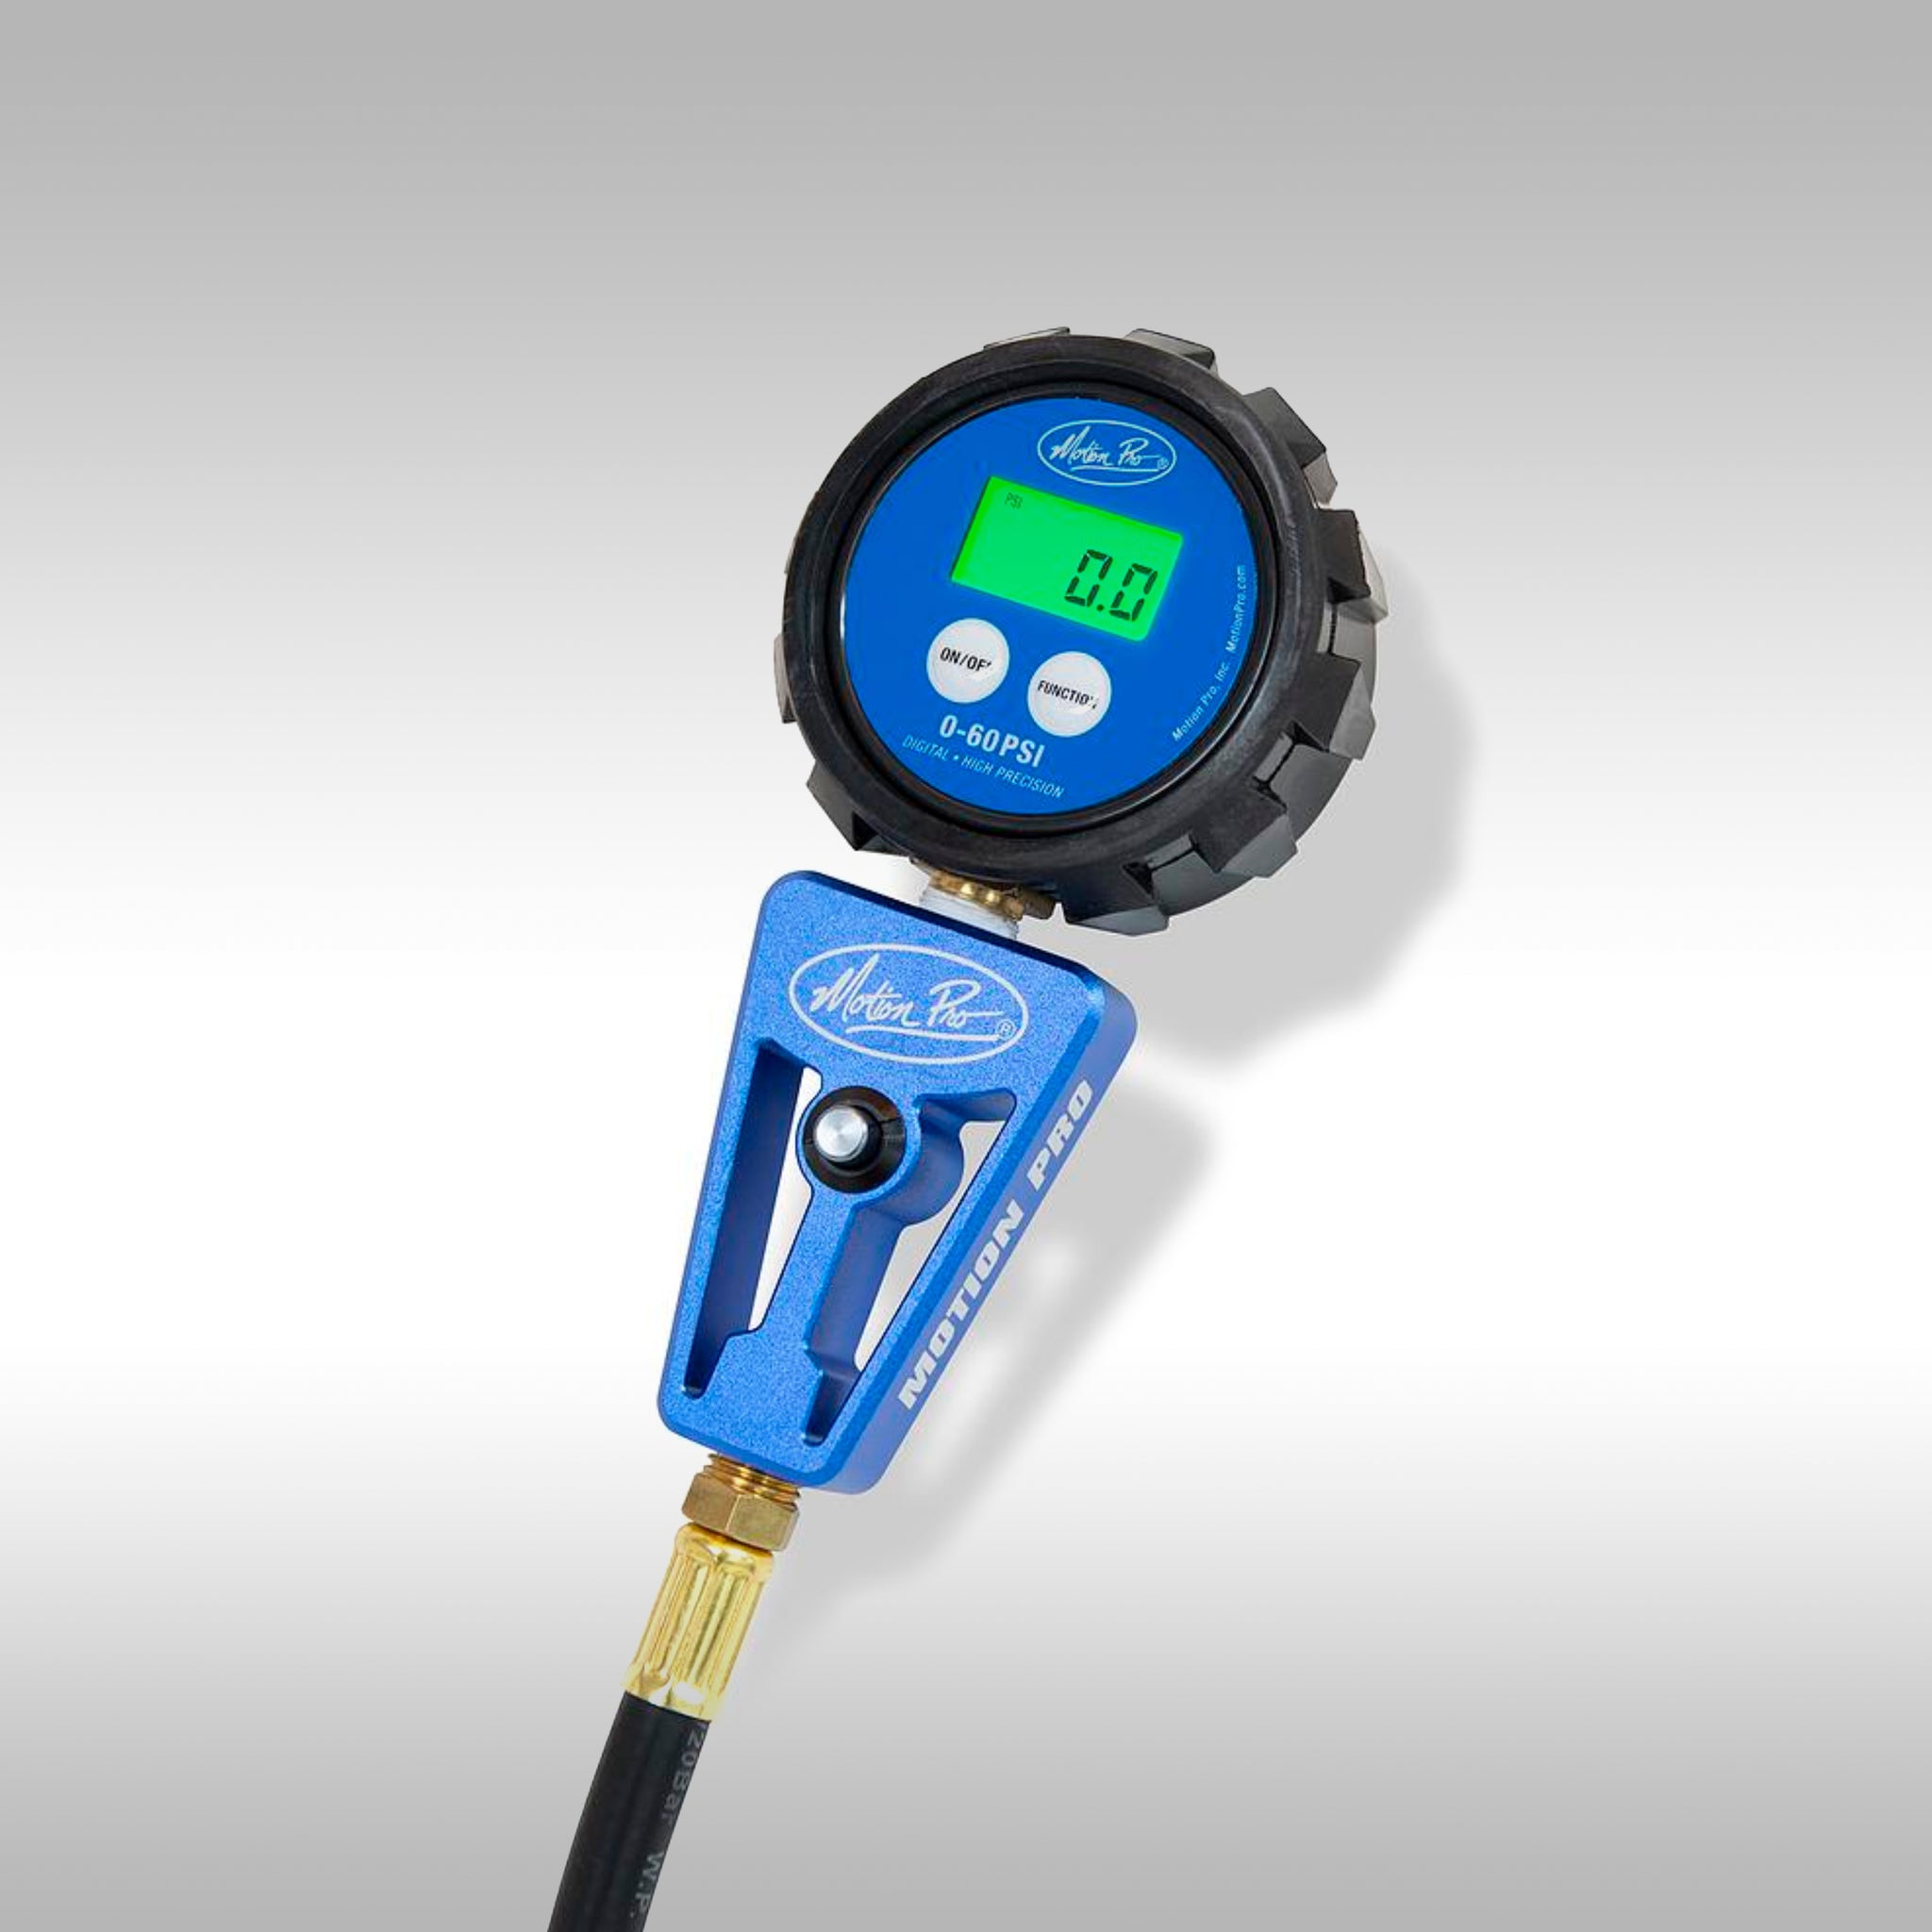
Tire pressure is the most overlooked yet crucial factor in preventing flats and ensuring ride stability.
Inflate to Exact 50 PSI
Despite general e-scooter guidelines suggesting 35 to 40 PSI, Apollo specifies 50 PSI for optimal performance.
Why precision matters:
• Underinflation increases rolling resistance and flat risk.
• Overinflation makes tires brittle and prone to blowouts.
Inflation steps:
- Place scooter on a stable surface.
- Remove valve cap.
- Attach pump with gauge.
- Inflate to exactly 50 PSI.
- Release excess air by pressing the valve stem if overfilled.
- Replace cap.
Check pressure monthly, especially before long rides or temperature shifts.
Tool Tip: Use a digital pump with auto-shutoff at 50 PSI for accuracy.
Adjust and Replace Brakes by Type
Apollo scooters use drum brakes on the City model or disc brakes on Phantom, Explorer, and other models. Adjustment methods differ significantly.
Tighten Drum Brakes Properly
On models like the Apollo City, drum brakes are adjusted via a screw on the brake arm.
To increase stopping power:
• Turn the adjustment screw clockwise.
• Pull back the return spring to lock the metal bar during adjustment.
To reduce drag:
• Turn counterclockwise.
Test after each turn. Brakes should engage firmly within half the lever travel.
Fix Spongy Disc Brakes
If the brake lever feels soft or goes too far, follow these two-step adjustments.
Step 1: Reposition Brake Lever
- Turn both parts of the top knob counterclockwise to move the lever closer to the grip.
- Rotate the wider ring clockwise to lock in position.
Step 2: Increase Caliper Tension
If still loose:
- Loosen both parts of the lower adjustment mechanism.
- Tighten the bottom bolt clockwise to push pads closer to the rotor.
- Re-tighten all components.
Avoid over-tightening. Pads rubbing against the rotor cause drag and wear.
Replace Brake Pads When Worn
Worn brake pads reduce stopping power and damage rotors. Replace them when material thickness drops below 2mm.
Swap Front Brake Pads
- Remove two top caliper screws. Keep washers. They are small and easily lost.
- Detach caliper. It will hang by the hose.
- Pull out old pads. They are held by magnets.
- Insert new pads until they snap in.
- Reattach caliper, align holes, and tighten screws.
- Add 1 to 2 extra turns for secure torque.
Time: Under 5 minutes.
Replace Rear Pads on Apollo Explorer
The Explorer rear fender blocks access, requiring extra steps.
- Remove two main caliper screws.
- Take out four fender screws and set aside.
- Loosen caliper and remove.
- Remove washers and old pads.
- Use pliers to straighten the top retaining pin and free the pads.
- Insert new pads. Magnets help alignment.
- Re-bend the pin to lock pads in place.
- Reinstall washers in correct order.
- Reattach caliper and tighten.
- Replace fender and secure all screws.
Visual cue: Pads should sit flush with no wobble.
Lubricate Suspension and Bearings
Regular lubrication prevents premature wear in moving parts, especially on rugged terrain.
Use Correct Lubricants Only
Do not use WD-40 as lube. It is a cleaner that strips oil.
Correct sequence:
- Wipe bearings with a damp cloth.
- Spray WD-40 to degrease.
- Immediately apply lithium grease. Jigaloo is recommended.
Failure to grease after cleaning leads to bearing failure.
Service Exposed Suspension Coils
This applies to Phantom, Ghost, and Pro models.
Steps:
- Clean coil shaft and pivot points.
- Spray lubricant on travel shaft and top and bottom joints.
- Jump on the deck to work lube into the system.
- Repeat if resistance remains.
Maintain Sealed Suspension Units
Models like Light City and Explore have vertical, sealed suspensions.
Critical rule: Do not flip upside down.
Steps:
- Clean while upright.
- Spray lubricant generously.
- Wait 2 minutes.
- Jump to distribute lube.
Flipping can damage internal seals and void warranty.
Secure Fasteners to Prevent Failures
Vibration loosens critical screws over time. Regular checks prevent dangerous failures.
Tighten Folding Mechanism
Located at the front hinge:
- Fold the scooter.
- Turn each screw 1 to 2 full turns clockwise.
- Unfold and test.
Adjust until firm but still easy to fold. Over-tightening strips threads.
Lock Stem Alignment Screws
Loose stem screws cause front wheel wobble.
Fix:
- Remove four base screws.
- Apply Blue Loctite. Not red. Red is permanent.
- Reinstall and tighten securely.
This prevents misalignment from road impacts.
Check Rear Fender Screws
These vibrate loose frequently. Inspect monthly and tighten with a Phillips head.
Also check:
• Wheel axle bolts
• Suspension mount bolts
Find Certified Repair Partners

For Level 2 repairs like motor replacement, wiring harness fixes, and tire changes on motor wheels, use Apollo’s certified network.
Access the Partner Network
Use the Apollo Store Locator map to find nearby shops. Known partners include Repair and Run, Rent EBoards, Techy Company, ProMechBC, and eStar Rides in Atlanta.
Benefits of certified partners:
• OEM parts access
• Technical support from Apollo
• 30-day workmanship warranty
• Warranty-compliant service
Tip: Shops earn commissions via affiliate links. No extra cost to you.
Know Professional Pricing
Average costs based on eStar Rides data:
• Tire change on non-motor wheel: $100
• Tire change on motor wheel: $120
• Diagnostic fee: Waived if repair is done
• Pickup and delivery: Small fee varies by location
Complex repairs like controller replacement may require part ordering. Expect same-day or next-day turnaround for most services.
Follow Safety Rules and Warranty Guidelines
Following operational limits keeps your scooter safe and warranty valid.
Respect Weight and Weather Limits
• Maximum rider weight: 265 lbs or 120 kg. Exceeding this voids warranty and risks frame damage.
• Never ride in rain. Water exposure causes electrical shorts and corrosion. This is not covered under warranty.
Perform Pre-Ride Safety Check
Before every ride:
• Adjust handlebar height securely.
• Wear helmet and protective gear.
• Test brakes and lights.
• Start on flat ground to confirm control.
Never ride under influence. It is dangerous and may void insurance claims.
Understand Warranty Coverage
Apollo offers a 12-month limited warranty, but exclusions apply.
What is covered:
• Manufacturing defects
• Motor failure
• Battery performance issues
• Electrical system faults
What is not covered:
• Accidents or misuse
• Normal wear like tires and brake pads
• Water damage
• Unauthorized modifications or repairs
To file a claim:
- Contact support@apollomobility.com or call 1-800-276-5561.
- Provide proof of purchase.
- Share the scooter serial number.
- Describe the issue and error codes.
Repairs must be done by Apollo or a certified partner to maintain coverage.
Use the Right Tools and Resources
Having the correct tools ensures safe, effective maintenance.
Essential DIY Tool Kit
• Tire pump with accurate PSI gauge
• Allen key set (6mm, 5mm common sizes)
• Phillips and flathead screwdrivers
• Pliers for brake pin bending
• Lithium grease (Jigaloo recommended)
• WD-40 for cleaning only
• Blue Loctite for threadlocker
Key Information Sources
• User Manual: Model-specific diagrams and specs
• Apollo Store Locator: Find certified repair shops
• B2B Portal: For partners to order OEM parts
• Customer Support: Live chat, email, and phone
Unboxing Tip: Verify all parts (scooter, battery, charger, manual, tools) before first use. Report missing items immediately.
Key Takeaways for Apollo Scooter Repair
Regular maintenance every 6 months or 500 kilometers, plus prompt attention to error codes and wear items, keeps your Apollo scooter running like new. Use this guide to handle simple fixes confidently and know when to trust a certified professional. With proper care, your Apollo will deliver reliable, high-performance rides for years.
Frequently Asked Questions About Apollo Scooter Repair
How do I fix an E1 error code on my Apollo scooter?
An E1 code indicates a motor fault. First, power off the scooter completely and restart after 10 seconds. If the code returns, inspect the motor wheel for obstructions or damage. Do not ride with an active E1 code. Contact a certified Apollo partner for diagnostics if the problem persists.
What tire pressure should I use for my Apollo scooter?
Apollo specifies exactly 50 PSI for optimal performance. Check monthly because natural leakage and temperature fluctuations affect pressure. Use a digital pump with auto-shutoff at 50 PSI for accuracy.
Can I perform brake pad replacement myself?
Yes. Front brake pad replacement takes under 5 minutes. Remove the two top caliper screws, detach the caliper, pull out old pads held by magnets, insert new pads, and reattach. Rear pads on models like the Explorer require removing the fender first, which adds 5 to 10 minutes.
How often should I lubricate my Apollo scooter’s suspension?
Lubricate suspension every 6 months or 500 kilometers. For exposed coil models (Phantom, Ghost, Pro), clean the coils and spray lubricant on pivot points. For sealed units (Light City, Explore), spray while upright and do not flip the scooter. Always apply lithium grease after using WD-40 for cleaning.
Where can I find certified Apollo repair shops?
Use the Apollo Store Locator on the official website to find certified partners. Known partners include Repair and Run, Rent EBoards, Techy Company, ProMechBC, and eStar Rides in Atlanta. Certified shops offer OEM parts, technical support, and a 30-day workmanship warranty.