
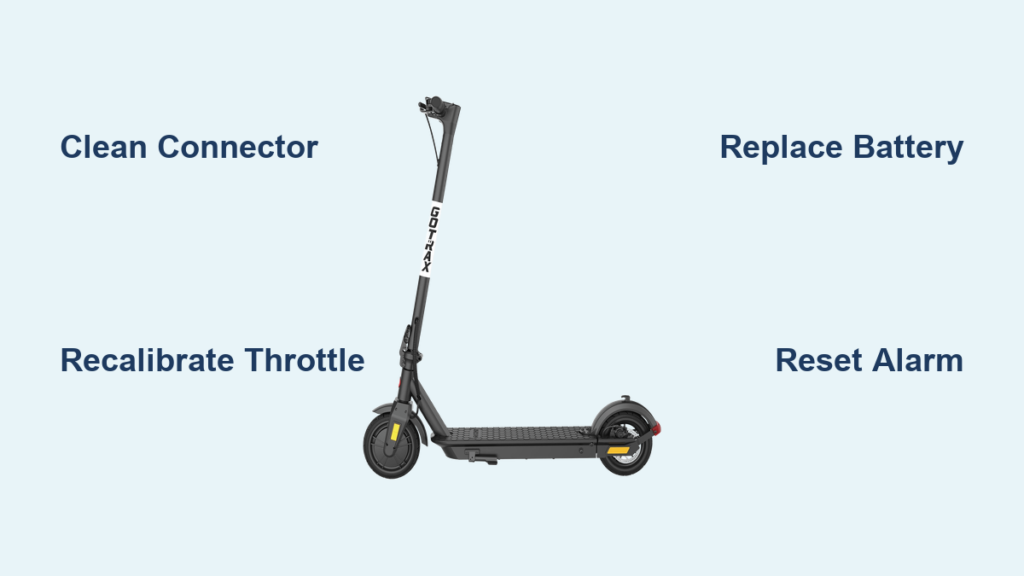
If your Gotrax scooter is beeping, you are dealing with more than an annoyance. That rhythmic sound is your scooter’s built-in diagnostic system trying to communicate exactly what is wrong. Whether it is a slow beep every few seconds or rapid-fire alerts, each pattern points to a specific issue, from low battery warnings to critical controller failures.
The good news is most beeping problems are fixable without professional help. In fact, cleaning the console-to-controller connector resolves over 60% of common E1, E2, and E3 errors. With the Gotrax mobile app discontinued as of February 2025, riders must now rely solely on onboard beeps and display codes for troubleshooting, making this guide essential for quick, accurate fixes.
Decode Your Gotrax Scooter Beeping Pattern
Before attempting any fix, identify the exact beeping pattern. Different rhythms mean entirely different issues.
Identify the Sound Type
Listen carefully to distinguish between normal feedback and actual errors:
- Single beep at power-on: Normal system startup. No action needed.
- One beep every 3 seconds: Low battery warning. Stop riding immediately.
- Rapid, continuous beeping: Security alarm on G4/GMAX models or critical failure.
- Repeating short beeps with display code: Error code. Match the code to your model below.
If the scooter powers on and rides normally despite occasional beeps, it may be a temporary sensor glitch. Persistent or rhythmic beeping requires immediate attention.
Check the Display Code
Most Gotrax scooters show an alphanumeric code like E3 or 21E when beeping due to an error. Match the code to your model series:
- E1 through E5: GXL V2, VIBE, APEX, XR Elite, G5/G6
- Numeric codes 1 through 8: G3, G4, GMAX
- 20E-series (21E, 23E, etc.): XR Ultra, GX models
- No code, just beeps: Likely low battery or legacy model (pre-2020)
Write down the exact code and beep count before proceeding.
Power Cycle First
Always start with a reset:
- Turn off the scooter completely.
- Wait 30 seconds.
- Power back on.
This clears temporary glitches. If beeping stops, the issue was minor. If it returns within seconds, proceed to diagnosis.
Fix Low Battery Beeping

A slow, rhythmic beep occurring once every 3 seconds is the most common warning on Gotrax scooters.
Confirm Low Voltage Trigger
This beep activates when battery level drops below 10 to 15 percent. The Battery Management System triggers it to prevent cell damage from over-discharge.
What to do:
- Stop riding immediately.
- Plug in the original charger.
- Beeping should stop within 60 seconds of charging.
If the scooter does not accept charge or beeping continues after a full charge cycle (4 to 6 hours), the battery is likely degraded.
Replace Battery If Charging Fails
Symptoms of a dead battery include:
- Scooter shuts off unexpectedly during use.
- Will not power on even after charging.
- Display shows no voltage or erratic readings.
Replacement cost ranges from $100 to $200. Use only OEM or compatible replacement packs. Avoid third-party chargers, as they can cause overvoltage (Code 8) or under-voltage (Code 7) errors.
Pro tip: Store your scooter at 40 to 80 percent charge during long periods of inactivity to extend battery lifespan.
Disable Security Alarm Beeping
Rapid, non-stop beeping on G4 or GMAX models usually means the anti-theft alarm is active.
Confirm Alarm Activation
Signs include:
- Continuous beeping with no pause or rhythm.
- Scooter will not power on normally.
- Lock icon illuminated or flashing on the display.
The alarm triggers from movement while locked or incorrect unlock attempts.
Unlock With Passcode
- Enter your security passcode using the mode/power buttons.
- Once unlocked, power cycle the scooter.
If you have forgotten the code, contact support@gotrax.com with proof of purchase.
Reset if Locked Out
Try these steps if the alarm will not deactivate:
- Soft reset: Power off, wait 30 seconds, power on.
- Hard reset: Disconnect the battery for 60 seconds, then reconnect.
- Re-pair security settings through the console if available.
Avoid tampering with the system. It is designed to immobilize the motor until properly unlocked.
Diagnose Error Code Beeps by Model
Repeating beeps with a display code indicate hardware or communication faults. Solutions vary significantly by model.
GXL V2, VIBE, APEX: E1 Through E5 Codes
| Code | Meaning | Primary Fix |
|---|---|---|
| E1 | Console-Controller Communication | Clean console connector (60% success rate) |
| E2 | Brake Sensor Failure | Adjust brake lever; clean connector |
| E3 | Throttle Malfunction | Recalibrate throttle (hold full throttle at power-on) |
| E4 | Motor Failure | Check phase/Hall wires; replace controller |
| E5 | Controller Fault | Replace motor or controller |
Most effective first step: Clean the console connector with 90 percent or higher isopropyl alcohol.
XR Elite and XR Ultra: Standard and 20E Codes
These premium models have enhanced diagnostics.
Standard E-codes work as follows:
- E1: Dashboard-BMS communication loss. Clean connector, check for bent pins.
- E2: E-brake failure. Test front/rear levers separately.
- E3: Throttle error. Recalibrate and clean throttle connector.
- E4: Front motor fault on XR Ultra. Inspect phase wires (yellow/green/blue).
- E5: Controller damage. Look for burn marks or water intrusion.
Advanced 20E codes indicate:
- 21E: Controller failure. Replace console first, then controller.
- 22E: Handlebar comms loss. Replace console, check folding stem wiring.
- 23E: Motor unresponsive. Replace motor, test Hall sensor continuity.
- 25E: Brake sensor fault. Replace console (sensors built-in).
- 30E: Critical comms failure. Replace console, check all major connectors.
These models often misreport controller issues. Always replace the console before the controller.
G3, G4, GMAX: Numeric Error Codes
These models use beep count and single-digit codes.
| Code | Beeps | Problem | Solution |
|---|---|---|---|
| 1 | 1 | Controller issue | Replace controller ($60-$120) |
| 2 | 2 | Handlebar failure | Clean connector; replace console ($40-$80) |
| 3 | 3 | MOSFET failure | Replace controller (caused by overload/water) |
| 4 | 4 | Motor signal loss | Replace motor; check 5-pin Hall sensor |
| 5 | 5 | Brake lever stuck | Adjust tension screw; replace console |
| 6 | 6 | Motor lockup | Replace motor and controller |
| 7 | 7 | Battery under-voltage | Replace battery and charger |
| 8 | 8 | Battery over-voltage | Replace both battery and charger |
| 25E | Varies | Brake error (LCD models) | Clean sensor; replace console |
Note: On G4, rapid beeping may be the security alarm, not a component error.
G5 and G6: Extended E0 Through E9 System
These models follow a strict troubleshooting hierarchy.
| Code | Meaning | Repair Order |
|---|---|---|
| E0 | Comms failure | Replace controller, then console, then wiring |
| E1 | 3-phase current fault | Replace controller, then motor |
| E2/E3 | Handlebar/brake failure | Replace console, then controller |
| E4 | Overcurrent | Replace controller, then battery |
| E5 | Motor signal | Replace motor, then controller |
| E6 | Locked rotor | Replace controller, then battery, then motor |
| E7/E8 | Undervoltage/overvoltage | Replace battery, then controller |
| E9 | Overheating | Replace motor, then controller |
Always start with the first step. Replacing multiple parts at once increases cost unnecessarily.
GX Dual-Motor Models: Front and Rear Diagnostics
High-performance GX scooters differentiate between motors.
GX1 and GX2 use:
- 02: Handlebar failure. Replace console.
- 04: Motor Hall failure. Check 5-wire connector.
- 05: Brake failure. Adjust or replace.
GX3 uses:
- 2E: Battery issue.
- 3E/6E/8E: Rear motor faults.
- 13E/16E/18E: Front motor faults.
- 7E: Throttle problem. Recalibrate or replace.
- 10E/15E: Display-controller comms failure.
GX Zero and Ares use:
- E1: Communication error.
- E2: Brake failure.
- E3: Throttle issue.
- E4/E6: Front/rear motor faults.
- E5: Controller failure.
For dual-motor issues, isolate which side fails by listening for hum or checking error logs.
Universal Fix: Clean Console Connector
Over 60 percent of E1, E2, and E3 errors stem from dirty or loose console connections.
Gather Supplies
You will need:
- 90 percent or higher isopropyl alcohol.
- Cotton swabs or lint-free cloth.
- Small Phillips screwdriver.
Work in a dry, well-lit area.
Remove and Clean the Connector
- Power off and unplug the scooter.
- Remove screws securing the console cover.
- Gently lift the dashboard to expose the connector.
- Locate the ribbon or plug connecting the console to the stem harness.
- Disconnect both sides.
- Wipe pins with alcohol-dampened swab. Remove all grime and oxidation.
- Let dry completely (1 to 2 minutes).
Visual cue: Look for greenish corrosion or black residue on pins.
Reconnect Securely
- Align pins carefully. Do not force.
- Press until you hear a click.
- Reassemble the cover.
- Power on.
If the error clears, apply dielectric grease during quarterly maintenance to prevent future issues.
Recalibrate Throttle for E3 Errors
An unresponsive throttle often triggers E3 or similar codes.
Perform Calibration Procedure
- Scooter off.
- Hold throttle fully open.
- Press power button while holding throttle.
- Wait 5 to 10 seconds for a confirmation beep.
- Release throttle.
The system resets its idle and max positions.
Test Responsiveness
After recalibration:
- Power off and on.
- Gently twist throttle. It should respond smoothly.
- If still unresponsive, clean the throttle connector or replace the console.
Warning: Never ride if the throttle sticks or accelerates unexpectedly.
Repair Motor and Wiring Issues

E4, Code 4, or 23E errors point to motor or wiring faults.
Inspect Phase Wires
Three thick wires (yellow, green, blue) connect the controller to the motor.
If the motor runs backward, swap any two phase wires to reverse rotation.
If the motor jerks or hums, check for loose or corroded connections. Ensure connectors are fully seated.
Test Hall Sensors
Five thin wires provide position feedback.
Failure signs include:
- Motor cuts out intermittently during rides.
- Error returns after motor replacement.
Use a multimeter to test continuity. Replace the motor if sensors are damaged.
Pro tip: Water damage is the number one cause of motor issues. Avoid puddles and store indoors.
Replace Faulty Components
When cleaning and resets fail, replacement becomes necessary.
Console and Display Assembly
Fits: E1, E2, E3, Code 2, 25E, 22E
Cost: $40 to $80
Install time: 10 minutes
Unplug the old unit, connect the new one, and secure with screws.
Controller Unit
Fits: E4, E5, Code 3, 6, 21E
Cost: $60 to $150
Located near battery or motor.
Disconnect all wires, remove mounting screws, and swap units.
Prevent failure by avoiding water and staying under the 220-pound weight limit.
Motor Wheel
Fits: E4, Code 4, 6, 23E, 13E
Cost: $80 to $150
Requires wheel removal and re-tensioning of the drive belt if applicable. Ensure Hall and phase wires are protected during installation.
Battery Pack
Fits: E7, E8, Code 7, 8
Cost: $100 to $200
Disconnect BMS wires, remove mounting hardware, and install the new pack. Use only compatible voltage and amp-hour ratings.
Prevent Future Beeping
Avoid repeat issues with simple maintenance.
Monthly Checks
- Clean console connector with alcohol.
- Test brake return action. Pull lever 10 times to ensure smooth release.
- Charge to 40 to 80 percent if storing longer than a week.
Quarterly Deep Maintenance
- Remove deck cover.
- Inspect all wiring for frays, especially at the folding stem.
- Clean every electrical connector.
- Apply dielectric grease to prevent corrosion.
- Tighten all bolts and screws.
Ride Smart
- Avoid water. IP54 rating means splash-resistant, not waterproof.
- Stay under 220 pounds to prevent motor and controller strain.
- No curb jumps. Impacts loosen connectors and damage bearings.
When to Contact Gotrax Support
Seek professional help if:
- Troubleshooting fails after cleaning, resetting, and recalibrating.
- Multiple error codes appear simultaneously.
- Scooter is under warranty (90 days to 1 year depending on coverage).
How to Reach Support
- Email: support@gotrax.com (1 to 3 business days response)
- Web form: gotrax.com/pages/contact-us
- Troubleshooting guide: gotrax.com/pages/the-gotrax-electric-scooter-troubleshooting-guide
What to Include
For fast resolution, provide:
- Exact model (e.g., GXL V2, XR Elite).
- Serial number (on deck or battery).
- Error code and beep pattern.
- Steps already tried (e.g., “cleaned connector,” “replaced battery”).
Note: Warranty does not cover water damage, battery degradation, or overloading.
Frequently Asked Questions About Gotrax Scooter Beeping
Why does my Gotrax scooter keep beeping while I ride?
Your scooter is signaling an error code. The beeping pattern (slow rhythmic versus rapid) indicates whether it is a low battery warning or a component failure. Check the display for an error code like E1 through E5, or count the beeps to match numeric codes 1 through 8.
How do I stop the security alarm beeping on my G4?
Enter your security passcode using the mode and power buttons. If you have forgotten the code, perform a hard reset by disconnecting the battery for 60 seconds. Contact Gotrax support if the alarm remains active.
Can I fix E1 error beeping myself?
Yes. E1 errors indicate console-controller communication failure. In over 60 percent of cases, cleaning the console connector with 90 percent or higher isopropyl alcohol resolves the issue. If cleaning fails, replace the console assembly.
Why does my Gotrax beep after fully charging?
This indicates battery degradation. If beeping continues after a full charge cycle (4 to 6 hours), the battery can no longer hold proper voltage. Replace the battery pack ($100 to $200) to resolve.
What does 3 beeps mean on a Gotrax scooter?
Three repeating beeps typically indicate an E3 error (throttle malfunction) on most models. Recalibrate by holding the throttle fully open while pressing the power button. Hold for 5 to 10 seconds until you hear a confirmation beep.
Is the Gotrax app still available for diagnostics?
No. Gotrax unpublished their mobile app from both Google Play and Apple App Store as of February 2025. All diagnostics must now be performed using the onboard display and beep patterns.
Key Takeaways for Fixing Gotrax Scooter Beeping
Gotrax scooter beeping is a precise diagnostic tool, not random noise. By identifying the pattern and matching it to your model’s code system, you can fix most issues yourself without professional help.
Start with the simplest solutions first. Power cycling clears temporary glitches, and cleaning the console connector resolves over 60 percent of communication errors. Recalibrating the throttle fixes most E3 codes. Only proceed to component replacement when these steps fail.
Perform regular maintenance to keep your scooter silent and reliable. Clean connectors monthly, store the battery at 40 to 80 percent charge, and avoid water exposure. These simple habits prevent the majority of beeping issues before they start.
When in doubt, contact Gotrax support with your exact model, error code, and troubleshooting log. Provide detailed information for the fastest resolution, and always check warranty coverage before attempting repairs.



