
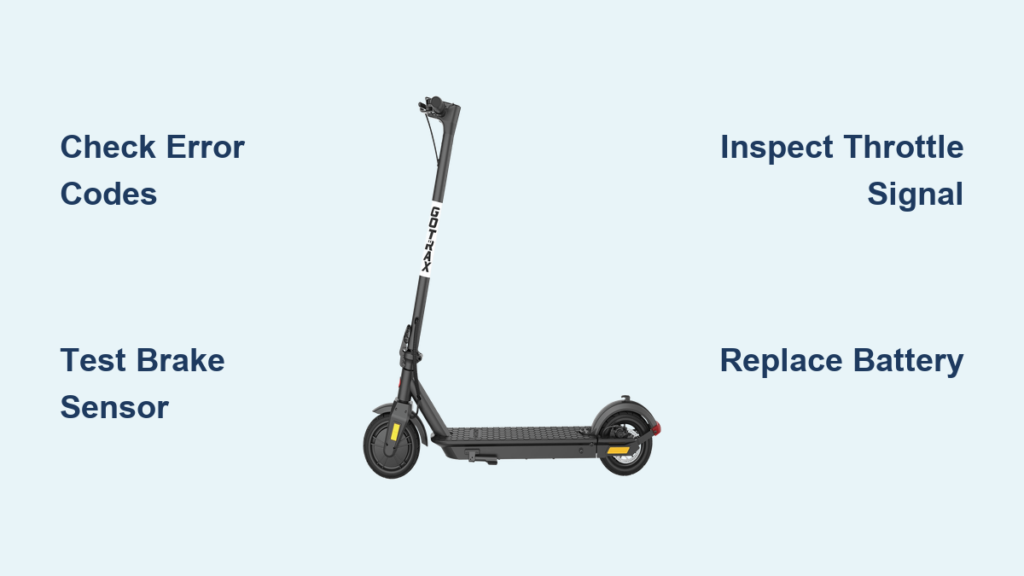
If your Gotrax scooter isn’t accelerating, you’re not alone. This common issue affects models like the GXL, VIBE, APEX, and XR ULTRA, often leaving riders stranded with a scooter that powers on but won’t move. The root cause could be as simple as a misaligned brake sensor or as serious as internal motor failure. But here’s the good news: most acceleration problems can be diagnosed and fixed at home, often without special tools.
This guide cuts through confusion, especially around the GXL’s push-start design, which many mistake for a defect. You’ll learn how to interpret error codes, test throttle signals, check brake sensors, and decide whether to repair or replace. Whether you’re seeing an E2 code, sudden shutdowns, or no response at all, this step-by-step breakdown will get you back on the move fast.
Decode Your Error Code First

Error codes are your Gotrax scooter’s way of telling you what’s wrong. Ignoring them means guessing in the dark. Check your display immediately when acceleration fails.
E1: Communication Failure
This code means the console cannot talk to the battery or controller. It’s common on VIBE, GXL V2, and APEX models.
What to do:
- Power off the scooter.
- Remove the console (usually snaps out or has hidden screws).
- Wipe the connector pins with a dry, lint-free cloth.
- Reinsert firmly and test.
If cleaning does not work, replace the console. It’s likely faulty.
Pro Tip: Corrosion or dust on connectors is a silent killer. Clean every three months if you ride in humid or dusty areas.
E2 or Code 5: Brake Lever Failure
E2 (VIBE, GXL, APEX) or Code 5 (G3, G4, GMAX) means the system thinks your brake is engaged, even if it’s not.
Why it happens:
- Brake microswitch stuck or misaligned
- Cable tension too high
- Wiring damaged during prior repairs
Fix it:
- Inspect the rear brake lever. Does it return fully?
- Press the lever slowly. Listen for a soft click. No click means bad switch.
- Loosen the brake cable adjuster nut to reduce tension.
- If still no response, replace the brake lever assembly or console.
Quick Test: Try twisting the throttle while gently pulling the brake lever away from the switch. If it accelerates, the switch is the culprit.
E3 or Code 2: Handlebar or Throttle Failure
This indicates a problem with throttle signal transmission.
On G5 and G6 models: Start by replacing the console. If E2 persists, replace the controller.
On G3 and G4 models: Code 2 means confirmed handlebar failure. Replace the console.
Do not skip voltage testing. See the throttle testing section for details.
E4 or Code 4: Motor Failure
E4 (older models) or Code 4 (G3 plus) means the motor is not responding. Possible causes include hall sensor failure, open motor windings, or internal stator damage.
Solution: Replace the entire motor wheel assembly. There is no user-serviceable repair inside the hub.
Reality Check: A new motor costs approximately $350. If your scooter was under $400, consider upgrading instead.
E5, 21E, or 30E: Controller or System Failure
E5 (older), 21E (XR), or 30E (G3 plus) all point to controller or communication breakdown.
First step: Replace the console.
If error returns: Replace the controller.
These codes often follow water exposure or voltage spikes.
Is Your Scooter Supposed to Push-Start
Yes, if you own a Gotrax GXL, GXL V2, or GXL ULTRA. This is not a defect. These models use a push-start system.
How it works:
- You must push the scooter to three to five mph before the motor engages.
- If you stop completely, the motor cuts off.
- To restart, push again. Throttle alone will not work from standstill.
Common Mistake: Users think “no acceleration” means broken motor. But if the scooter runs after pushing, it’s working as designed.
How to Confirm Push-Start Behavior
- Stand on the scooter.
- Push forward with your foot until you hit approximately four mph.
- Twist the throttle.
If it accelerates now, your scooter is fine.
Note: If it still does not go after pushing, proceed to diagnostics.
Test the Throttle Signal with a Multimeter
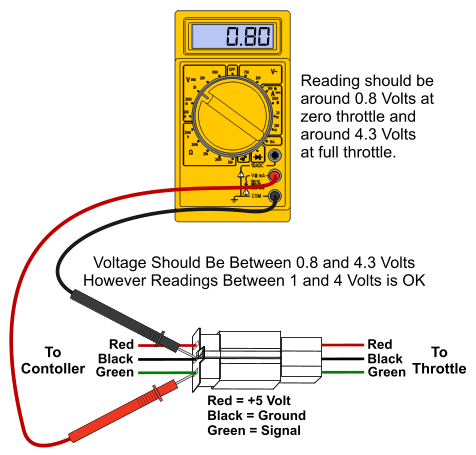
If no error code appears and push-start is not the issue, test the throttle electronically.
What You Will Need
- Digital multimeter
- Small screwdriver (to open throttle housing)
- Three mm Allen key (for grip removal)
Step-by-Step Voltage Test
- Locate the throttle connector under the handlebar housing.
- Identify the wires:
– Red equals five V power
– Black equals ground
– Green or white equals signal - Set multimeter to DC voltage (20V range).
- Connect the black probe to black (ground) and red probe to green or white (signal).
- Measure at rest (throttle closed). It should read 0.8V to 1.0V. If over 1.2V, the throttle is faulty or needs calibration.
- Twist throttle fully. Signal should rise smoothly to 4.5V to 5.0V. If it jumps, drops, or stalls, replace the throttle.
Ideal Signal Curve: Linear increase from 1.0V to 4.8V. Any glitch kills acceleration.
Calibrate the Throttle (APEX XL and Similar)
If voltage is out of range, recalibrate before replacing.
- Remove rubber grip with Allen key.
- Unscrew throttle housing.
- Expose Hall sensor on slotted bracket.
- With multimeter connected, gently slide sensor until resting voltage hits 0.9V.
- Reassemble and test.
Success means smooth voltage rise with no dropouts.
Check the Brake Sensor Even Without Error Code
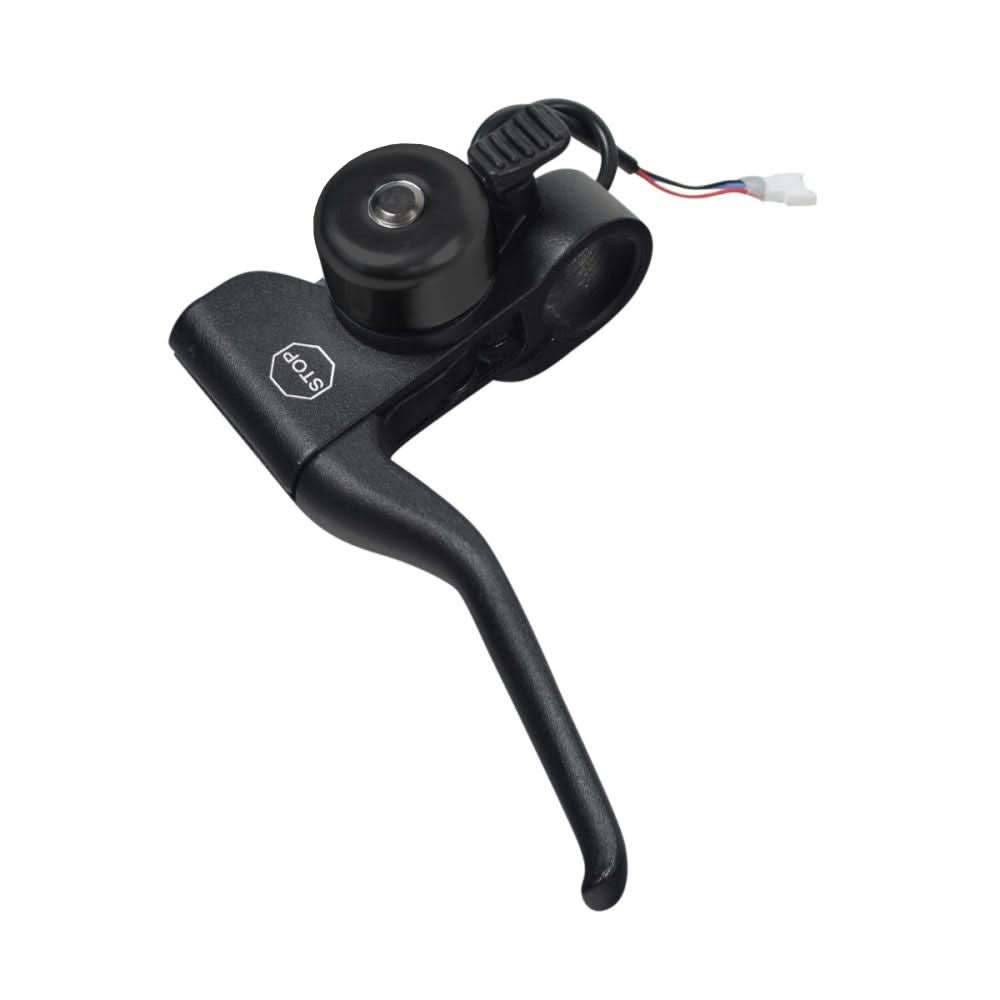
Many non-acceleration cases have no error code. Just silence when you twist. Why? A stuck brake microswitch sends a constant “brake on” signal.
How to Diagnose
- Watch the brake light. Does it stay on when lever is released?
- Inspect lever return. Is it springy or sluggish?
- Look for debris. Dirt or frayed cable can prevent full release.
- Test with movement. While holding throttle, gently pull the brake lever away from the switch. If it starts, the switch is misaligned.
Fix a Stuck Brake Switch
- Adjust cable tension. Loosen the barrel adjuster or nut near the lever.
- Clean the switch. Use compressed air or isopropyl alcohol.
- Replace if damaged. New brake levers cost $15 to $25.
Pro Move: Swap the left and right brake levers (if identical) to test. But most Gotrax models have different switches per side.
Battery Issues That Kill Acceleration

Your scooter may power on but die the moment you throttle. That is voltage sag, a classic sign of battery failure.
Symptoms of Dying Battery
- Lights on, but no motor response
- Shuts off instantly when accelerating
- Only works while plugged in
- Charger light turns green, but scooter will not power
Test Battery Health
- Check voltage under load. Use multimeter on battery terminals. Note voltage at rest (should be approximately 42V for 36V battery). Try to accelerate (safely elevated). If voltage drops below 30V, the battery is dead.
- Inspect for swelling or heat. Puffed cells or warm casing means immediate replacement.
Replace GXL V2 Battery (DIY in 10 Minutes)
- Remove two 5.32mm screws on rear deck cover.
- Lift cover. Battery is under handlebar stem.
- Lift handlebar assembly straight up.
- Slide old battery out (pin hole faces forward).
- Insert new battery, align pins, push in.
- Reassemble and charge fully.
Cost: $60 to $80. Lifespan: three to five years with care.
Avoid Extremes: Never leave scooter in temps below 32F or above 110F. Heat kills lithium-ion cells fast.
Motor Problems: Grinding, Clunking, or Sudden Death

If electrical systems check out, the motor may be failing.
Rotor Magnet Misalignment (GXL Models)
Symptoms:
- Resistance when spinning wheel by hand
- Clunking every few inches
- Magnets visibly sunken in rotor ring
Temporary Fix: Use needle-nose pliers to gently push magnets back into place. Rotate wheel. It should spin smoothly.
Warning: This may work short-term, but if stator is damaged, failure will return.
Stator or Winding Failure
Signs:
- Scooter starts after push but dies in 10 to 20 feet
- Burning smell from wheel
- E4 or Code 4 error
Diagnosis: Use multimeter to test phase resistance (between motor wires). Open circuit (infinite resistance) means broken winding. Short (near zero ohms) means internal short.
Fix: Replace motor wheel. No repair possible.
Cost vs. Value: At $350 plus, motor replacement often exceeds scooter value. Time to upgrade?
Inspect Controller and Wiring
The controller processes all signals. If it fails, nothing works.
Common Wiring Issues
- Loose console connector. Causes E1 or E2 codes. Clean and reseat.
- Pinched throttle wire. Check where wires bend near stem.
- Corroded handlebar panel. Moisture ingress kills connections.
Do the Wiggle Test
- Power on scooter (wheels off ground).
- Gently wiggle wires at console, handlebar junction, and motor connector.
- If scooter cuts out, intermittent break found.
Seal any exposed wires with electrical tape or heat shrink.
When to Replace the Controller
Replace if E0 (G5, G6) appears, E4 (MOS fault) persists after battery check, E6 (locked rotor) after motor realignment, or no signal to motor despite good throttle and battery.
Match Specs Exactly: Use OEM or model-specific replacement. Wrong controller means instant damage.
Repair or Replace? Cost vs. Value Guide
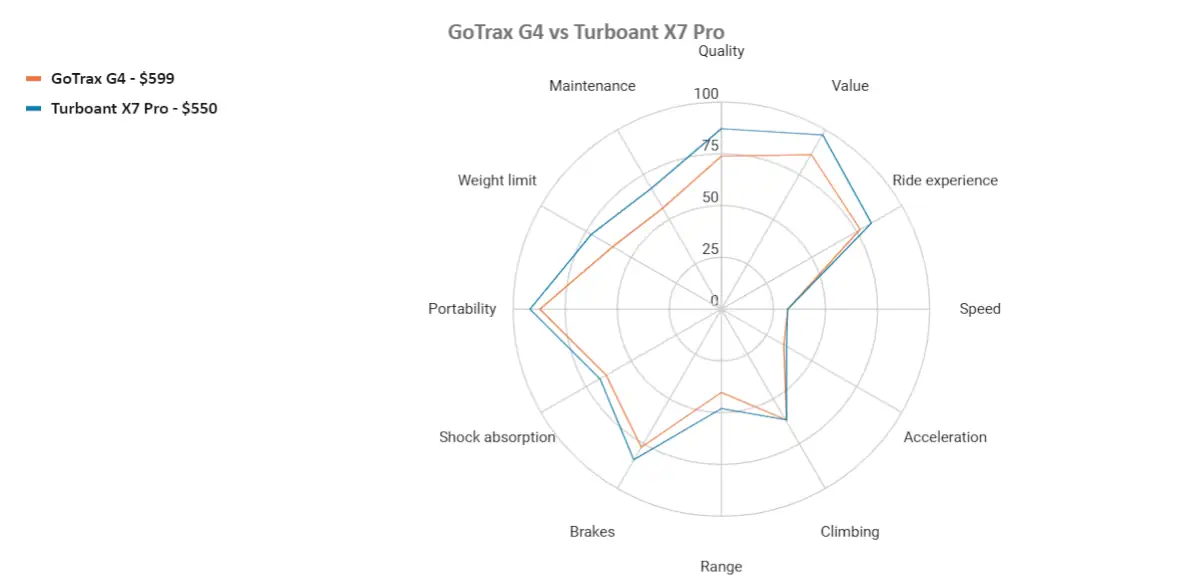
Not every fix makes financial sense.
| Component | Cost | Repair Worth It? |
|---|---|---|
| Battery | $60 to $80 | Yes (extends life 3+ years) |
| Console | $30 to $60 | Yes (easy swap) |
| Throttle | $25 to $40 | Yes (DIY fixable) |
| Brake Lever | $15 to $25 | Yes |
| Motor Wheel | Approximately $350 | Rarely (unless scooter is new) |
| Controller | $80 to $120 | Only if under warranty or high-end model |
Rule of Thumb: If repair cost exceeds 50% of scooter’s current value, buy new.
Prevent Future Acceleration Failures
Keep your Gotrax running smoothly with these habits.
1. Clean Connectors Monthly
Dust and oxidation break signals. Use a dry cloth or contact cleaner.
2. Avoid Water and Pressure Washers
Water intrusion destroys controllers and motors. Wipe with damp cloth only.
3. Maintain 50 PSI Tire Pressure
Under-inflated tires strain the motor and cause premature wear.
4. Store Indoors
Extreme heat or cold ruins batteries. Do not leave outside overnight.
5. Ride Smooth Terrain
Potholes and curbs damage internal components. Stick to paved paths.
Frequently Asked Questions About Gotrax Scooter Acceleration Issues
Why does my Gotrax scooter not move when I twist the throttle?
This could be due to several reasons. The most common causes are brake sensor malfunctions, throttle signal failures, battery voltage sag, or the push-start requirement on GXL models. Start by checking for error codes and verifying if your model requires push-starting.
How do I fix error code E2 on my Gotrax scooter?
Error code E2 indicates a brake lever failure. The system thinks the brake is engaged. First, clean the console-to-battery connector. If the issue persists, inspect the brake lever microswitch for proper operation, adjust cable tension, or replace the brake lever assembly or console.
Why does my Gotrax GXL only work after pushing?
The GXL, GXL V2, and GXL ULTRA models feature a push-start design. You must manually push the scooter to three to five mph before the motor will engage. This is normal operation, not a defect. Once moving, the motor takes over.
Can a dead battery cause acceleration problems?
Yes. A dying battery may power the display but cannot deliver sufficient current under load. If your scooter shuts off immediately when accelerating or only runs while plugged in, the battery likely needs replacement.
How much does it cost to replace a Gotrax motor?
A replacement motor wheel assembly costs approximately $350. Given this high cost, motor replacement often exceeds the value of budget scooters. Consider replacing the entire scooter if the motor fails on older or lower-end models.
How long do Gotrax scooter batteries last?
With proper care, Gotrax batteries last three to five years. Avoid extreme temperatures, overcharging, and deep discharge cycles. Replacement batteries cost $60 to $80 and are the most cost-effective repair for extending scooter life.
Key Takeaways for Fixing Your Gotrax Scooter Acceleration Issues
Most acceleration problems stem from three main sources: brake sensors sending a false “brake engaged” signal, throttle signal failures, or battery voltage sag. Before assuming your motor is dead, work through these systematically. Check for error codes first, then test the push-start requirement on GXL models, followed by brake sensor inspection and throttle voltage testing.
Battery replacement at $60 to $80 offers the best return on investment, often adding three to five years of life to your scooter. Console and throttle replacements are also affordable DIY fixes. However, motor failures at $350 rarely make financial sense for budget models. In that case, upgrading to a newer scooter is more practical.
With a multimeter and 30 minutes, you can diagnose 90% of acceleration issues yourself. Save hundreds by skipping the repair shop and fixing it yourself. Now go ride.



