
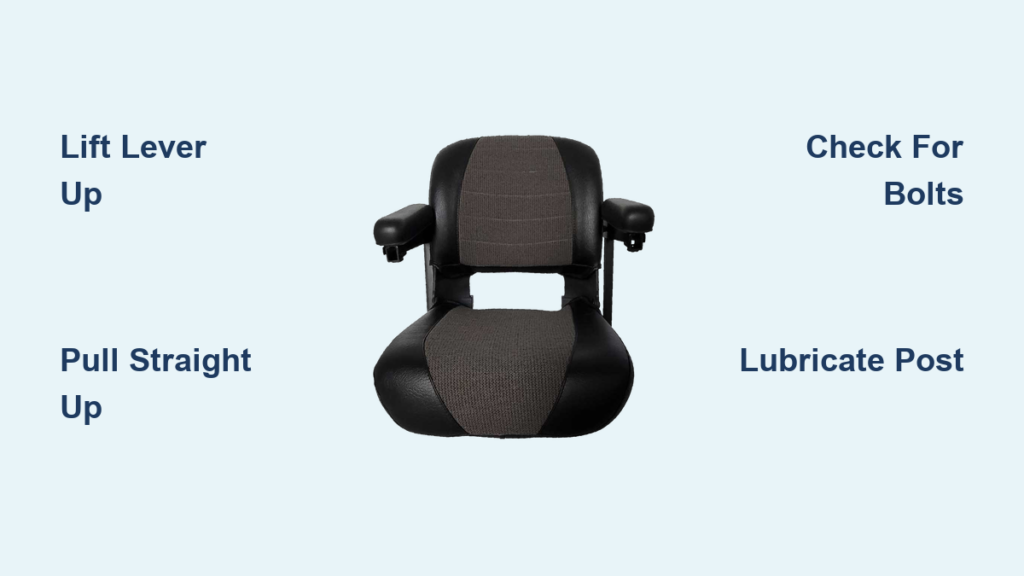
If you’ve ever needed to access the battery compartment, transport your mobility scooter, or replace a worn-out seat, knowing how to remove the seat quickly and safely is essential. The good news is that over 95% of mobility scooters use a standardized post-and-socket system, making seat removal a straightforward process across most brands like Pride, Rascal, Golden Companion, Go-Go, and Buzzaround. While the core mechanism is consistent, small differences in levers, locks, and obstructions can trip up even experienced users. This guide breaks down the universal principles, model-specific steps, and troubleshooting tips so you can remove your scooter seat confidently without damage or frustration.
Whether you’re prepping for travel, performing maintenance, or upgrading your seating, this step-by-step walkthrough covers everything from basic lever operation to dealing with stuck mechanisms and hidden bolts. Let’s get your seat off safely and efficiently.
Identify Your Scooter’s Seat Mechanism Type
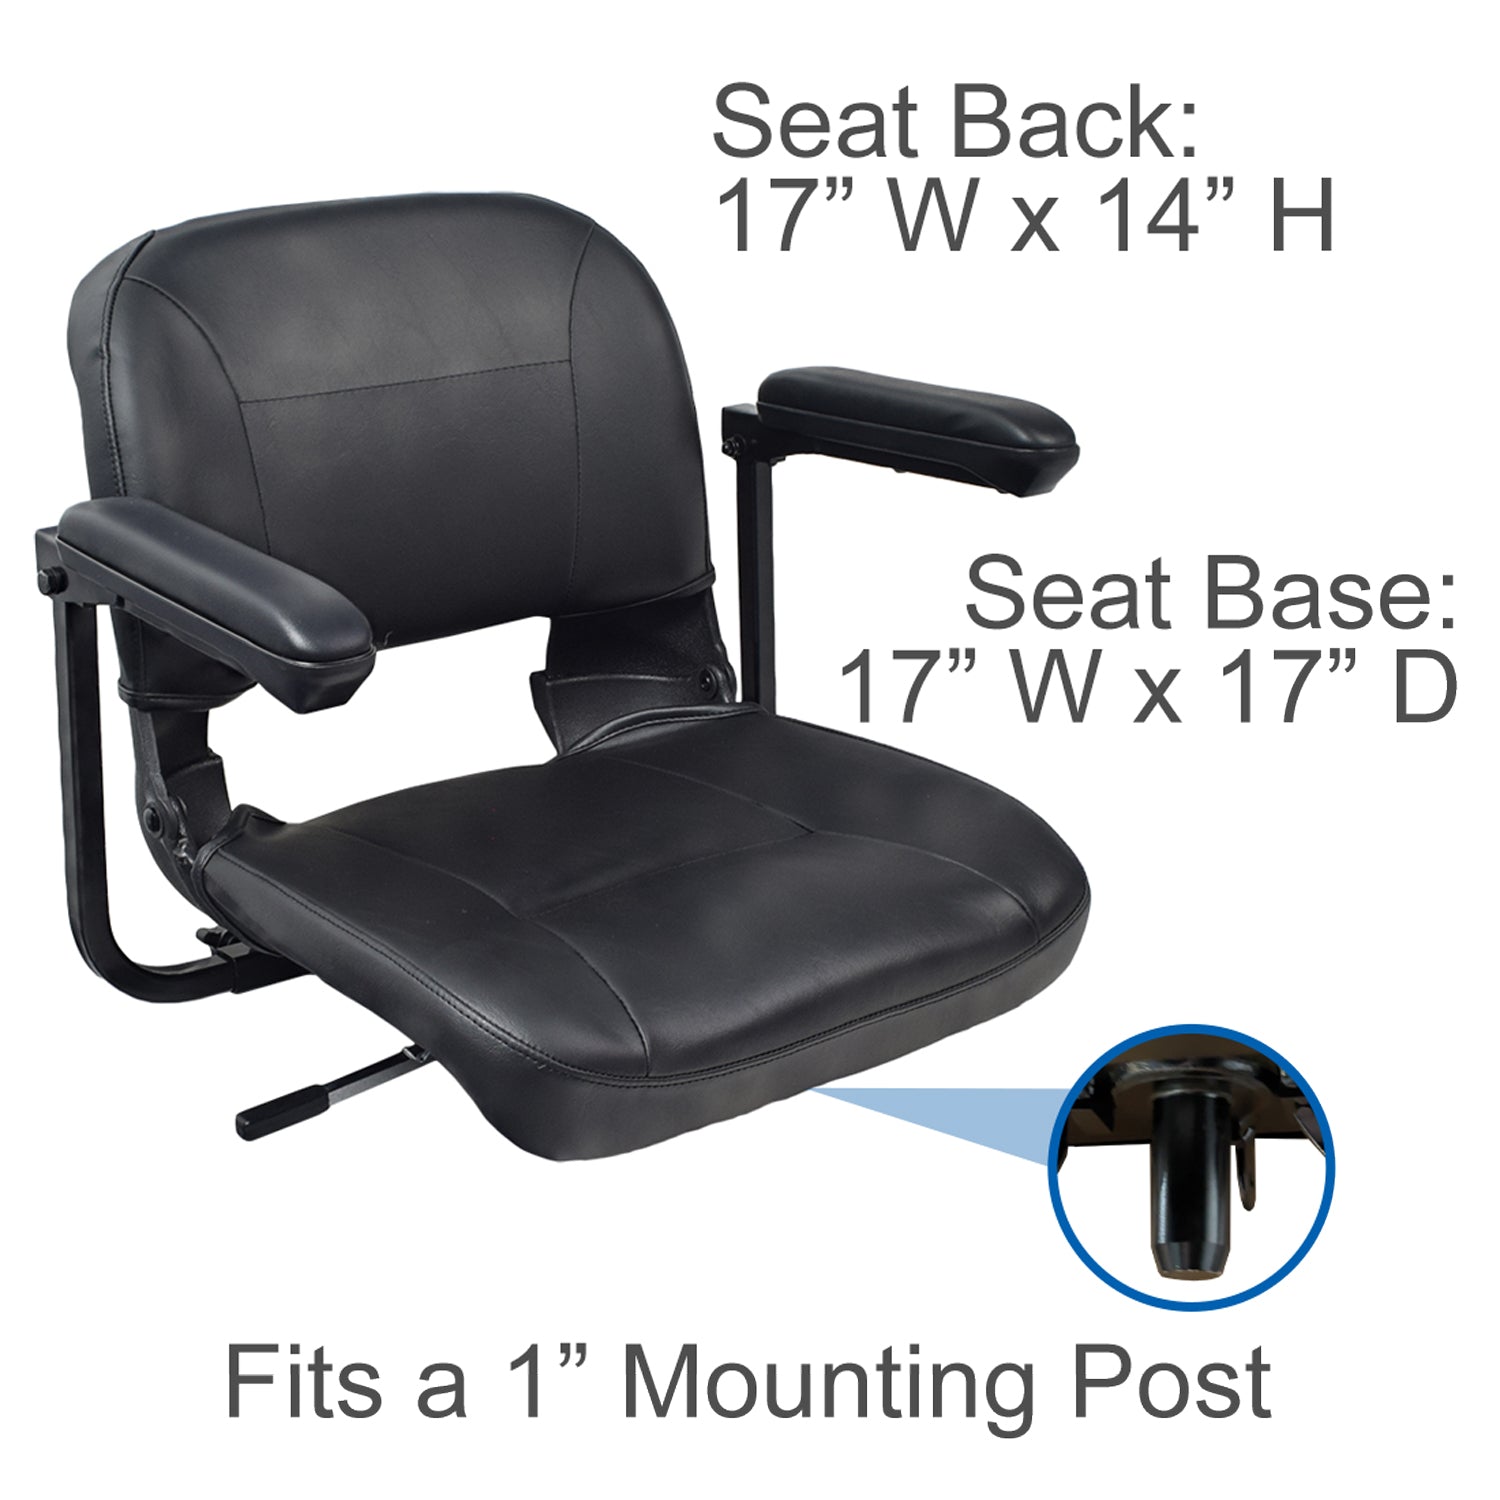
Before applying force, determine your scooter’s seat attachment system. Most fall into one of four categories. Understanding which mechanism your scooter uses saves time and prevents damage.
Post-and-Socket with Lift Lever
This is the most common design. A metal or plastic male post under the seat inserts into a female socket on the frame, held in place by friction and a locking lever.
Look for a lever beneath the front edge of the seat, often near the base. Lift the lever to disengage the lock, then lift the seat straight up. This mechanism is found on Rascal Pioneer, Pride Revo 2.0, and Golden Companion models.
Quick-Release Pin System
Used on lighter models like the Gogo ES2, this system allows height adjustment and tool-free removal.
Look for a knob and pin on the side of the seat post. Loosen the knob, pull out the pin, then lift the seat. This system is also used on older iRide scooters.
Bolted Base System
Found on heavy-duty or older models, this requires tools for removal.
Look for screws or bolts visible under the seat or at the base of the post. Remove bolts with a screwdriver or 10mm socket wrench. Some Buzzaround scooters and vintage models use this system.
Captain’s Seat with Folding Mechanism
Larger scooters may have a reclining captain’s seat that folds before removal.
Look for armrests, backrest release levers, and spring-loaded hinges. Fold seat down, clear armrests, then lift. Models like the Pride Wrangler and Pursuit 2 use this design.
Prepare Safely Before Removing the Seat
Skipping prep can lead to damaged cables, stripped bolts, or injury. Follow these steps first to ensure a smooth removal process.
Power Down and Clear the Area
Turn off the scooter and remove the key. Ensure the scooter is on a flat, stable surface. Remove baskets, bags, or items blocking access to the seat base.
Fold Backrest and Clear Obstructions
Lift the lever on either side of the seat to lower the backrest fully. On Pride Revo 2.0 models, open both under-seat storage bins outward because they block the seat path during removal. For captain’s seats, reposition armrests to allow full folding.
Disconnect Electrical Cables on Power Wheelchairs
On power wheelchairs like the Merits Easy Go Deluxe, locate the joystick cable under the seat. Push the quick-release connector upward to disconnect before lifting. Failing to disconnect can sever the cable and disable controls.
Gather Required Tools
Most models require no tools, but have these ready just in case.
A Phillips or flathead screwdriver, 10mm socket wrench or adjustable wrench, penetrating lubricant like WD-40 or silicone spray, and a flathead tool to pop off plastic covers. Having these on hand prevents trips to the garage mid-job.
Remove Seat from Rascal and Mid-Sized Scooters
Rascal Pioneer and similar mid-sized scooters use a standard lift-lever system with optional slide adjustment. These steps cover the most common scenario.
Operate the Lift Lever
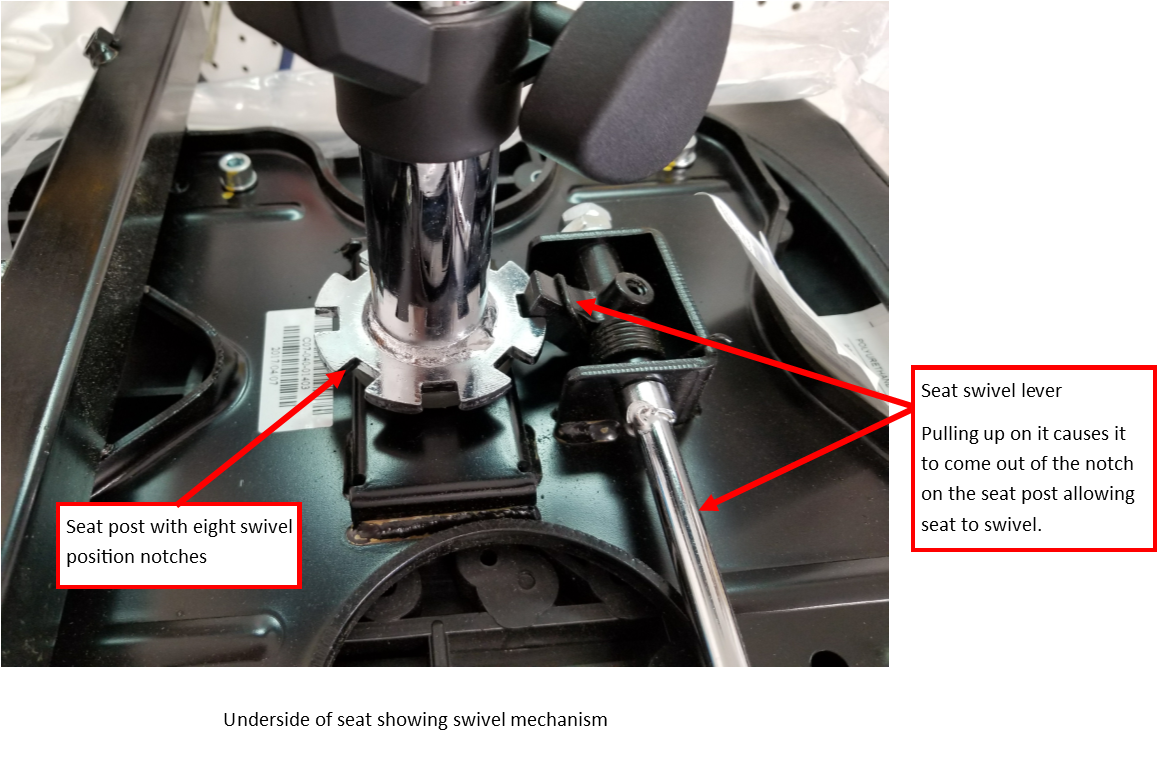
Lower the backrest completely. Grasp the seat handle or front edge. Lift the swivel rotation lever upward. Pull the seat straight up without tilting.
If the seat sticks, apply silicone lubricant to the post and wait 5 minutes. Rocking side-to-side slightly while lifting can help break friction.
Use Frame Storage Hole for Transport
After removal, turn the seat 90 degrees and insert the post into the designated hole on the frame. This keeps the seat secure during vehicle loading and prevents the post from getting bent.
Remove Seat from Pride Mobility Scooters

Pride models vary, so check for hidden obstacles before attempting removal. Each model has specific requirements.
Revo 2.0: Clear Storage Bins First
Open both under-seat bins fully outward. Failure to do so will block the seat during removal and reinstallation. Lift the lever and pull the seat straight up.
Voyager: Remove Hidden Bolts
Pop off the plastic cover under the seat with a flathead screwdriver. Remove two small bolts securing the seat base. Lift the seat straight up after bolt removal.
Captain’s Seat Models (Wrangler, Pursuit 2)
Pull the release handle on the right side. The seat folds down automatically. Reposition armrests if needed. Lift vertically without pulling back. Note that for most Pride models, you do not need to engage the swivel handle to remove the seat.
Remove Seat from Buzzaround and Bolted Models
Buzzaround and some older or heavy-duty models require tools for seat removal. These steps ensure you don’t damage the frame or bolts.
Locate and Remove Fasteners
Check under the seat or at the rear of the base for bolts. Use a 10mm socket wrench or Phillips head to loosen both sides. Do not fully remove one bolt first; loosen both evenly to prevent warping.
Lift with Gentle Twist
Once bolts are loose, try lifting straight up. If stuck, apply a gentle twisting motion while lifting to break friction. Remove bolts completely only if necessary.
Over-tightening during reinstallation can strip threads. Tighten just until snug.
Remove Seat from Gogo ES2 Quick-Release Systems
Gogo ES2 and similar models use a pin-and-knob system instead of a lever. This allows height adjustment and tool-free removal.
Step-by-Step Pin Removal
Locate the adjustment knob and quick-release pin on the seat post. Turn the knob counterclockwise to release tension. Pull the pin straight out. Lift the seat straight up.
Reinstall with Height Adjustment
Align the post with the desired height hole. Insert the pin, then tighten the knob to secure. No swivel lever is used because this system locks rotation via the pin.
Remove Seat from Golden Companion Scooters
Golden Companion scooters follow the standard lever protocol but are prone to mechanism sticking due to infrequent use or corrosion.
Standard Removal Steps
Turn off the scooter and remove the key. Locate the swivel lever at the bottom front of the seat. Pull the lever upward firmly. Lift the seat straight up.
Fix a Stuck Swivel Lever
If the lever won’t budge, check for a secondary lock. Some models have a hidden button near the lever base. Apply lubricant like WD-40 around the lever hinge and post. Wait 10 to 30 minutes. Use gentle force while lifting the lever and apply slight upward pressure on the seat.
Never force the lever violently because this can break the internal mechanism. If still stuck, remove bolts under the seat that secure the cylinder lock as a fallback.
Fix Common Seat Removal Problems
Even with the right steps, issues arise. Here’s how to fix them fast.
Seat Won’t Lift: Stuck by Friction or Rust
Rubber lining in the socket creates a tight grip, and moisture leads to rust. Spray silicone lubricant or WD-40 around the base of the seat post. Wait 5 to 10 minutes for penetration. Grip firmly and lift straight up without tilting.
If still stuck, have a helper tap the side of the post gently with a rubber mallet while you lift. Avoid using metal tools to pry because this damages the frame.
Swivel Lever Won’t Lift
Corrosion, debris, or a secondary lock being engaged can cause this. Inspect visually for a small button or tab near the lever. Lubricate the pivot point with penetrating oil. Combine actions by pulling the lever while applying upward pressure on the seat. Try at different angles by slightly shifting seat position and retrying.
Seat Spins Freely After Reinstallation
The locking lever wasn’t engaged during installation. Remove the seat completely. Lift the swivel lever before reinserting. Drop the seat straight down into the socket. Release the lever to lock it in place.
Test by trying to rotate the seat. If it doesn’t move, it’s locked. If it spins, repeat the process.
Bolts Are Rusted or Stripped
Exposure to rain, snow, or salt causes this. Apply penetrating oil like PB Blaster and wait several hours. Use a socket wrench with extension for better torque. If the head is stripped, use a bolt extractor kit. Replace with stainless steel bolts to prevent future rust.
Reinstall the Seat Properly

A poorly reinstalled seat is a safety hazard. Follow these steps to ensure stability.
Align and Insert Correctly
Position the male post directly over the female socket. Ensure the seat is level; don’t force it at an angle.
Engage the Lock Mechanism
For lever models, lift the lever before inserting, then release it after seating. For pin models, insert the pin and tighten the knob securely. For bolted models, tighten both sides evenly.
Verify Stability
Push down on the seat to ensure it’s fully seated. Listen for a click, which confirms the post is locked. Try to rotate the seat. If it spins, the lock failed and you need to reinstall.
Sit lightly and test stability before full use.
Maintain Seat Mechanism for Easy Removal
Prevent future issues with simple upkeep that takes only a few minutes.
Lubricate Regularly
Every 3 to 6 months, apply silicone spray or light oil to the seat post, swivel lever hinge, and locking pin or bolt threads. Avoid grease because it attracts dirt and grime.
Clean Mounting Area
When the seat is removed, wipe the socket and post with a damp cloth. Dry thoroughly to prevent rust. Inspect for cracks, wear, or deformation.
Document Your Setup
Take phone photos before disassembly, especially for bolted models. Note bolt positions and cable routing. Label bolts with tape if multiple sizes are used.
Safety Tips for Seat Removal and Transport
Keep yourself and your scooter safe during removal and transit.
Never Drop the Seat
Seats are heavy and can scratch or dent the frame. Lower gently when reinstalling or storing on the scooter.
Use Frame Storage Hole When Transporting
On Rascal and similar models, insert the seat post into the frame hole. This prevents movement and protects the socket.
Re-Engage Freewheel Mode After Moving
If you moved the scooter manually in freewheel mode, re-engage the motor lever. Otherwise, the scooter won’t start and may beep or flash error lights.
Frequently Asked Questions About Removing Mobility Scooter Seats
What is the fastest way to remove a mobility scooter seat?
The fastest method is to locate the lift lever or quick-release pin beneath the seat, activate it, and lift straight up. Most scooters use a post-and-socket system that requires no tools.
Do I need tools to remove the seat?
Most models require no tools. However, bolted-base systems like some Buzzaround scooters need a 10mm socket wrench or screwdriver. Check your model before starting.
Why is my seat stuck and won’t lift?
The seat is likely stuck due to rubber friction lining in the socket or rust buildup. Apply silicone lubricant or WD-40, wait 5 to 10 minutes, then lift straight up without tilting.
Can I remove the seat on a power wheelchair myself?
Yes, but you must disconnect the joystick cable first. Locate the quick-release connector under the seat, push it up to detach, then lift the seat.
How do I reinstall the seat correctly?
Align the post over the socket, lift the locking lever if applicable, drop the seat straight down, and release the lever to lock. Verify stability by attempting to rotate the seat.
How often should I lubricate the seat mechanism?
Lubricate every 3 to 6 months with silicone spray or light oil. This prevents rust, sticking, and ensures smooth removal each time.
Key Takeaways for Removing Your Mobility Scooter Seat

Removing a mobility scooter seat is usually simple: lift the lever, pull straight up. However, model-specific quirks like hidden bolts on a Pride Voyager, a stuck lever on a Golden Companion, or a quick-release pin on a Gogo ES2 can complicate things. The key is preparation, proper technique, and patience.
Always disconnect electrical cables on power wheelchairs before removal. Avoid tilting the seat because this causes the post to catch on the rubber lining. Lubricate the mechanism every 3 to 6 months to prevent sticking.
With this guide, you can remove, transport, and reinstall your scooter seat confidently, saving time, money, and frustration while maintaining your scooter’s performance and safety.



