
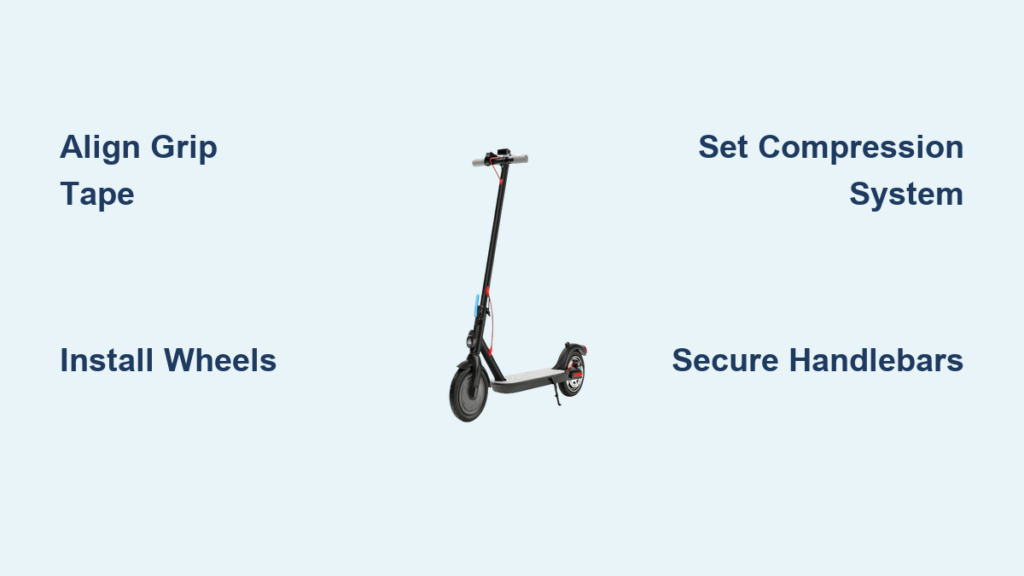
Putting a scooter together can feel overwhelming if you do not know the right steps or which parts actually fit together. Whether you are building a custom freestyle scooter or assembling a basic complete, the process takes anywhere from 15 minutes for a simple completes to over an hour for a custom build. This guide walks you through every phase of how to put a scooter together, from deck preparation and wheel installation to compression systems, handlebar attachment, and final safety checks. You will learn exactly which tools you need, how to avoid compatibility mistakes, and what to check before your first ride.
Prepare the Deck and Apply Grip Tape
A secure grip surface gives you control during tricks and everyday riding. Taking time to apply grip tape correctly prevents slipping and extends the life of your deck.
Align and Cut Grip Tape Properly
Start by flipping your scooter deck upside down. If your grip tape has a logo or design, use the edge of the deck to center the pattern. Mark where the head tube ends on the tape, then draw a straight line across the deck with a ruler to mark your cut line.
Use a box cutter or sharp scissors to cut along the line you drew. Peel the backing off slowly and press the tape down smoothly to avoid air bubbles. Once applied, trace the outer edge of the deck with an Allen key to create a cutting guide, then carefully trim along this outline for clean, flush edges.
Install the Brake and Punch the Hole
Locate the brake slot near the rear of the deck. Use a small Allen key to punch out the pre-marked hole in the grip tape where the brake arm will pass through. Clean up any rough edges with a blade so the brake fits snugly and moves freely.
Reattach the brake mechanism using the bolt provided with your deck. Make sure the brake arm can move without sticking, as a properly installed brake responds quickly and lasts longer.
Install Wheels and Verify Compatibility

Wheels are critical for safety and performance. Installing them incorrectly leads to bearing damage, wobbling, or wheel failure while riding.
Match Wheel Width to Your Fork
Not all wheels fit all forks, and this is where many first-time builders go wrong. Most scooters use 24mm-wide wheels, which fit standard forks rated for 110mm or 120mm diameter wheels. However, 30mm-wide urethane wheels will not fit forks rated for 24mm width. Always check your fork specifications before purchasing wheels.
Attach the Rear Wheel Correctly
If your deck does not have dropouts pre-installed, add the nylon ones first. Insert the axle through one dropout, then flip the deck so the axle extends through the other side. Slide the rear wheel onto the axle, making sure each side has a bearing and an 8mm metal spacer inside the hub.
Without that spacer, tightening the axle crushes the bearings and destroys them. Secure the axle with 5mm or 6mm bolts, depending on your model. After tightening, spin the wheel it should rotate freely with no grinding or wobble. If there is resistance, loosen slightly and recheck the bearing alignment.
Mount the Front Wheel on Standard Models
On basic completes, the front wheel attaches directly to the fork. Align the wheel between the fork dropouts, insert the axle bolt through the hub, and secure it with the nut on the opposite side. Tighten evenly with an Allen key until the wheel spins smoothly without shaking. Stop when there is no play but free rotation, because over-tightening damages bearings.
Choose and Install Your Compression System

The compression system locks your handlebars to the fork. Choosing the right one and installing it correctly is vital for strength, safety, and smooth steering.
HRC Hidden Internal Compression Setup
HRC offers a clean, hidden look with strong performance. You need an HRC-compatible fork, HIC kit, oversized double clamp, and slit handlebars to make this work.
Install the headset with the concave side facing inward, then insert the fork into the head tube. Place a standard compression ring between the fork and headset. Slide the HIC kit over the fork, add the compression cap and bolt, then tighten the bolt to create downward force. The system locks via upward pressure from the head tube base.
Never use non-slit bars with HRC this causes dangerous bar spin and failure. The oversized clamp must fully grip the slit section to work properly.
SCS Standard Compression System Setup
SCS is the most common and reliable system. It works with standard bars that have no slit, or you can use SCS adapters for slitted bars.
Install the headset and insert the fork, then add the standard compression ring. Place the SCS clamp over the fork. If the clamp will not fit over the compression cap, use the coin trick. Remove two bottom clamp bolts, reinstall one bolt to hold the clamp loosely, insert a 20-cent coin between the arms as a temporary spacer, then slowly tighten the opposite bolt. Remove the coin and fully tighten both bolts. Align the clamp straight with the fork and use the one skip one method when tightening cap bolts to prevent misalignment.
Do not use slitted bars without an SCS adapter, or the compression will crack the bars.
IHC Internal Hidden Compression Setup
IHC is slimmer and lighter than HRC, ideal for low-profile builds. This system uses standard-sized bars and requires specific parts: an IHC fork, thick IHC compression ring, IHC shim, and longer compression bolt.
Insert the fork into the head tube and replace the standard ring with the thicker IHC-specific ring to prevent wobble. Slide the IHC shim over the fork, add the headset cap, then insert and tighten the longer IHC compression bolt. The system locks via upward force from the head tube and downward pressure from the cap.
Works with standard bars or aluminum hybrid bars, but hybrid bars need an oversized double clamp. Tap the clamp lightly on the floor to seat it before tightening.
Attach Handlebars and Grips
Handlebars affect your control and comfort. Installing them correctly ensures stability and prevents dangerous spinning while riding.
Secure Grips with Hair Spray
Two methods work for installing grips. For home builds, hair spray is the best option. Spray a small amount inside the grip, slide it onto the bar immediately, then let it dry for 30 to 60 minutes. As it dries, the spray becomes sticky and locks the grip in place.
An air compressor works faster but requires special equipment most people do not have at home.
Match Bar Ends to Bar Material
Bar ends must match your bar type to prevent slippage or damage. Steel chromoly bars need larger steel end caps, while aluminum bars require smaller aluminum caps. Most grip kits include both sizes, so use the correct one for your bars.
Mount Bars to the Clamp
Loosen the clamp bolts but do not remove them. Insert the handlebars fully into the clamp until you hear or feel a click, indicating full seating. Align the front wheel straight with the bars, then tighten the clamp securely.
For adjustable stems, loosen the adjustment knob, set your preferred height, then retighten firmly. Test by rocking the scooter no movement should occur.
Perform Final Safety and Performance Checks

Before riding, verify everything is secure and functioning properly. Skipping this step leads to accidents or part failure.
Run the Perfect Check
Check the compression bolt first. Tighten it by hand with a tool it should be firm but not over-torqued. Too loose causes wobble, and too tight damages bearings. Next, spin both wheels they should rotate freely with no grinding or resistance. The fork, clamp, and bars must be perfectly straight. Finally, gently rock the scooter side to side no play should be felt in the headset or clamp.
Wear Essential Safety Gear
Never ride without protection. A helmet prevents serious head injuries. Knee and elbow pads protect joints during falls. Gloves improve grip and shield your hands.
Test Ride Safely
Step onto the deck with your dominant foot and push off with your other foot. Once moving, place your pushing foot behind the front foot. Turn by leaning your body left or right. Stop by pressing the back foot gently on the brake modern brakes are sensitive, so use light pressure. Practice on flat, dry pavement until you feel confident.
Frequently Asked Questions About Putting a Scooter Together
How long does it take to put a scooter together?
A standard complete takes approximately 15 minutes to assemble. A custom build from scratch takes 20 to 30 minutes for experienced builders, or 30 to 60 minutes for first-time builders.
What tools do I need to put a scooter together?
You need a full set of Allen keys in sizes 4mm, 5mm, and 6mm. A box cutter or sharp scissors is required for trimming grip tape. Hair spray helps secure grips. A 20-cent coin acts as a temporary spacer for SCS clamp installation.
Can I use any wheels with any fork?
No, wheel compatibility matters. Most forks accept 24mm-wide wheels (110mm or 120mm diameter). Thirty-millimeter-wide urethane wheels will not fit forks rated for 24mm width. Always verify your fork supports your wheel size before purchasing.
What happens if I use the wrong bars with my compression system?
Using standard bars with HRC or HIC causes bar spin, which is dangerous. Using slitted bars with SCS cracks the bars under compression. Always match your bars to your compression system requirements.
Do I need a spacer inside my wheels?
Yes, you need an 8mm metal spacer between the bearings inside each wheel hub. Without this spacer, tightening the axle crushes the bearings and destroys them.
Key Takeaways for Putting a Scooter Together

Building a scooter is about precision, compatibility, and safety. Always double-check that your wheels match your fork width, your bars match your compression system, and your clamp fits your bar diameter before tightening anything. The 8mm spacer inside your wheels is not optional skipping it destroys your bearings. Take 15 to 60 minutes to assemble your scooter properly, run the perfect check before riding, and always wear a helmet. With the right tools and attention to detail, your scooter will deliver smooth rides, solid tricks, and long-term reliability.



