
You just unboxed your new Razor scooter or pulled it out of storage, and now you’re staring at a folded frame wondering how to get it ready to ride. The good news? Unfolding a Razor scooter is designed to be quick and tool-free, once you know the right steps. But if you’ve ever struggled with a stiff hinge or a handlebar that won’t lock, you’re not alone.
This guide walks you through the exact steps to unfold any standard Razor scooter, explains why problems occur, and shows you how to fix common issues using simple tools. Whether you’re a parent assembling for a child or a commuter troubleshooting a jam, this breakdown ensures you get rolling fast.
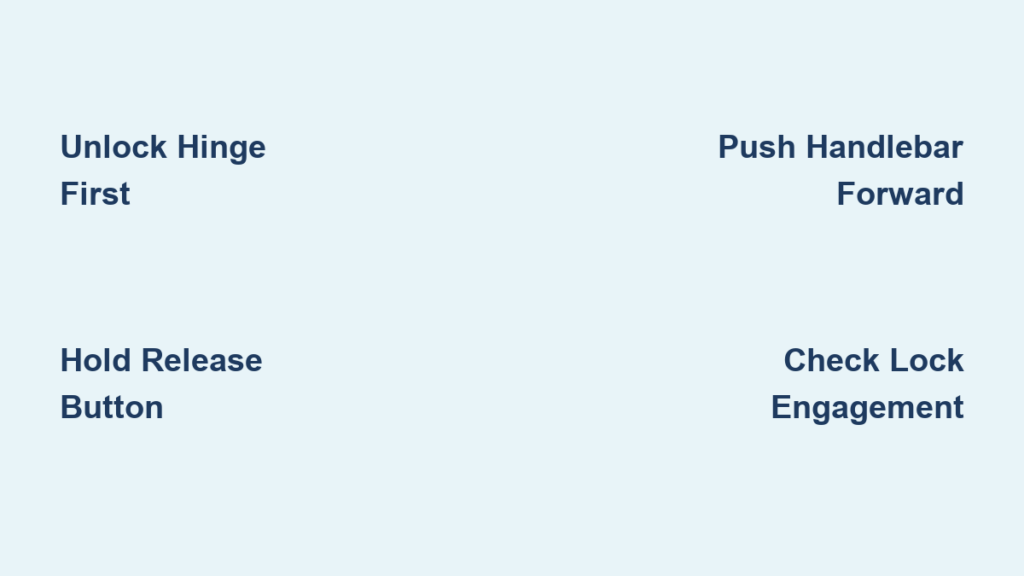
Unlock the Hinge Mechanism

Before raising the handlebar, you must release the locking system at the base of the stem. This is where most users make their first mistake, trying to force the handlebar up without unlocking the hinge first.
Push the Metal Hinge Outward
Locate the metal hinge at the bottom of the handlebar stem where it connects to the deck. With your hand, push this hinge outward, away from the scooter’s centerline. This action disengages the internal latch and allows movement. On new scooters, this may require firm pressure due to factory-tight tolerances.
Align the Hinge for Extension
After pushing it out, gently pull the hinge back into alignment with the scooter’s frame. This neutral position prepares the mechanism for the next step. If the hinge is misaligned or stuck, the handlebar won’t extend properly, even if the release button is pressed.
Pro Tip: If the hinge feels stiff, wiggle it slightly while applying outward pressure. Avoid using tools unless necessary, as metal components can bend or strip.
Engage the Release Button
Now that the hinge is unlocked, activate the internal release system. This step is critical and often overlooked.
Press and Hold the Release Button
Find the small release button near the hinge assembly. It’s usually recessed to prevent accidental unfolding during use. Press and hold this button down firmly with your thumb or finger. Do not release it until the handlebar is fully extended and locked.
Common Mistake: Letting go of the button too early causes the mechanism to re-engage mid-motion, leaving the scooter in a partially unfolded, unsafe state.
Extend the Handlebar Fully
With the button held down, raise the handlebar into riding position.
Push Forward Firmly
While holding the release button, use your other hand to push the handlebar forward, toward the front wheel. This motion engages the internal linkage and extends the stem upward.
Use a decisive, firm push. Hesitation can prevent full lock engagement. Continue pushing until you hear or feel a distinct click, indicating the handlebar has locked into place.
Confirm Full Lock Engagement
After the click, gently try to wobble the handlebar side to side. There should be no play or movement at the stem joint. The folded section should sit flush against the deck.
Success Signal: A rigid, wobble-free stem means the scooter is safe to ride.
Troubleshoot a Stuck Scooter
Sometimes, even with correct technique, the scooter refuses to unfold. This is typically not a structural failure but a mechanical blockage in the internal folding system.
Why Won’t It Unfold?
Most sticking issues stem from one of three causes.
The release button isn’t fully depressed. The hinge is misaligned. The pop pin inside the deck is stuck or shifted. If the lever moves but nothing happens, the problem is likely internal, not user error.
Access the Internal Mechanism
When standard unfolding fails, access the internal components. This repair takes under two minutes with basic tools.
Remove the Cover Plate
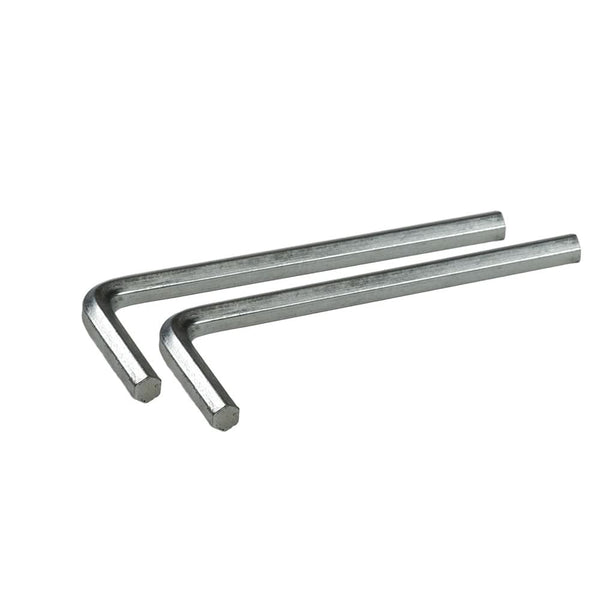
On the side of the deck near the hinge, locate a small cover plate secured by a single screw. Use a hex key (Allen wrench) to remove this screw. Standard screwdrivers won’t fit.
Set the screw aside safely. Carefully lift off the cover plate to expose the pop pin and central linkage.
Tool Note: Most Razor scooters use a 3mm or 4mm hex key. Keep one in your repair kit.
Extract the Pop Pin
Inside the housing, you’ll see a small spring-loaded metal pin. This is the pop pin, the heart of the folding mechanism.
Use a small flathead screwdriver or your fingers to gently push the pin out of its housing. Once removed, the internal linkage is freed.
Why This Works: A shifted or stuck pop pin blocks the central lever from moving. Removing it bypasses the jam.
Use the Manual Override
If the pop pin is damaged, missing, or won’t stay in place, you can still fold and unfold the scooter manually without replacement.
Pull the Side Pins Outward
Locate the side pins on either end of the hinge mechanism. These are separate from the pop pin.
With both hands, pull both side pins outward, toward the wheels. This disengages the locking system completely.
Fold or Unfold by Hand
With the pins pulled, manually lower or raise the handlebar. To secure it open, ensure the stem is fully extended and aligned. For transport, fold it down and store securely.
Best For: Long-term use when the original mechanism is broken. Prevents damage to car roofs or bags during transit.
Replace a Damaged Pop Pin

A bent, broken, or lost pop pin is easy to fix and doesn’t require buying a new scooter.
Get a Replacement Spring Pin
Visit any hardware store and ask for a small spring pin (also called a roll pin) that matches the diameter and length of the original.
Typical size is approximately 2mm diameter and 15-20mm long, with stainless steel being the preferred material for durability.
Hack: A small nail or cotter pin can work temporarily, but a proper spring pin ensures smooth operation.
Reinstall or Skip Reassembly
If repairing fully, insert the new pop pin into the housing and test the lever action. If using manual override, do not reinstall the pin. Leave it out and use the side-pin method going forward.
Warning: Never ride with a loose or partially inserted pop pin. It could shear off mid-ride.
Prevent Future Folding Issues
A little maintenance keeps your Razor scooter folding smoothly for years.
Clean Debris Regularly
Dirt, sand, and grime are the top causes of sticking mechanisms.
Every few weeks, remove the cover plate and inspect the pop pin area. Blow out dust with compressed air or wipe with a dry cloth. Avoid lubricants like WD-40. They attract more dirt over time.
Check Alignment After Impacts
Drops or hard landings can knock the hinge out of alignment.
After a fall, verify the hinge sits flush and moves freely. Misalignment prevents the release button from engaging the internal lever.
Store Properly When Folded
Always lock the scooter in the folded position using the side pins or original latch.
This prevents accidental unfolding in bags or trunks and reduces stress on the hinge during transport.
Key Takeaways for Unfolding Your Razor Scooter
Mastering the push-hold-push technique and knowing how to access the internal pop pin lets you resolve nearly any unfolding issue. Most problems aren’t broken parts but minor jams that a quick hex-key fix resolves. Keep this guide handy, perform routine checks, and your scooter stays ride-ready whenever you are.
Frequently Asked Questions About Unfolding a Razor Scooter
Why won’t my Razor scooter unfold even though I’m pressing the button?
The release button must remain fully depressed throughout the entire unfolding motion. If you release it too early, the mechanism re-engages and blocks the handlebar from extending. Also check that the metal hinge is pushed outward first. Without releasing the hinge, the internal latch stays locked.
How do I fix a stuck folding mechanism on my Razor scooter?
Remove the cover plate on the side of the deck using a hex key. Inside, you’ll find a small spring-loaded pop pin that may have shifted or stuck. Push the pin out with a screwdriver to free the linkage. This usually resolves the jam within minutes.
Can I unfold my Razor scooter without the release button working?
Yes. Pull both side pins outward toward the wheels to disengage the locking system entirely. You can then manually raise or lower the handlebar. This manual override works as a permanent solution when the original mechanism is damaged.
What tools do I need to repair a broken pop pin?
A hex key (Allen wrench), typically 3mm or 4mm, removes the cover plate. A small flathead screwdriver helps extract the pop pin. Replacement spring pins are available at any hardware store for a few dollars.
How often should I clean my Razor scooter’s folding mechanism?
Inspect and clean the mechanism every few weeks if you ride regularly. Remove the cover plate, blow out dust with compressed air, and wipe away debris. Avoid oil-based lubricants since they attract dirt and cause sticking.
Is it safe to ride with a manually overridden folding mechanism?
Yes, as long as the handlebar is fully extended and locked into place. The manual override bypasses the spring pin but doesn’t affect the structural integrity of the stem. Just verify there’s no wobble before riding.



