
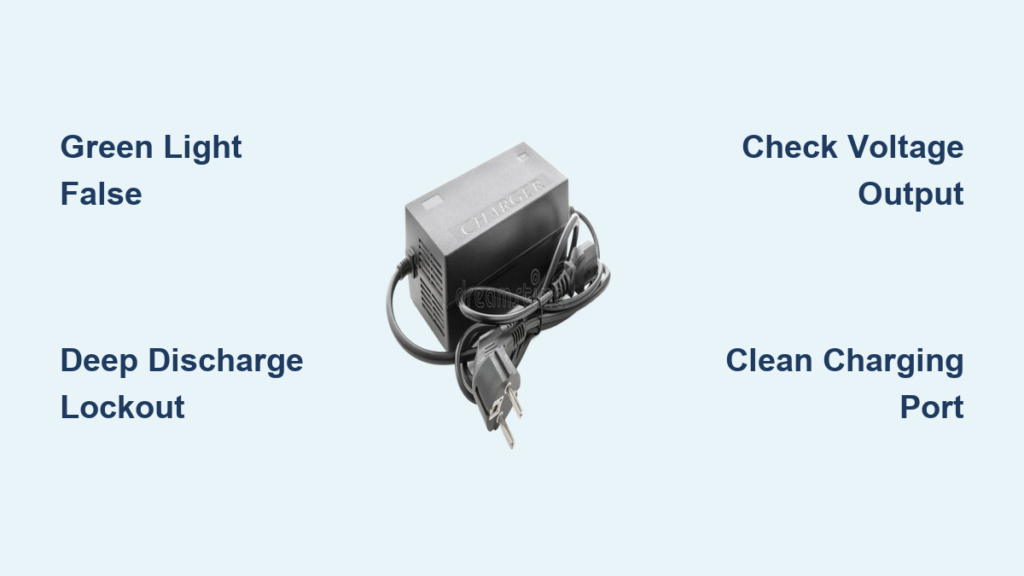
You plug in your electric scooter after a long ride, expecting the familiar red light to signal a charging session. Instead, the charger immediately glows green, supposedly “fully charged,” but the battery is clearly dead. The scooter won’t power on, and no amount of unplugging and retrying seems to help. This frustrating issue, known as electric scooter charger stays green but not charging, is more common than you might think, and it does not always mean your battery is beyond repair.
The green light typically indicates a full charge or float mode, but when it appears with a low battery, it is a false signal. This means the charger is not delivering power due to a breakdown in communication between the battery, charger, or internal circuitry. The root cause could be a deeply discharged battery, a faulty charger, damaged wiring, or a protective lockout from the Battery Management System (BMS). Left unresolved, this issue leaves your scooter unusable and risks permanent battery damage.
In this guide, you will learn how to diagnose the exact reason your charger turns green prematurely, step-by-step troubleshooting methods using simple tools, and proven fixes, from basic cleaning to advanced bypass techniques. Whether you are a casual rider or a hands-on tinkerer, this comprehensive walkthrough will help you get back on the move safely and efficiently.
Decode What the Green Light Really Means
Why Green Does Not Always Mean Fully Charged
A solid green light usually means one of three things: the battery is fully charged, the charger is not detecting a load, or a fault has stopped charging. When your scooter was recently in use and clearly low on power, immediate green equals no charging occurring. This is not normal operation. It is a symptom of failure.
The key indicators to watch for include true full charge (green appears after several hours of red charging), false green (green lights up within seconds even with a dead battery), and flickering green or red (indicates an unstable connection or repeated charging attempts that fail). If the light never turns red, the charger is not entering bulk charging mode. That is your first clue: something is blocking current flow.
Warning Signs: Clicking, Flickering, and Hot Components
An audible clicking sound from the charger, especially with a blinking or stuck green light, signals internal cycling. The charger powers on, detects a fault (like high resistance or a short), shuts down, then retries over and over. This often points to a failing MOSFET or transistor inside the charger, flux residue causing intermittent shorts, or a deeply discharged battery that cannot accept current.
Stop using the charger immediately if it clicks. Continuous cycling can overheat components and create a fire hazard. Other warning signs include flickering lights when wiggling the plug, a burning smell from the charger, or the charger becoming excessively hot to the touch.
Test the Battery Voltage and BMS Status
Check for Deep Discharge Lockout
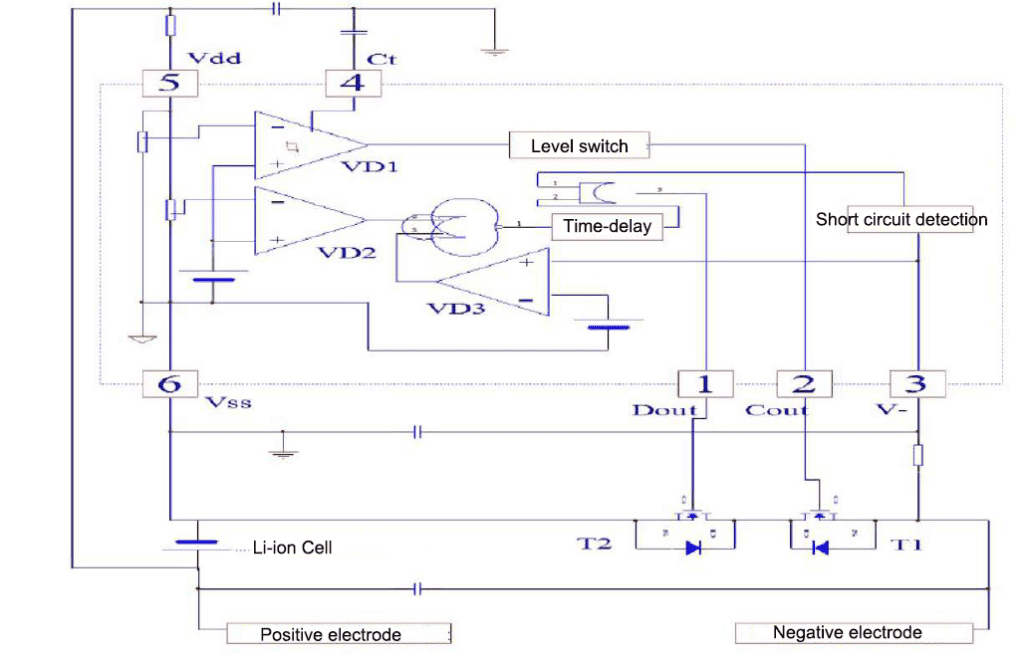
Lithium-ion batteries have a built-in Battery Management System (BMS) that cuts off power if voltage drops too low, typically below 3.0V per cell. If you left your scooter at 0% for weeks, the BMS may have triggered deep discharge protection, disconnecting the circuit.
To the charger, this looks like an empty wire (open circuit), so it defaults to green, assuming the battery is full or absent. Symptoms of BMS lockout include the scooter will not turn on, the charger shows green instantly, no red light ever appears, and voltage is below the safe minimum.
| System Voltage | Min Safe Battery Voltage | Critical Failure Threshold |
|---|---|---|
| 24V | >20V | <20V |
| 36V | >30V | <30V |
| 48V | >39V | <39V |
| 52V | >42V | <42V |
| 72V | >60V | <60V |
Use a multimeter to check voltage at the charging port or battery terminals. If it is below the threshold, the BMS is likely in sleep mode.
Try the 24-Hour Trickle Charge Method
Some deeply discharged batteries can be revived by leaving the charger connected for 24 to 72 hours. The charger may slowly push a tiny current, gradually raising the voltage enough for the BMS to re-engage.
To try this method, plug in the charger and leave it connected. Charge in a safe, fire-resistant area such as outdoors or on concrete. Do not leave unattended near flammable materials. Check every few hours for heat, swelling, or smoke.
If after 48 hours there is no change in voltage or the scooter still will not power on, the battery may be permanently locked or damaged.
Reset the BMS Manually
Some scooters allow a manual BMS reset by disconnecting the battery. First, remove the battery pack if accessible. Then locate the main power wires (usually thick red and black). Disconnect them for 5 to 10 minutes. Finally, reconnect and attempt charging.
This forces the BMS to reboot and may clear a false lockout. Always wear insulated gloves and avoid shorting the terminals.
Diagnose Charger Output With a Multimeter

Measure No-Load Voltage
A working charger should output a higher voltage than the battery nominal rating when unplugged from the scooter. Use a multimeter to test this.
Set the multimeter to DC voltage (200V range). Plug the charger into the wall but not the scooter. Touch the red probe to the inner pin and the black probe to the outer sleeve. Read the voltage.
Expected no-load outputs include 24V scooter requiring approximately 29V, 36V scooter requiring approximately 42V, 48V scooter requiring approximately 54V, 52V scooter requiring approximately 58.8V, and 72V scooter requiring approximately 84 to 88V.
If the reading is 0V or significantly lower, the charger is faulty and needs replacement.
Watch for Voltage Drop Under Load
Even if the charger shows correct voltage alone, it may fail when connected to the scooter. Test this by measuring voltage at the charger plug with no load first. It should be normal. Then plug into the scooter and measure again. If voltage drops to 0V or very low, the charger cannot handle the load.
This indicates internal failure, often a blown capacitor or MOSFET. Replace the charger.
Inspect Physical Connections
Clean the Charging Port
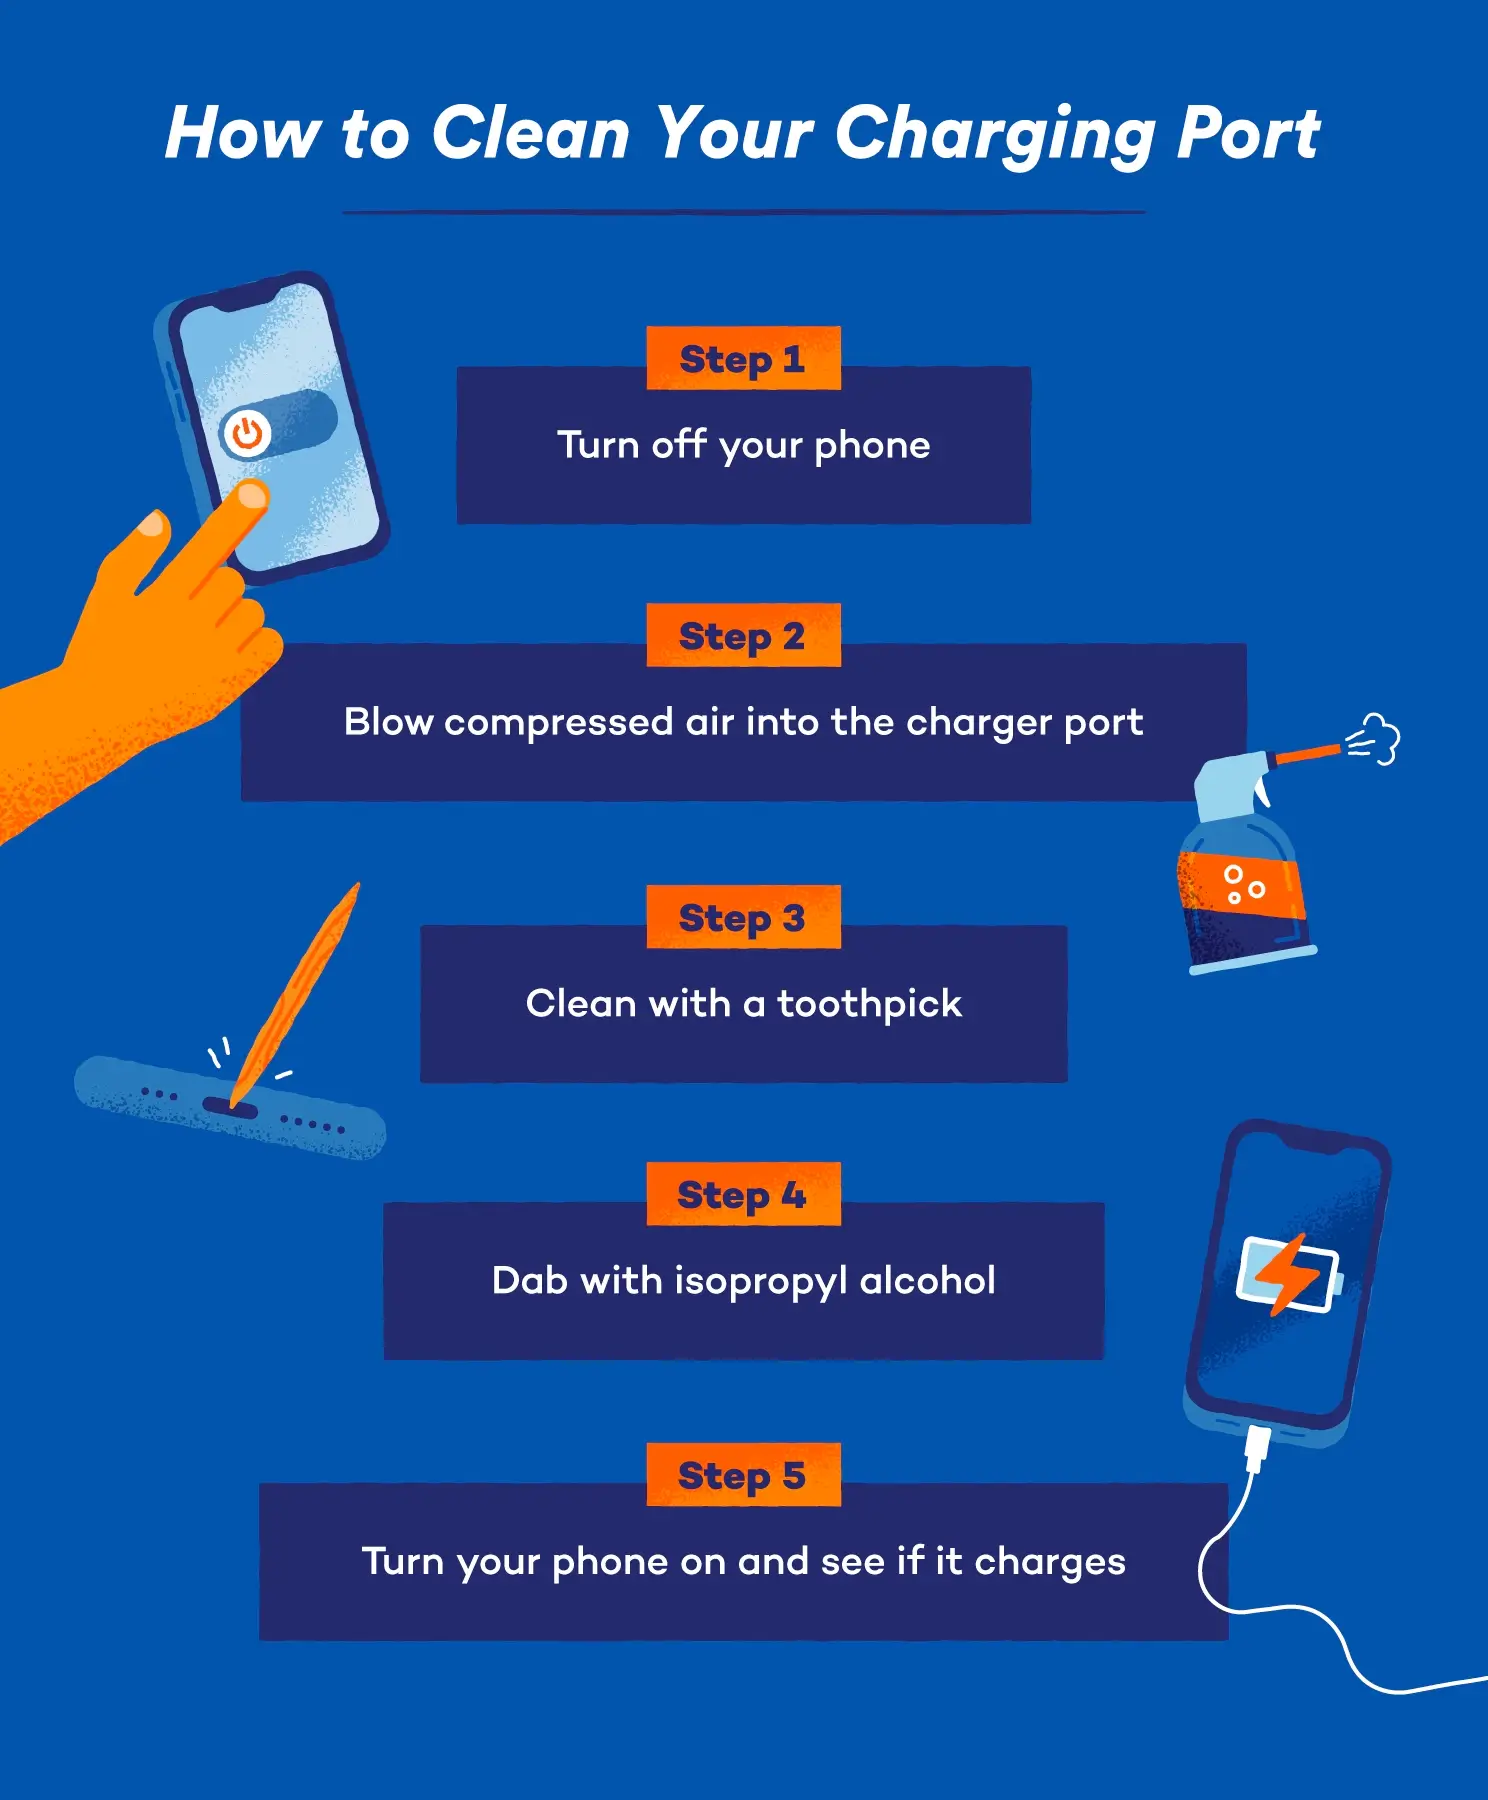
Dust, dirt, moisture, or corrosion in the charging port can prevent proper contact, creating a high-resistance connection that mimics a “full” or “no load” state.
To clean the port, power off the scooter and unplug the charger first. Use compressed air to blow out debris. For grime, use a cotton swab dipped in 99% isopropyl alcohol. Let it dry completely before charging.
Avoid metal tools because they can bend pins or cause shorts.
Check for Bent or Damaged Pins
Visually inspect both the scooter port and the charger plug. Look for a bent center pin, flattened or corroded outer sleeve, or melted plastic (sign of overheating).
If pins are bent, gently straighten with non-conductive tweezers. If melted or severely damaged, replace the port.
Perform the Wiggle Test for Loose Wiring
With the charger plugged in, gently wiggle the plug at the scooter end. Watch the charger light.
If it flickers between green and red, you have a loose internal wire, a broken strand inside the cable, or a failing solder joint in the port. This intermittent connection stops steady charging and must be repaired.
Test Internal Wiring and Controller
Check Voltage at the Charging Port
Even if the charger works, power might not reach the battery. Test this by plugging the charger into the scooter. Measure voltage at the charging port terminals. Compare to the charger no-load output.
If full voltage is present, power reaches the port and the issue is the BMS or battery. If voltage is 0V or low, there is a break in the wiring or the controller is blocking flow.
Trace the Wire Path for Breaks
Disconnect power and use a multimeter in continuity mode. Probe from charging port terminals to the battery or controller connector. Listen for a beep indicating a complete circuit.
No beep means there is a broken wire inside insulation, a loose crimp or disconnected terminal, or a damaged charging port harness. Repair by resoldering or replacing the wire.
Bypass the Controller (Advanced Users Only)
In some scooters, the charging circuit runs through the main controller. If the controller is damaged, it can block charging even if everything else works.
To perform a bypass test, disconnect the battery. Identify the main charge input wires. Connect the charger directly to battery terminals (match polarity carefully). Observe the charger light.
If it turns red and charges, the fault is in the scooter’s wiring, port, or controller. If it still shows green, the charger or battery is faulty.
Warning: This risks short circuits. Insulate all connections and double-check polarity. Only attempt this if you have electrical experience.
Replace Faulty Components
Swap in a Known-Good Charger
The fastest way to isolate the problem is to test with a compatible, working charger. Ensure the same voltage (within 1V is acceptable), same or higher amperage, and correct plug type.
If the new charger turns red and charges normally, your original charger is defective.
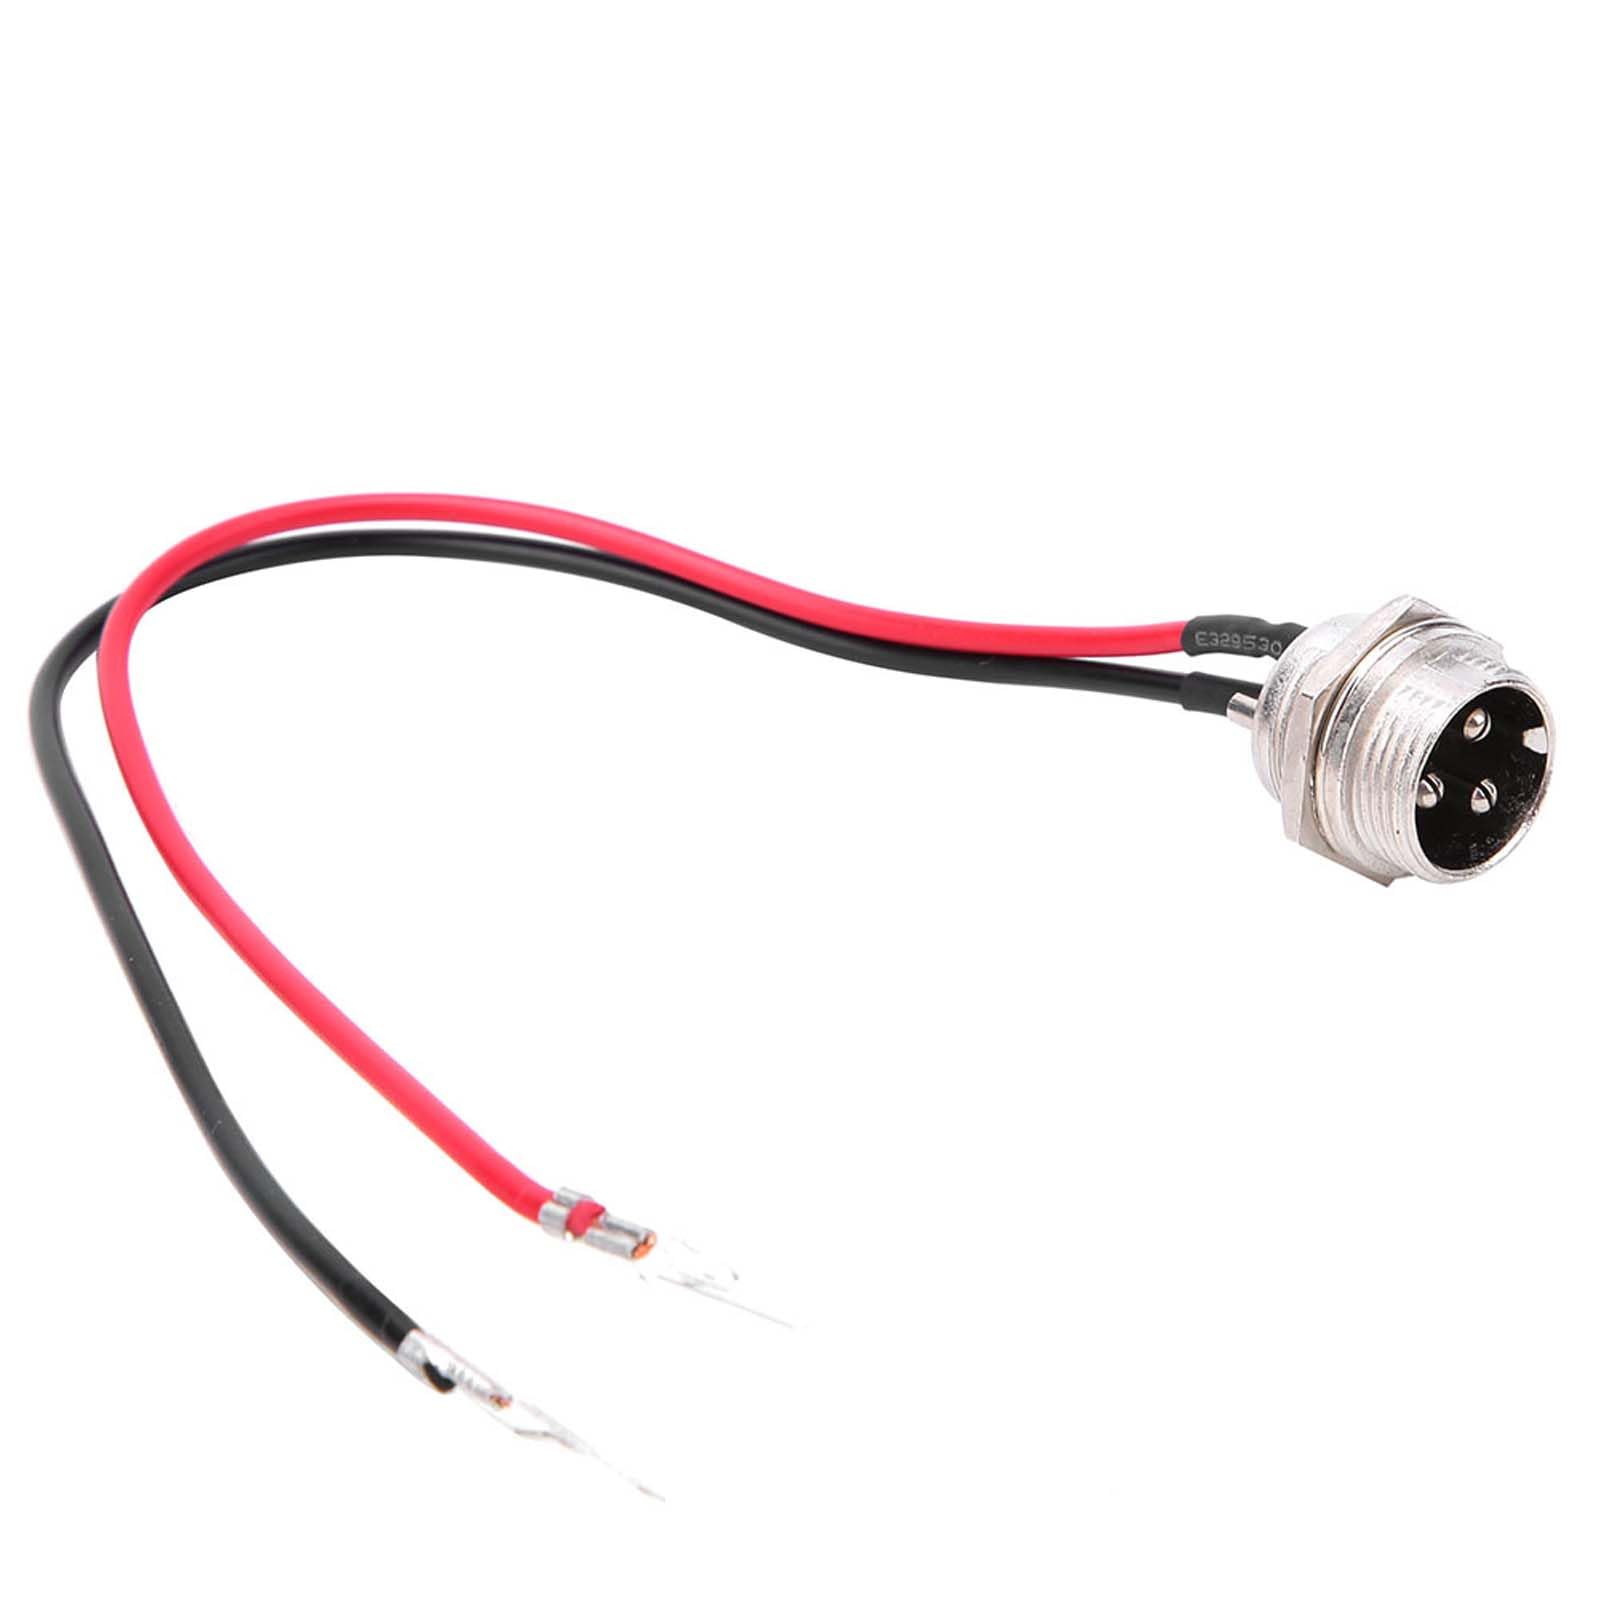
Install a New Charging Port
If the port is damaged or loose, open the scooter deck. Desolder old port wires. Solder in a new 3-prong DC jack (OEM or generic match). Secure and reassemble.
Costs typically range from $5 to $15. Time required is 20 to 40 minutes.
Replace a Faulty Controller
If diagnostics confirm the controller is blocking charge (no voltage output from controller to battery during charging), replace it. Universal controllers like SPD-24500B (24V) or KT72-300 (72V) can be wired in, but this requires matching voltage and phase count, correct wiring sequence, and soldering skills.
Only attempt this if you have electrical experience.
Prevent Future Charging Failures
Charge Before Battery Reaches 20%
Never let your scooter drop to 0%. Lithium batteries degrade faster when deeply discharged. Recharge when battery hits 20 to 30% to extend lifespan and avoid BMS lockout.
Store at 50 to 70% Charge
If storing for more than two weeks, charge to 50 to 70%. Recharge every 30 days. Keep in a cool, dry place.
This prevents deep discharge during storage.
Protect From Moisture and Dust
Use a scooter cover when parked outside. Wipe down the deck and port weekly. Avoid riding through deep puddles.
Moisture accelerates corrosion and connection issues.
Use OEM or Matched Chargers
Third-party chargers may lack proper voltage regulation, trigger false full-charge signals, or damage the BMS over time. Always use the manufacturer-recommended charger or a high-quality equivalent with matching specs.
Final Thoughts on Fixing a Green Light Charging Issue
A green light on your electric scooter charger does not always mean “fully charged.” When it appears with a dead battery, it is a warning sign, often due to BMS lockout, charger failure, or wiring issues. By following these diagnostic steps, you can identify the root cause and apply the right fix, from simple cleaning to component replacement.
Prioritize safety throughout the process. Never force charge a swollen battery, and always verify connections before powering on. With proper care and regular maintenance, you can prevent this issue and keep your scooter running reliably for years.
Frequently Asked Questions About Electric Scooter Charger Stays Green But Not Charging
Why does my electric scooter charger stay green immediately?
This usually indicates the charger is not detecting the battery or the BMS has triggered deep discharge protection. The charger assumes the battery is full or absent, so it shows green. Check your battery voltage with a multimeter to confirm.
Can a deeply discharged battery be revived?
Yes, sometimes. Try leaving the charger connected for 24 to 72 hours in a fire-safe location. If the voltage rises and the BMS re-engages, the battery may recover. If not, the battery likely needs replacement.
Is it safe to use a third-party charger?
Third-party chargers may work but often lack proper voltage regulation and BMS compatibility. Using the OEM charger is always recommended to avoid triggering false full-charge signals or damaging the BMS.
How do I know if my charger is faulty?
Test the charger with a multimeter. If it shows 0V or significantly below expected output when unplugged from the scooter, the charger is defective. Also listen for clicking sounds, which indicate internal component failure.
Can I fix a loose charging port myself?
Yes. Clean the port with compressed air and isopropyl alcohol first. If the issue persists, replace the port by desoldering the old one and installing a new 3-prong DC jack. This takes 20 to 40 minutes with basic tools.
When should I replace the battery instead of repairing it?
Replace the battery if it shows signs of swelling, leaking, or if voltage remains below the critical threshold after attempting BMS reset and trickle charge. A damaged lithium battery poses a fire risk and should not be used.



