
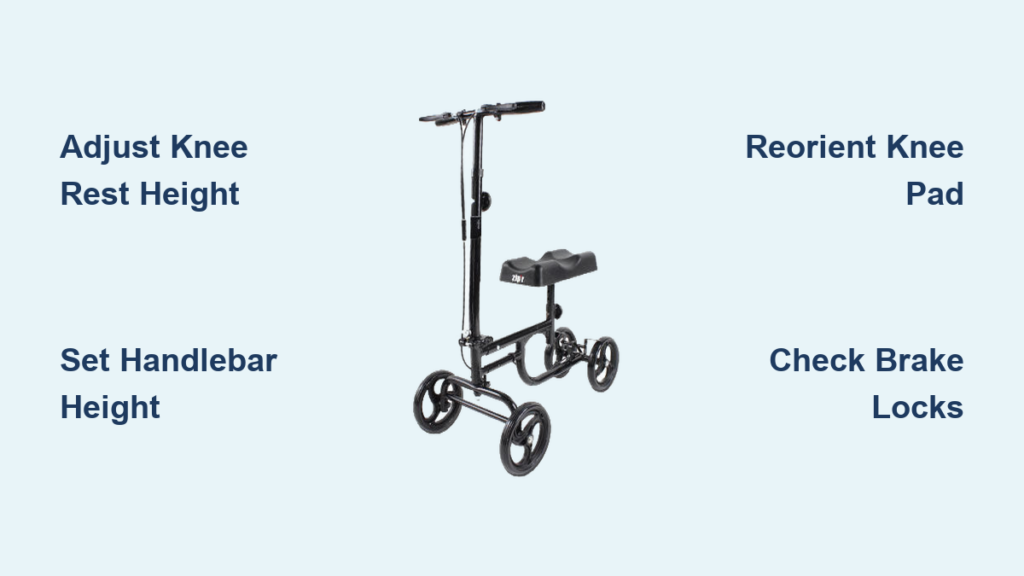
If you’re recovering from a foot, ankle, or lower leg injury, a knee scooter can be a game-changer, offering mobility without putting weight on your injured limb. But to use it safely and comfortably, knowing how to adjust a knee scooter properly is essential. Poor adjustments can lead to back strain, knee pressure, instability, or even falls. This guide walks you through every critical adjustment, from knee rest height to handlebar positioning, so you can move with confidence, control, and comfort.
Whether you’re using a standard model or a specialty scooter like the Swivelmate, correct setup starts before your first ride. With just a tape measure, a stable surface, and a few minutes, you will optimize your scooter for your body and recovery needs.
Gather Tools and Check Safety
Before making any changes, gather what you will need. A tape measure is essential for precise height readings. You will also need a sturdy chair or counter to hold while standing. Optional helpers can assist with measurements and stability.
Ensure the scooter is on a flat, non-slip surface. Engage the brakes fully by pushing or squeezing the brake levers until they click or lock. This prevents accidental movement during adjustment. Always consult your user manual, as locking mechanisms and adjustment types vary by brand and model.
Inspect for Damage
Check the following before each use. Look at the wheels for cracks or wobbling. Test the brakes for smooth engagement and release. Inspect frame joints for looseness or corrosion. Examine the knee pad and handlebar grips for wear or slipping.
If any part feels unstable or damaged, do not use the scooter until repaired.
Set Knee Rest Orientation
The knee rest must face the correct direction based on which leg is injured. Proper orientation prevents your good foot from hitting the frame and improves balance significantly.
For right leg injuries, turn the knee pad to face right. For left leg injuries, turn the pad to face left. Some models, like the Swivelmate, have labeled pads or quick-release mechanisms for easy switching.
Reorient the Knee Pad
Unlock the knee rest mechanism using the lever, knob, or pin. Remove the post if required by your model. Rotate the pad to the correct side. Reinsert and secure the post firmly.
Test the position by standing beside the scooter. Your uninjured foot should swing freely without hitting the frame.
Adjust Knee Rest Height
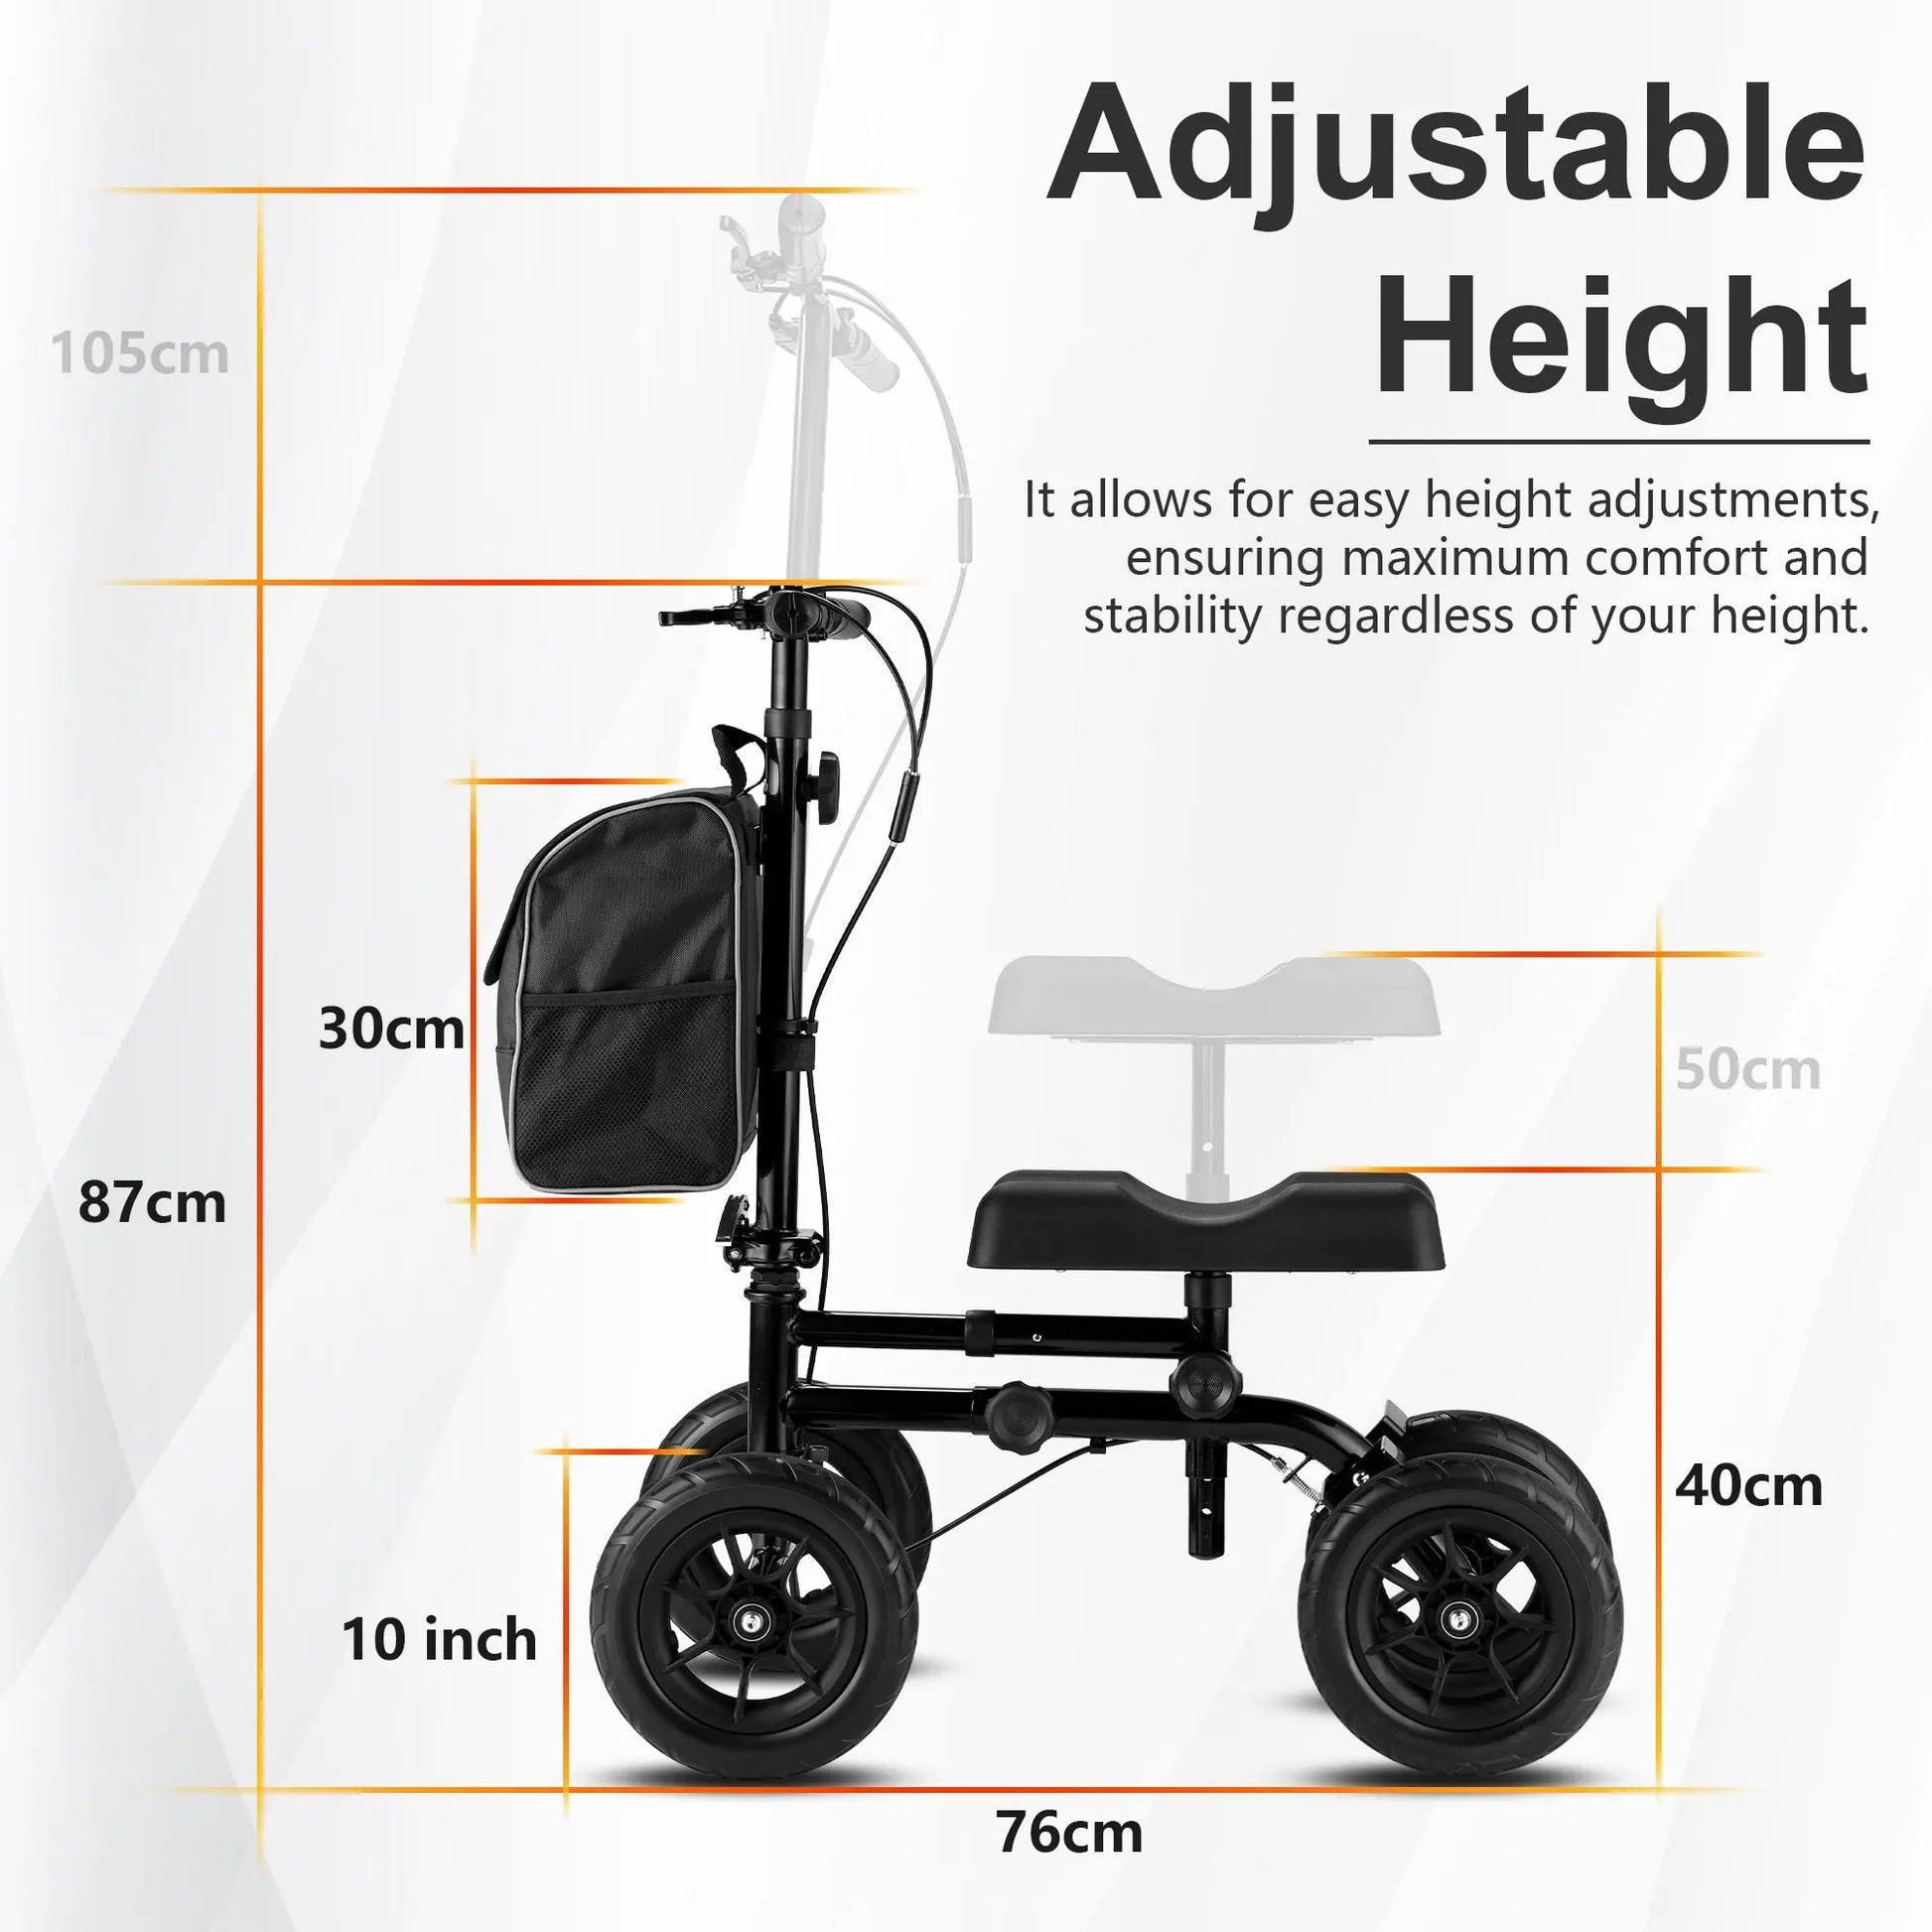
Proper knee rest height prevents hunching, reduces pressure, and supports natural posture. Getting this right is one of the most important adjustments you will make.
Measure Correct Height
To measure properly, stand next to a wall or counter for support. Bend your injured knee to 90 degrees. Have someone measure from the floor to the back of your bent knee, which is the popliteal fossa area. This measurement is your target height for the top of the knee pad.
Make the Adjustment
Locate the height adjustment knob, lever, or pin on the knee rest post. Loosen the knob or pull the pin. Slide the post up or down until the pad matches your measured height. Re-secure the knob, lever, or pin, ensuring it clicks or locks fully.
If using a thick aftermarket cushion, lower the rest by one-half inch to account for added thickness.
Verify Position
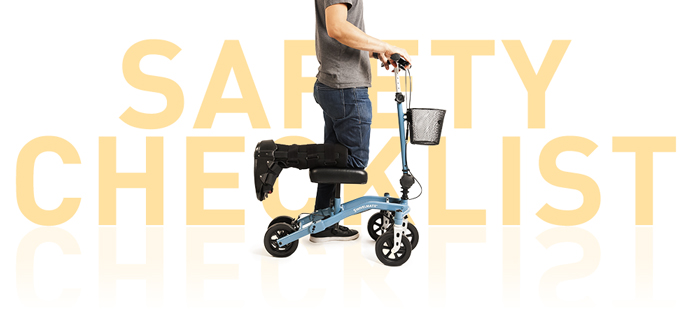
When mounted on the scooter, your knee and lower shin should rest flat on the pad. Your foot and ankle should hang freely off the back. The pad should sit below the knee joint, never at or above it. Your hips should be level with no leaning or tilting.
If you are hunched or lifting your hip, the pad is too high or too low.
Set Handlebar Height
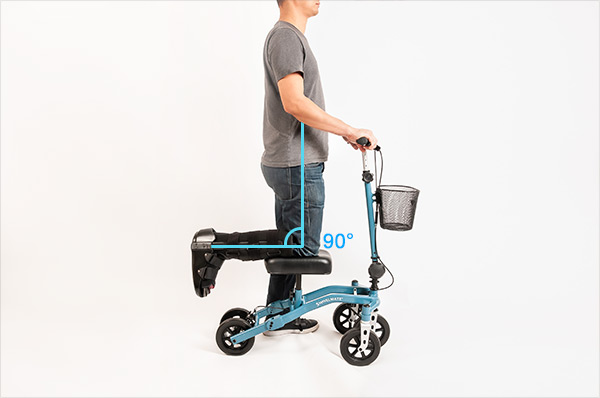
Correct handlebar height reduces shoulder and back strain and improves steering control significantly. This adjustment works together with the knee rest height.
Find Ideal Handlebar Position
The target alignment should have handlebars at wrist level when arms hang naturally at your sides. Alternatively, align them with your waist. Your elbows should be slightly bent, about 15 to 20 degrees, when gripping the handles. Avoid fully extended or overly bent arms.
Adjust Dial-Style Handlebars
For models with a quick-release dial, locate the dial at the back of the stem. Turn counterclockwise to loosen. Raise or lower the handlebars to wrist level. Tighten clockwise until secure, then test for wobble.
Adjust Pin or Lever Handlebars
For models with a locking pin or lever, pull the lever or remove the pin near the base of the column. Slide the handlebar stem up or down. Reinsert the pin into the correct hole or close the lever. Ensure the handlebars do not wobble when shaken.
Never ride if the handlebars feel loose. Recheck the lock mechanism.
Mount the Scooter Safely
Proper mounting technique ensures you start your ride in the correct position and avoids strain or instability.
Step-by-Step Mounting
Engage both brakes by pushing levers outward or squeezing until locked. Stand beside the scooter with the injured leg closest to the unit. Grip both handlebars firmly. Bend your injured knee to 90 degrees and place it gently on the pad. Center your leg so the knee and lower leg are fully supported. Keep your good foot on the ground for balance.
Check Your Posture
Before moving, stand upright with shoulders back and core engaged. Ensure your hips are level. Confirm your elbows are slightly bent. Verify your knee is bent at 90 degrees.
If you are leaning forward or lifting a hip, recheck knee rest and handlebar heights.
Control Speed and Steering
Learning to control your scooter properly keeps you safe and prevents accidents.
Propel With Your Good Leg
Release the brakes. Push off with your uninjured foot, starting with small steps. Keep both hands on the handlebars at all times. Maintain a walking pace and avoid sprinting or sudden pushes.
Use Hand Brakes Properly
Squeeze the left or right brake lever to slow down. Apply both brakes to stop completely. Plant your good foot when stopped for stability.
Always brake before turning. Sharp turns at speed can cause tipping.
Turn in Tight Spaces
Standard models can turn handlebars up to 45 degrees. Swivelmate and specialty models can turn up to 90 degrees. For narrow hallways or doorways, use a three-point turn by stopping and braking, scooting backward slightly, then turning and moving forward.
Handle Curbs and Inclines
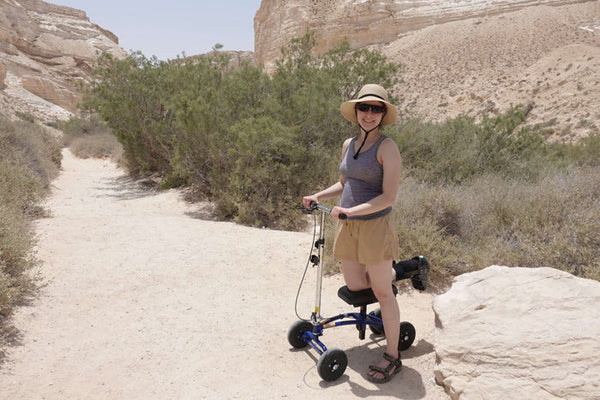
Navigating curbs and slopes requires specific techniques to stay safe.
Climb Curbs Safely
Approach the curb with front wheels first. Lean forward slightly over the handlebars. Use your arms to lift front wheels onto the curb. Step up with your good foot. Roll rear wheels up while applying brakes to prevent rollback.
Descend Curbs Slowly
Scoot to the edge of the curb. Apply brakes firmly. Lean back slightly. Lower front wheels slowly using arm control. Step down with your good foot. Roll rear wheels off while maintaining brake pressure.
Never jump curbs or descend too quickly. This risks wheel damage or loss of control.
Fold and Transport the Scooter
Knowing how to collapse your scooter makes storage and transport much easier.
Collapse for Storage
Remove the basket or accessories. Release the handlebar lock and fold handlebars down. Open the frame lever and pull the locking pin to the side. Fold frame inward until compact. Tuck the footplate under the frame if applicable.
Unfold Safely
Stand the scooter upright. Pull the lever to clear the pin. Open the frame until it snaps into place. Ensure the pin is fully seated and the lever is locked. Raise and secure handlebars.
Always test stability after unfolding by shaking the unit gently to confirm locks are engaged.
Maintain Brakes and Wheels
Regular maintenance keeps your scooter safe and extends its life.
Test Brakes Daily
Before each use, squeeze the levers. They should engage smoothly and firmly. The scooter should not roll when brakes are applied on a slight incline. Levers should return quickly when released.
Adjust Parking Brake
If the scooter rolls when parked, locate the adjustment screw on the rear brake cable. Turn clockwise to tighten tension. Test on a gentle slope.
Align Brake Pads
If brakes rub or squeal, loosen the caliper bolts slightly. Center the pad evenly on the wheel rim. Retighten bolts and test. Replace pads if cracked or worn down.
Troubleshoot Common Issues
Understanding common problems helps you fix them quickly.
Scooter Rolls When Parked
The cause is a loose brake cable or incomplete lock engagement. Tighten the parking brake screw clockwise and ensure levers are fully engaged.
Hunching Over While Riding
The cause is handlebars too low or knee rest too high. Raise handlebars to wrist level and lower the knee rest.
Knee Pain or Pressure
The cause is knee rest too high or pad facing the wrong direction. Lower the rest and reorient the pad to match your injury side.
Wobbly Steering
The cause is a loose handlebar lock or unseated pin. Tighten the dial or ensure the pin is fully inserted and locked.
Brakes Rubbing Wheel
The cause is misaligned brake pads. Loosen the caliper, center the pad, and retighten.
Hard to Turn
The cause is turning too fast or being in a tight space. Slow down before turning and use the three-point maneuver in corners.
Frequently Asked Questions About Adjusting a Knee Scooter
What is the correct knee rest height for a knee scooter?
The knee rest should be set so your knee is bent at approximately 90 degrees when your leg is resting on the pad. Measure from the floor to the back of your bent knee, then set the pad height to match that measurement.
How do I know if my handlebar height is correct?
Handlebars should be at wrist level when you stand upright with arms hanging naturally at your sides. Your elbows should have a slight bend, about 15 to 20 degrees, when gripping the handles.
Can I use a knee scooter if both my legs are injured?
No, knee scooters are designed for unilateral, below-the-knee injuries where you can bear weight on one leg. If you have bilateral injuries or cannot bear weight on your good leg, consult your doctor for alternative mobility options.
How do I switch the knee pad from left to right?
Unlock the knee rest mechanism using the lever, knob, or pin. Remove the post if required by your model. Rotate the pad to face the correct side for your injured leg. Reinsert and secure the post firmly.
Why does my scooter wobble when I ride?
Wobbling is usually caused by loose handlebar locks or an unseated locking pin. Tighten the adjustment dial or ensure the pin is fully inserted and locked before riding.
How often should I check my brakes?
Test your brakes before every use. Check that they engage smoothly, hold securely on an incline, and release quickly. Regular brake checks prevent accidents and ensure safe operation.
Key Takeaways for Adjusting Your Knee Scooter
Properly adjusting a knee scooter is about more than comfort. It is essential for your safety, efficiency, and protecting your recovery. Setting the knee rest height correctly prevents hunching and reduces strain on your back. The handlebar position must allow for upright posture with slightly bent elbows. Always double-check that all locks, brakes, and pins are fully engaged before each ride.
Taking time to measure and adjust your scooter properly will pay off in smoother, safer mobility throughout your recovery. Refer to your specific model manual for any unique features or requirements, and practice in a clear area before navigating outdoor terrain.



