
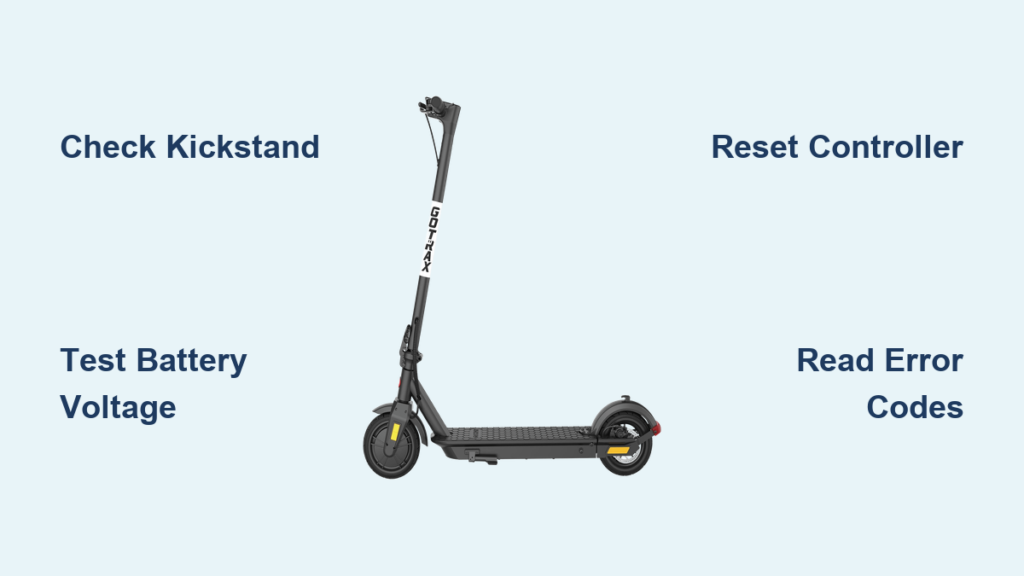
You plug in your Gotrax scooter, see the green light, and expect a smooth ride—only to find it won’t turn on. No power. No display. Nothing. You’re not alone. A Gotrax scooter not turning on is one of the most common issues riders face, and while it’s frustrating, the cause is often fixable without replacing the entire unit.
The problem usually comes down to four key culprits: a failed control board, a dead or degraded battery, loose wiring, or a safety interlock blocking startup. This guide cuts through the confusion with a step-by-step diagnostic process, error code breakdowns, and proven fixes—so you can get back on the move fast.
Check Safety Interlocks Before Troubleshooting
Before diving into electronics, rule out simple safety features that prevent startup. These built-in sensors are designed to keep you safe, but they can also lock you out if triggered accidentally.
Kickstand and Brake Lever Position
Gotrax scooters have safety sensors that disable power when the kickstand is down or brakes are engaged. Even slight pressure on the brake levers can trigger the sensor.
What to check:
- Ensure the kickstand is fully retracted
- Release both brake levers completely
- Try turning on the scooter again
If the scooter powers on after adjusting these, the issue was mechanical—not electrical. This simple check saves time and prevents unnecessary repairs.
What Charger Lights Really Mean for Your Scooter
A green light doesn’t always mean a healthy battery. Misreading this signal leads to false diagnoses and wasted money on unnecessary parts.
Why Green Light Doesn’t Guarantee a Good Battery
If the charger turns green almost immediately, typically within 10 minutes, something is wrong. The battery isn’t accepting a charge properly.
What rapid green light indicates:
- The battery isn’t accepting a charge
- The battery management system (BMS) may be dead
- Internal cells could be damaged
Quick test: Plug in the scooter and watch the light carefully. If it goes green within 5 to 10 minutes, the battery is not holding charge. Move to voltage testing to confirm.
How to Reset Your Gotrax Scooter the Right Way
Sometimes the controller locks up. A hard reset can revive a seemingly dead scooter by clearing temporary faults and resetting the BMS.
Reset Procedure for All Gotrax Models
This works on GXL V2, Apex, XR Ultra, and GMAX models.
Steps to reset:
- Turn the scooter completely off
- Unplug the charger from the scooter
- Remove the deck cover if accessible
- Locate the battery connector to the controller
- Disconnect the battery for 5 or more minutes
- Reconnect the battery securely
- Try powering on the scooter
Pro tip: After resetting, charge for 30 or more minutes before testing. Some scooters need a brief charge cycle to wake up after a reset.
Testing Battery Voltage: The Most Important Diagnostic Step

This is the most reliable way to diagnose power issues. Using a multimeter eliminates guesswork and points you directly to the faulty component.
How to Test Battery Voltage
Tools needed:
- Digital multimeter (set to 200V DC)
- Access to battery terminals (under deck or in compartment)
Expected voltages by model:
| Model Series | Nominal Voltage | Full Charge Voltage |
|---|---|---|
| GXL V2, Vibe, Apex | 36V | Approximately 42V |
| G3, G4, GMAX | 48V | 54V to 56V |
| Sit-down models | 48V | 54V to 56V |
How to test:
- Set multimeter to 200V DC
- Touch red probe to positive terminal, black to negative
- Read the voltage displayed
Interpret the results:
- Below 30V for a 36V system or below 42V for a 48V system indicates a bad battery
- Within normal range but scooter won’t turn on suggests controller failure
- Voltage drops when pressing the throttle means the battery can’t handle load and needs replacement
Understanding Gotrax Error Codes and What They Tell You

If the screen flashes or shows a code, your scooter is self-diagnosing. Don’t ignore it—these codes point directly to the faulty component.
Error Codes for GXL V2, Vibe, and Apex Models
| Code | Meaning | Fix |
|---|---|---|
| E1 | Console-Controller Communication | Clean connectors or replace console |
| E2 | Brake Lever Failure | Clean or replace console |
| E3 | Handlebar/Throttle Fault | Clean or replace console |
| E4 | Motor Failure | Replace motor wheel |
| E5 | Controller Failure | Replace controller |
First step for E1 through E3: Remove the console, clean the connector with a dry cloth, and reseat it. This solves approximately 30% of cases.
Error Codes for XR Ultra and XR Elite
| Code | Meaning | Fix |
|---|---|---|
| 21E | Controller Failure | Replace console or controller |
| 22E | Handlebar Issue | Replace console |
| 23E | Motor Fault | Replace motor |
| 25E | Brake Sensor | Replace console |
| 30E | Communication Error | Replace console |
Error Codes for G3, G4, and GMAX Series
| Code | Meaning | Fix |
|---|---|---|
| 2 | Handlebar Failure | Replace console |
| 4 | Motor Signal Loss | Replace motor assembly |
| 5 | Brake Lever Fault | Replace console |
Error Codes for G5 and G6 Advanced Series
| Code | Meaning | Fix Path |
|---|---|---|
| E0 | Communication Failure | Replace controller, console, and cable together |
| E1 | Current Anomaly | Replace controller first, then motor if needed |
| E2 | Handlebar Fault | Replace console first, then controller |
| E3 | Brake Sensor | Replace console first, then controller |
| E4 | MOS/Overcurrent | Replace controller first, then battery |
| E5 | Motor Signal Loss | Replace motor first, then controller |
| E6 | Locked Rotor | Replace controller, then battery, then motor |
| E7 | Undervoltage | Replace battery first, then controller |
| E8 | Overvoltage | Replace battery first, then controller |
| E9 | Over Temperature | Replace motor first, then controller |
Rule of thumb: For E2, E3, 22E, and Code 2, start with console replacement. It’s cheaper and often resolves the issue.
Control Board Failure: Symptoms and Solutions
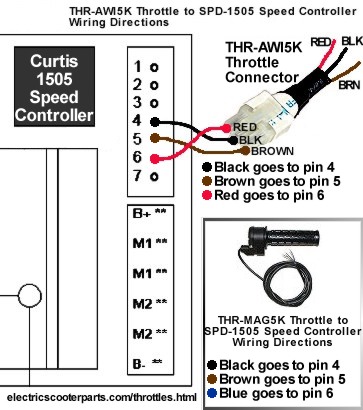
If the battery shows good voltage but the scooter won’t power on, the controller is likely dead. This is one of the most common failures in Gotrax scooters.
Signs of a Bad Controller
The controller is the likely culprit when these symptoms appear:
- No display, no lights, no response when pressing power
- Scooter charges normally with green light showing
- Voltage test confirms battery is healthy
- No error codes appear on the display
This failure pattern is especially common on GXL V2 and Apex models after 1 to 2 years of use.
How to Confirm and Replace the Controller
Confirming the diagnosis:
- Test battery voltage to confirm it’s in the normal range
- If voltage is good but scooter won’t turn on, the controller is faulty
Replacement cost: Approximately $50 to $60
DIY time: 15 to 30 minutes
Replacement steps for GXL V2:
- Remove two 4mm Allen screws from the console panel
- Lift the panel carefully to avoid damaging wires
- Disconnect old controller wiring
- Plug in the new controller, aligning connectors precisely
- Reinstall the panel and screws
- Power on the scooter
Success sign: The display lights up immediately after replacement.
Post-repair note: You may need to adjust the brake caliper slightly counterclockwise to restore proper tension.
Replacing Your Gotrax Battery: Step-by-Step

Batteries degrade after 3 to 4 years, but failures can happen earlier due to poor charging habits or manufacturing defects.
Signs of Battery Failure
Watch for these warning signs:
- Charger turns green in under 10 minutes
- Scooter dies instantly when unplugged
- Scooter only works while plugged in
- Battery pack feels loose in the deck
Battery Replacement Steps for GXL V2
Tools required: 5/32-inch hex bit or small Allen wrench
Replacement procedure:
- Remove the two screws on the rear deck cover
- Lift the cover gently—the brake line stays connected
- Lift the handlebar assembly to access the battery bay
- Slide out the old battery, noting the alignment pin hole at the front top
- Insert the new battery with the pin hole facing forward
- Seat the battery into the three base pins securely
- Reinstall the handlebar assembly and deck screws
- Charge fully before first use
Battery specification: Look for “Gotrax GXL V2 Battery Replacement 36V 7.8Ah”
Important: New batteries ship at approximately 25% charge. Always do a full charge cycle before first use.
Inspecting Wiring and Connections
Loose or corroded wires cause intermittent power loss or complete no-start conditions. These issues are often overlooked but easily fixed.
Key Areas to Check
Focus on these connection points:
- Console connector: Between display and main harness. Clean with a dry cloth.
- Charging port: Look for bent pins or debris inside the port.
- Handlebar wiring: Check for frayed or pinched cables near the stem.
- Battery terminals: Ensure tight, corrosion-free contact.
Pro tip: If you get E1, E2, or E3 error codes, clean the console connector first before replacing any parts.
Cost Comparison: Repair vs Replace Your Scooter
Fixing a Gotrax scooter is usually significantly cheaper than buying a new one. Here’s what you need to know before making a decision.
Parts Cost Breakdown
| Part | Cost (USD) | DIY Possible? |
|---|---|---|
| Control Board | $50 to $60 | Yes |
| Battery (GXL V2) | $120 to $160 | Yes |
| Console (Display) | $40 to $70 | Yes |
| Motor Wheel | $150+ | Yes, with effort |
| New Scooter | $300 to $600+ | No |
User insight: Many owners mistake a dead controller for a dead battery because the scooter won’t turn on. Voltage testing prevents costly wrong purchases.
Frequently Asked Questions About Gotrax Scooter Power Issues
Why does my Gotrax scooter show a green light but won’t turn on?
A green light only means the charger has completed its cycle, not that the battery is healthy. If the light turns green within 10 minutes, the battery likely cannot hold a charge. Test the battery voltage with a multimeter to confirm.
How do I know if my Gotrax battery is dead?
Signs of a dead battery include the charger turning green almost immediately, the scooter dying instantly when unplugged, and the scooter only working while plugged in. A voltage test showing below 30V for a 36V system confirms battery failure.
Can I fix my Gotrax scooter myself, or do I need a professional?
Most issues are DIY-repairable with basic tools. Control board and battery replacements take 15 to 30 minutes. Only the motor wheel replacement requires more effort. Follow the troubleshooting steps in this guide to diagnose the issue first.
What does error code E1 mean on a Gotrax scooter?
E1 indicates a communication failure between the console and controller. Try removing the console and cleaning the connector with a dry cloth. If that doesn’t work, replace the console.
How much does it cost to replace a Gotrax controller?
Replacement controllers cost approximately $50 to $60. This is significantly cheaper than buying a new scooter, which typically costs $300 or more.
How long do Gotrax scooter batteries last?
Gotrax batteries typically last 3 to 4 years with regular use. However, poor charging habits or exposing the scooter to moisture can cause earlier failure.
Key Takeaways for Fixing Your Gotrax Scooter Not Turning On
Gotrax scooters are repairable, and most power issues can be diagnosed and fixed at home. Start with the simplest checks: ensure the kickstand is up and brakes are released, then test the battery voltage with a multimeter. A green charger light doesn’t guarantee a healthy battery—if it turns green in under 10 minutes, the battery is likely failing.
Use error codes to guide your repair. Most communication errors (E1, E2, E3) are resolved by cleaning connectors, while specific codes point to the console, motor, or controller as the culprit. Control board replacement costs approximately $56 and takes less than an hour—far cheaper than replacing the entire scooter.
Now that you know the real causes and the real fixes, your scooter’s second life starts today. Grab your multimeter, follow the diagnostic steps, and get back on the road.



