
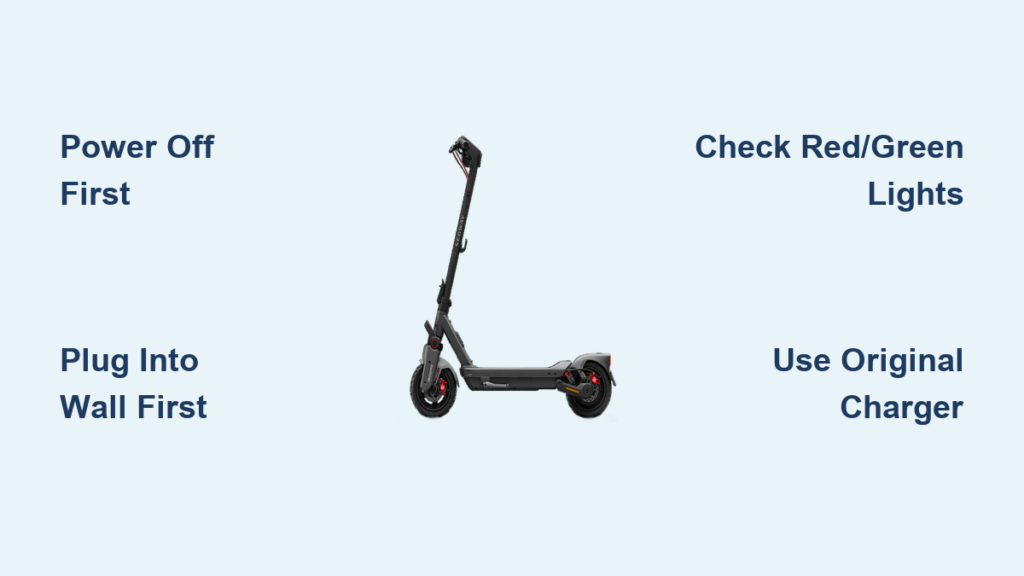
Charging your Ninebot scooter properly is essential for performance, battery longevity, and safety. Whether you own an adult model like the ES2 or a kid’s scooter like the Zing C20, using the right charger and following the correct steps prevents damage and reduces fire risks. The how to charge Ninebot scooter process varies slightly between models, especially when comparing adult and children’s versions. This guide breaks down every step, from plugging in to interpreting indicator lights, and includes troubleshooting for common issues like failed charging or incompatible chargers.
Verify Your Scooter Model First
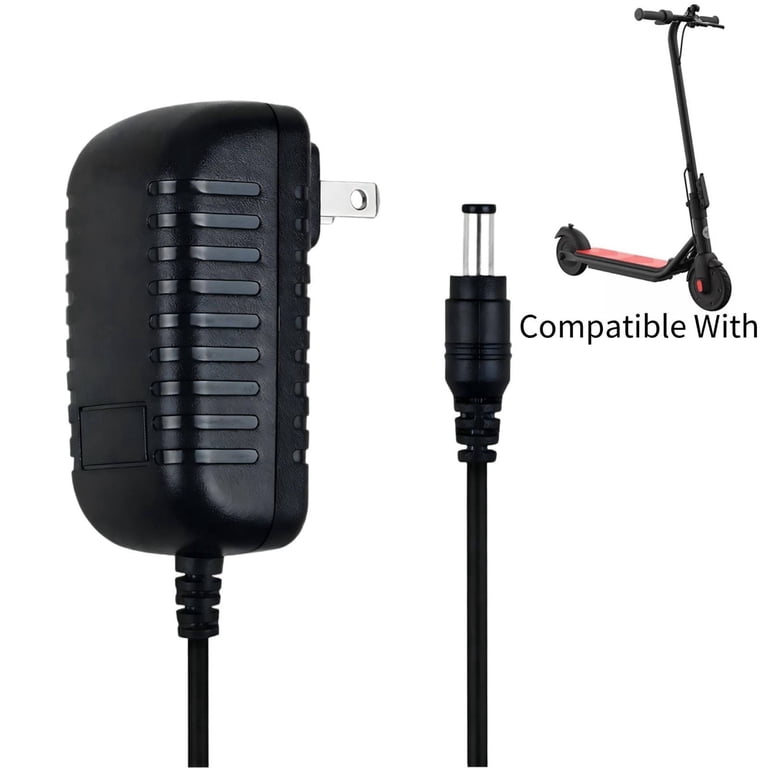
Before connecting any charger, confirm your Ninebot model to avoid damage. Using the wrong charger can lead to port misalignment, overheating, or battery failure.
Check Compatibility by Series
Ninebot chargers are not universal across all models. The standard adult charger works with these series:
• ES Series: ES1, ES2, ES3, ES4
• E Series: E22, E25A, E45, E2 Pro
• F Series: F25, F30, F35, F40, F2, F2 Pro
• MAX Series: MAX G30P, G30LP, G2
• Other: T15
These share a common charging port design and voltage requirements.
Identify Incompatible Models
The Zing line, including the Zing C20, requires a dedicated kids’ charger. The adult charger will not fit or function correctly on these models. Attempting to force a connection may bend pins or damage the port.
Match Charger to Voltage and Connector
Even within compatible ranges, ensure the input voltage matches your region. The connector shape must align flush with the port at the base of the stem. Always use an original Segway-Ninebot charger, as counterfeit units risk battery damage.
Follow Correct Charging Sequence

Plugging in the right order matters. Reversing steps can cause electrical surges or prevent charging from initiating properly.
Power Off Scooter First
Always turn off your Ninebot before charging. A powered-on scooter may trigger false error codes, prevent the charger from engaging, or cause indicator light malfunctions. Press and hold the power button until the display turns off.
Plug Charger Into Wall First
Follow these steps in order:
- Insert the charger into a standard wall outlet (AC 100V-240V).
- Wait 1-2 seconds for internal circuitry to activate.
- Then connect the DC end to the scooter’s charging port at the base of the stem.
This sequence protects both the battery management system and charger from power surges.
Align Connector Carefully
The charging port has delicate metal pins. Misalignment can bend pins, cause intermittent charging, or require costly repairs. Gently insert the plug straight in without forcing or wiggling it.
Read Indicator Lights Accurately

Lights tell you the charging status. Knowing what they mean helps diagnose issues early and confirms when charging is complete.
Red Light Means Charging
A solid red light confirms the connection is secure, the battery is receiving power, and the charge cycle is active. If no light appears, check the troubleshooting section below.
Green Light Means Fully Charged
Once the battery reaches 100%, the indicator turns green. At this point, unplug the charger from the scooter first, then disconnect from the wall. Leaving it plugged in unnecessarily stresses the battery over time.
Zing C20 Indicator Behavior
For the Ninebot Zing C20, charging takes 3-4 hours. The red-to-green transition follows the same logic but applies to a smaller battery pack designed for children.
Prevent Safety Hazards

Lithium-ion batteries are powerful but require careful handling during charging to avoid fire risks.
Never Leave Charging Unattended
Always supervise charging sessions. Walk away increases risk if overheating occurs, smoke or odor develops, or sparks appear at the port. Thermal runaway in damaged batteries can lead to fire.
Keep Charging Area Dry and Clean
Moisture and dust reduce electrical insulation and may cause short circuits. Charge indoors on a hard, flat surface, never on carpet, beds, or near water sources.
Use Only Certified Chargers
Third-party or generic chargers often lack voltage regulation, overcharge protection, and BMS communication. Stick with Segway-Ninebot OEM chargers or UL-certified replacements. Look for the official logo and model number match.
Supervise Children During Charging
Kids should never plug in or unplug the charger. Teach them that the scooter is off-limits when connected to power.
Troubleshoot Charging Failures
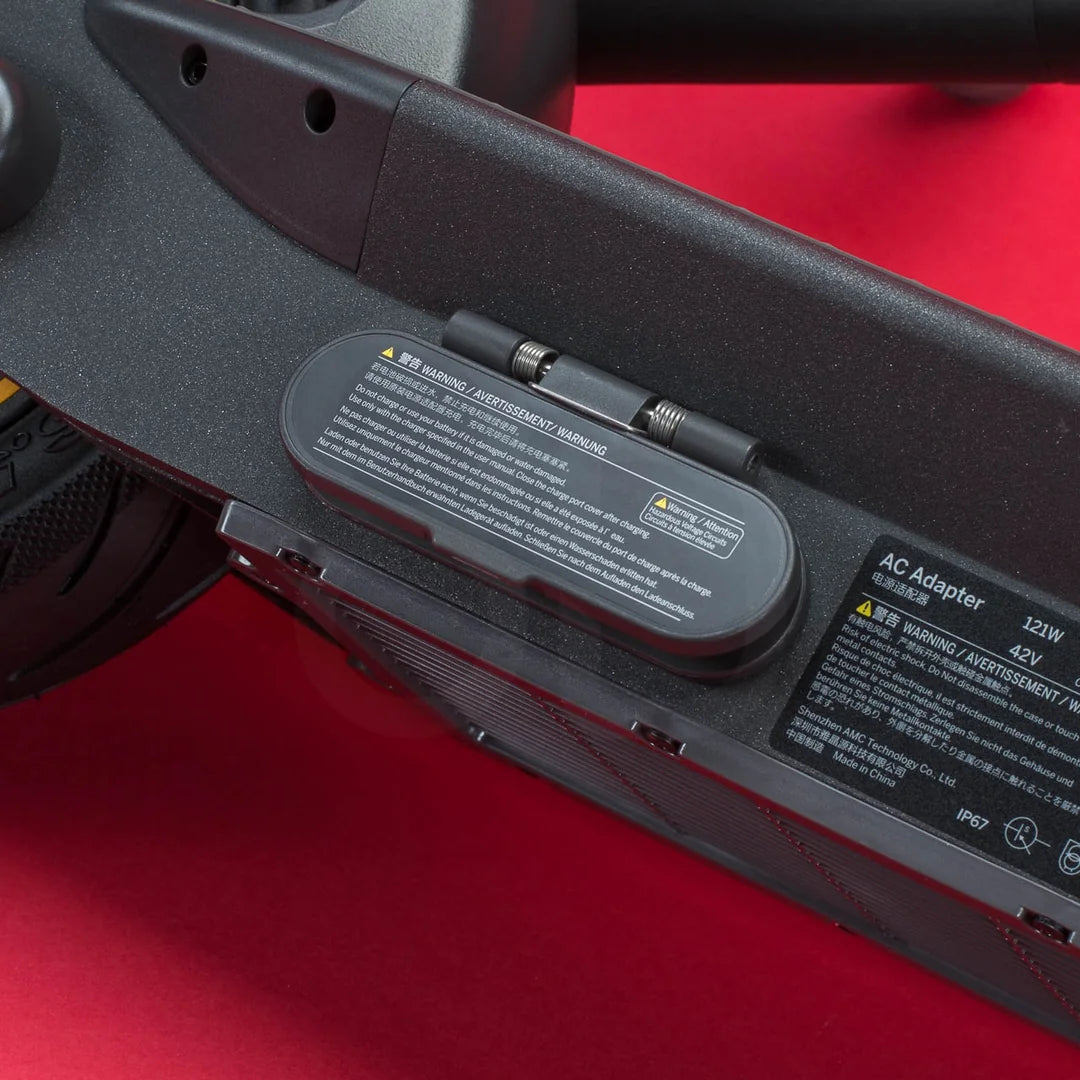
Even with the right steps, problems can occur. Here is how to fix common charging issues.
No Light After Plugging In
If the charger shows no red light:
• Confirm the scooter is powered off
• Check that the outlet is live (test with another device)
• Inspect the charging port for debris or bent pins
• Try a different outlet
• Test the charger with another compatible Ninebot
If still no response, the charger or battery may be faulty.
Battery Won’t Turn On After Charging
A deeply discharged battery (below 3.6V) may trigger BMS lockout. The scooter won’t power on, and the charger doesn’t initiate. This often happens after long storage without charging.
Recover a Dead Battery Safely
Do not attempt DIY fixes like freezer tricks or jump-starting, as these can ignite lithium cells. Instead, inspect physically for swelling, leaks, or heat damage. Stop use immediately if any damage is visible. Contact Segway support or visit an authorized service center. A technician may use a professional reconditioning charger to slowly revive the cell.
Charger Does Not Fit
Common causes include trying to use an adult charger on a Zing model, using a charger from a different region with varied plug shapes, or a damaged port from forced insertion. Double-check model compatibility and purchase the correct charger version.
Optimize Battery Longevity

Proper charging habits extend battery life and maintain range for years of reliable use.
Avoid Full Discharges
Do not wait until the scooter dies before charging. Aim to recharge when the battery drops to 20-30% or range falls below 5 miles for daily riders. Frequent deep discharges wear out lithium cells faster.
Charge After Every Ride
Even short trips deplete cycles. Recharge after each use to prevent accidental deep discharge during storage.
Store With Partial Charge
If storing for more than two weeks, charge to 50-60%, power off completely, and recharge to 50% every 30 days. This prevents voltage drop into dangerous low levels that can damage the battery.
Replace Faulty or Lost Chargers
Buying a replacement? Follow these rules to ensure you get the right equipment.
Buy OEM or Authorized Units
Search for model-specific listings like “Segway-Ninebot Original Charger for ES2/ES4/MAX” or “for G30P.” Avoid vague titles like “Universal E-Scooter Charger.”
Confirm Weight and Specs
Authentic chargers weigh under 1 lb (0.45 kg) and list input of AC 100V-240V with output matching your model (usually 42V or 54.7V). Counterfeits often omit specs or feel lightweight due to poor materials.
Use Official Support Channels
For help, call 1-866-4SEGWAY (1-866-473-4929), visit the Segway official support website, or use the Segway App for diagnostics and service booking. Pickup is available at select stores like the Segway LA Retail Store.
Frequently Asked Questions About Charging Ninebot Scooters
How long does it take to charge a Ninebot scooter?
Most adult models charge in 3-6 hours depending on battery capacity and model. The Zing C20 kids’ scooter takes 3-4 hours for a full charge.
Can I use any charger for my Ninebot scooter?
No. Ninebot chargers are model-specific. The adult charger works with ES, E, F, MAX, and T15 series but is not compatible with the Zing kids’ line. Using the wrong charger can damage the battery or port.
What do the red and green lights mean on my Ninebot charger?
Red light means the battery is actively charging. Green light means the battery is fully charged and ready to unplug.
Is it safe to leave my Ninebot scooter charging overnight?
No. Never leave the scooter unattended while charging. Once the light turns green, unplug immediately to prevent overcharging and potential battery damage.
What should I do if my Ninebot battery won’t charge at all?
First, verify the outlet works and the charger is properly connected. Check for debris in the charging port. If the charger shows no light and the battery won’t turn on, contact Segway support for professional battery assessment.
How should I store my Ninebot scooter for long periods?
Store with 50-60% battery charge, powered off completely, in a dry location. Recharge to 50% every 30 days to prevent deep discharge damage.
Key Takeaways for Properly Charging Your Ninebot Scooter
Charging your Ninebot scooter correctly ensures safety, performance, and long-term reliability. Always verify model compatibility before connecting any charger, as adult and kids’ models require different equipment. Follow the correct plug-in sequence (wall first, then scooter) to protect the battery management system from power surges. Monitor indicator lights and disconnect immediately when the green light appears to prevent unnecessary battery stress.
Use only original Segway-Ninebot OEM chargers or certified replacements. Counterfeit chargers lack proper voltage regulation and pose fire risks. Never leave the scooter unattended during charging, and keep the area dry and free from debris. Supervise children whenever they are near the scooter while it is charging.
For battery issues like deep discharge below 3.6V, do not attempt DIY repairs. Contact Segway professional support for safe battery recovery. With proper charging habits and regular maintenance, your Ninebot will deliver years of smooth, efficient rides.



