
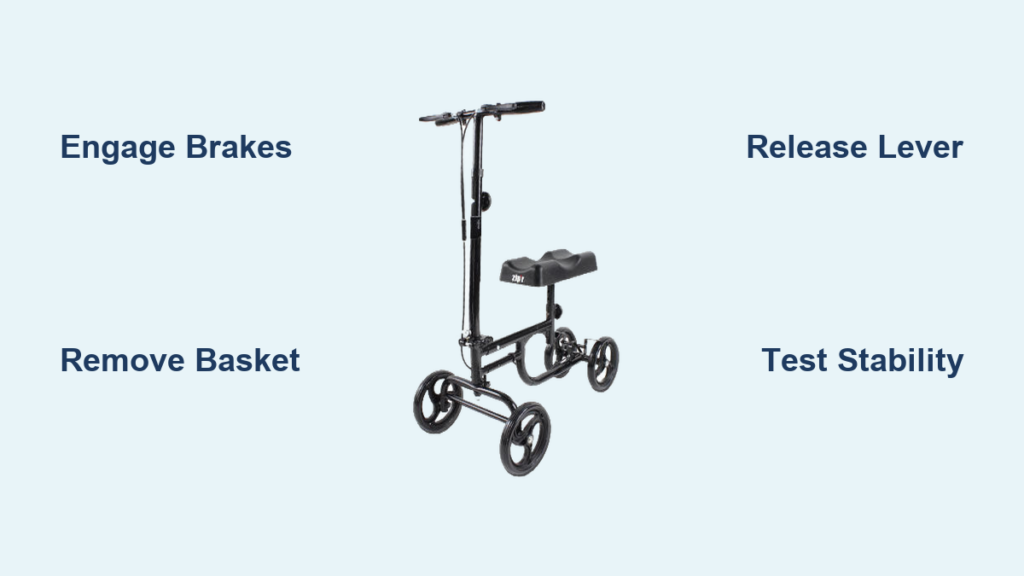
If you’ve recently started using a knee scooter for mobility after an injury, knowing how to fold a knee scooter is essential for transport, storage, and convenience. Most modern models are designed with a quick-folding mechanism that allows you to collapse the unit in under a minute, once you know the correct steps. However, skipping safety checks or misaligning the locking system can lead to instability or damage. This guide walks you through every step, from preparation to final verification, based on common and model-specific mechanisms like those found in Knee Rover, Austin, and other leading brands.
You’ll learn how to safely engage brakes, remove obstructions like the basket, release the steering column, and secure the folded scooter, all while avoiding common mistakes that could compromise safety or performance. Whether you’re folding your scooter for car travel or compact home storage, this step-by-step breakdown ensures a smooth, reliable process every time.
Engage Parking Brakes Before Folding
Before touching any folding mechanism, you must activate the parking brakes to prevent accidental movement. A shifting scooter during folding can cause imbalance, injury, or damage to internal components. This step is non-negotiable and applies to all knee scooter models.
How to Lock the Brakes on Your Scooter
Most knee scooters use a lever-based brake system located near the handlebars. Follow this sequence to secure your scooter:
- Press and hold the brake lever firmly
- While holding it, press the lock button (usually located on the same lever)
- Release the brake handle completely
- Visually confirm both rear wheels are locked by attempting to push the scooter gently
If the scooter rolls even slightly, repeat the process until it remains completely stationary. Never attempt to fold without fully engaged brakes.
Pro Tip: Some models require full brake engagement before the folding lever will disengage. If the lever feels stuck, check the brake first.
Remove the Storage Basket First
The storage basket blocks the folding path of the steering column. Leaving it attached may bend brackets or prevent full collapse, potentially causing damage that could cost over $50 in repairs.
Detach the Basket Safely
Most baskets slide onto two metal support arms under the knee platform. Here’s how to remove them:
• Grip the basket firmly with both hands
• Slide it straight forward or backward, depending on your model, off the mounting brackets
• Set it aside or empty its contents before continuing
Even partial attachment can interfere with the folding mechanism. Ensure no part of the basket or its hardware remains engaged before proceeding to the next step.
Warning: Forcing the steering column down with the basket still attached can damage hinge welds or basket mounts.
Choose a Flat, Stable Surface
Folding on uneven ground increases the risk of tipping and makes the entire process more difficult. Always perform this task on a level, stable surface to ensure safety and smooth operation.
Ideal Setup Conditions
• Scooter upright and completely stationary
• Your foot removed from the footplate
• Handlebars centered in the neutral steering position
• Ample clearance around all sides of the scooter
This stabilizes the center of gravity and allows the handlebars to fold downward without obstruction or resistance.
Release the Steering Column Lever
The core folding action centers on the steering column release lever, typically located where the column meets the main frame. This is the most critical step in learning how to fold a knee scooter properly.
Standard Lever Folding Steps
Follow this sequence for most common models:
- Locate the lever at the base of the steering stem
- Pull up and twist counterclockwise to loosen tension
- Pull lever upward fully to free the internal pin
- Slide lever to the left toward your thumb to disengage the lock
- Gently push handlebars down until they tuck under the knee rest
The column should pivot smoothly once the lock is released. If resistance occurs, double-check basket removal and brake status before forcing anything.
Visual Cue: When properly folded, the handlebars lie flat beneath the knee platform, reducing the overall height by up to 50 percent.
Use the Quick-Release Mechanism on Knee Rover Models
Some models, like the Knee Rover, feature a faster system designed for one-handed operation. If you own this style, the process is slightly different but equally straightforward.
Quick-Fold Sequence for Knee Rover Scooters
- Rotate the quick-release lever upward to the open position
- Pull the lever straight out from the column to withdraw the locking pin
- Swing the lever over and allow the handlebars to fold backward naturally
This design skips the twisting motion entirely and uses a spring-loaded pin that retracts when pulled. No tools are required for this method.
Note: These systems require correct tension. If the lever won’t pull out, check for debris or over-tightening before forcing it.
Operate Clasp and Piston Locking Systems

Certain scooters use a clasp-and-piston lock near the mid-frame instead of a lever. This system is common on compact and budget-friendly models.
Fold with Clasp System
- Find the clasp near the front of the main frame
- Lift it so it lies flat against the frame to release the primary lock
- Notice the small hole on one side, which marks the locked position
- Push the clasp away from the hole to release the piston
- Fold the scooter in half at the hinge point
Once folded, the piston stays retracted until you manually reset it during the unfolding process.
Handle Hinge and Latch Variants
Not all models use levers or clasps. Some rely on push-button latches or sliding hinges near the handlebar base. These variations require slightly different handling.
Generic Hinge Folding Method
- Press or slide the latch to unlock the hinge
- Support the handlebars and slowly lower them forward
- Ensure the scooter remains balanced on its wheels
- Confirm the latch does not re-engage mid-fold
These systems are less common but found on budget or compact models. Always support the weight manually to prevent sudden movement.
Unfold and Re-Lock the Scooter Properly
Unfolding is just as critical as folding. An improperly locked column can collapse during use, creating a serious fall hazard. Follow these steps carefully every time you unfold your scooter.
Standard Unfolding Process
- Lift the handlebars to the vertical position
- Align the internal pin with the locking groove
- Pull the release lever toward your thumb to allow engagement
- Push the lever down and turn clockwise to tighten
- Ensure the lever clicks or locks firmly into place
Do not skip the tightening step, as this secures the structural integrity of the entire scooter.
Re-Engage Quick-Release Models
For scooters with quick-release levers like the Knee Rover:
- Raise the column fully to the upright position
- Pull the quick-release lever out and swing it over
- Rotate it upward into the locking groove
- Listen for a distinct click that confirms full engagement
If no click is heard, disengage and retry. Never assume the scooter is locked without verification.
Reconnect Clasp and Piston Systems
After unfolding a clasp-style scooter:
- Push the clasp away from the hole to clear the piston
- Let go, and the piston should snap back into the hole automatically
- Close and lift the clasp to secure the lock firmly
This double-action ensures the piston stays engaged during movement and prevents accidental collapse.
Perform a Final Stability Test
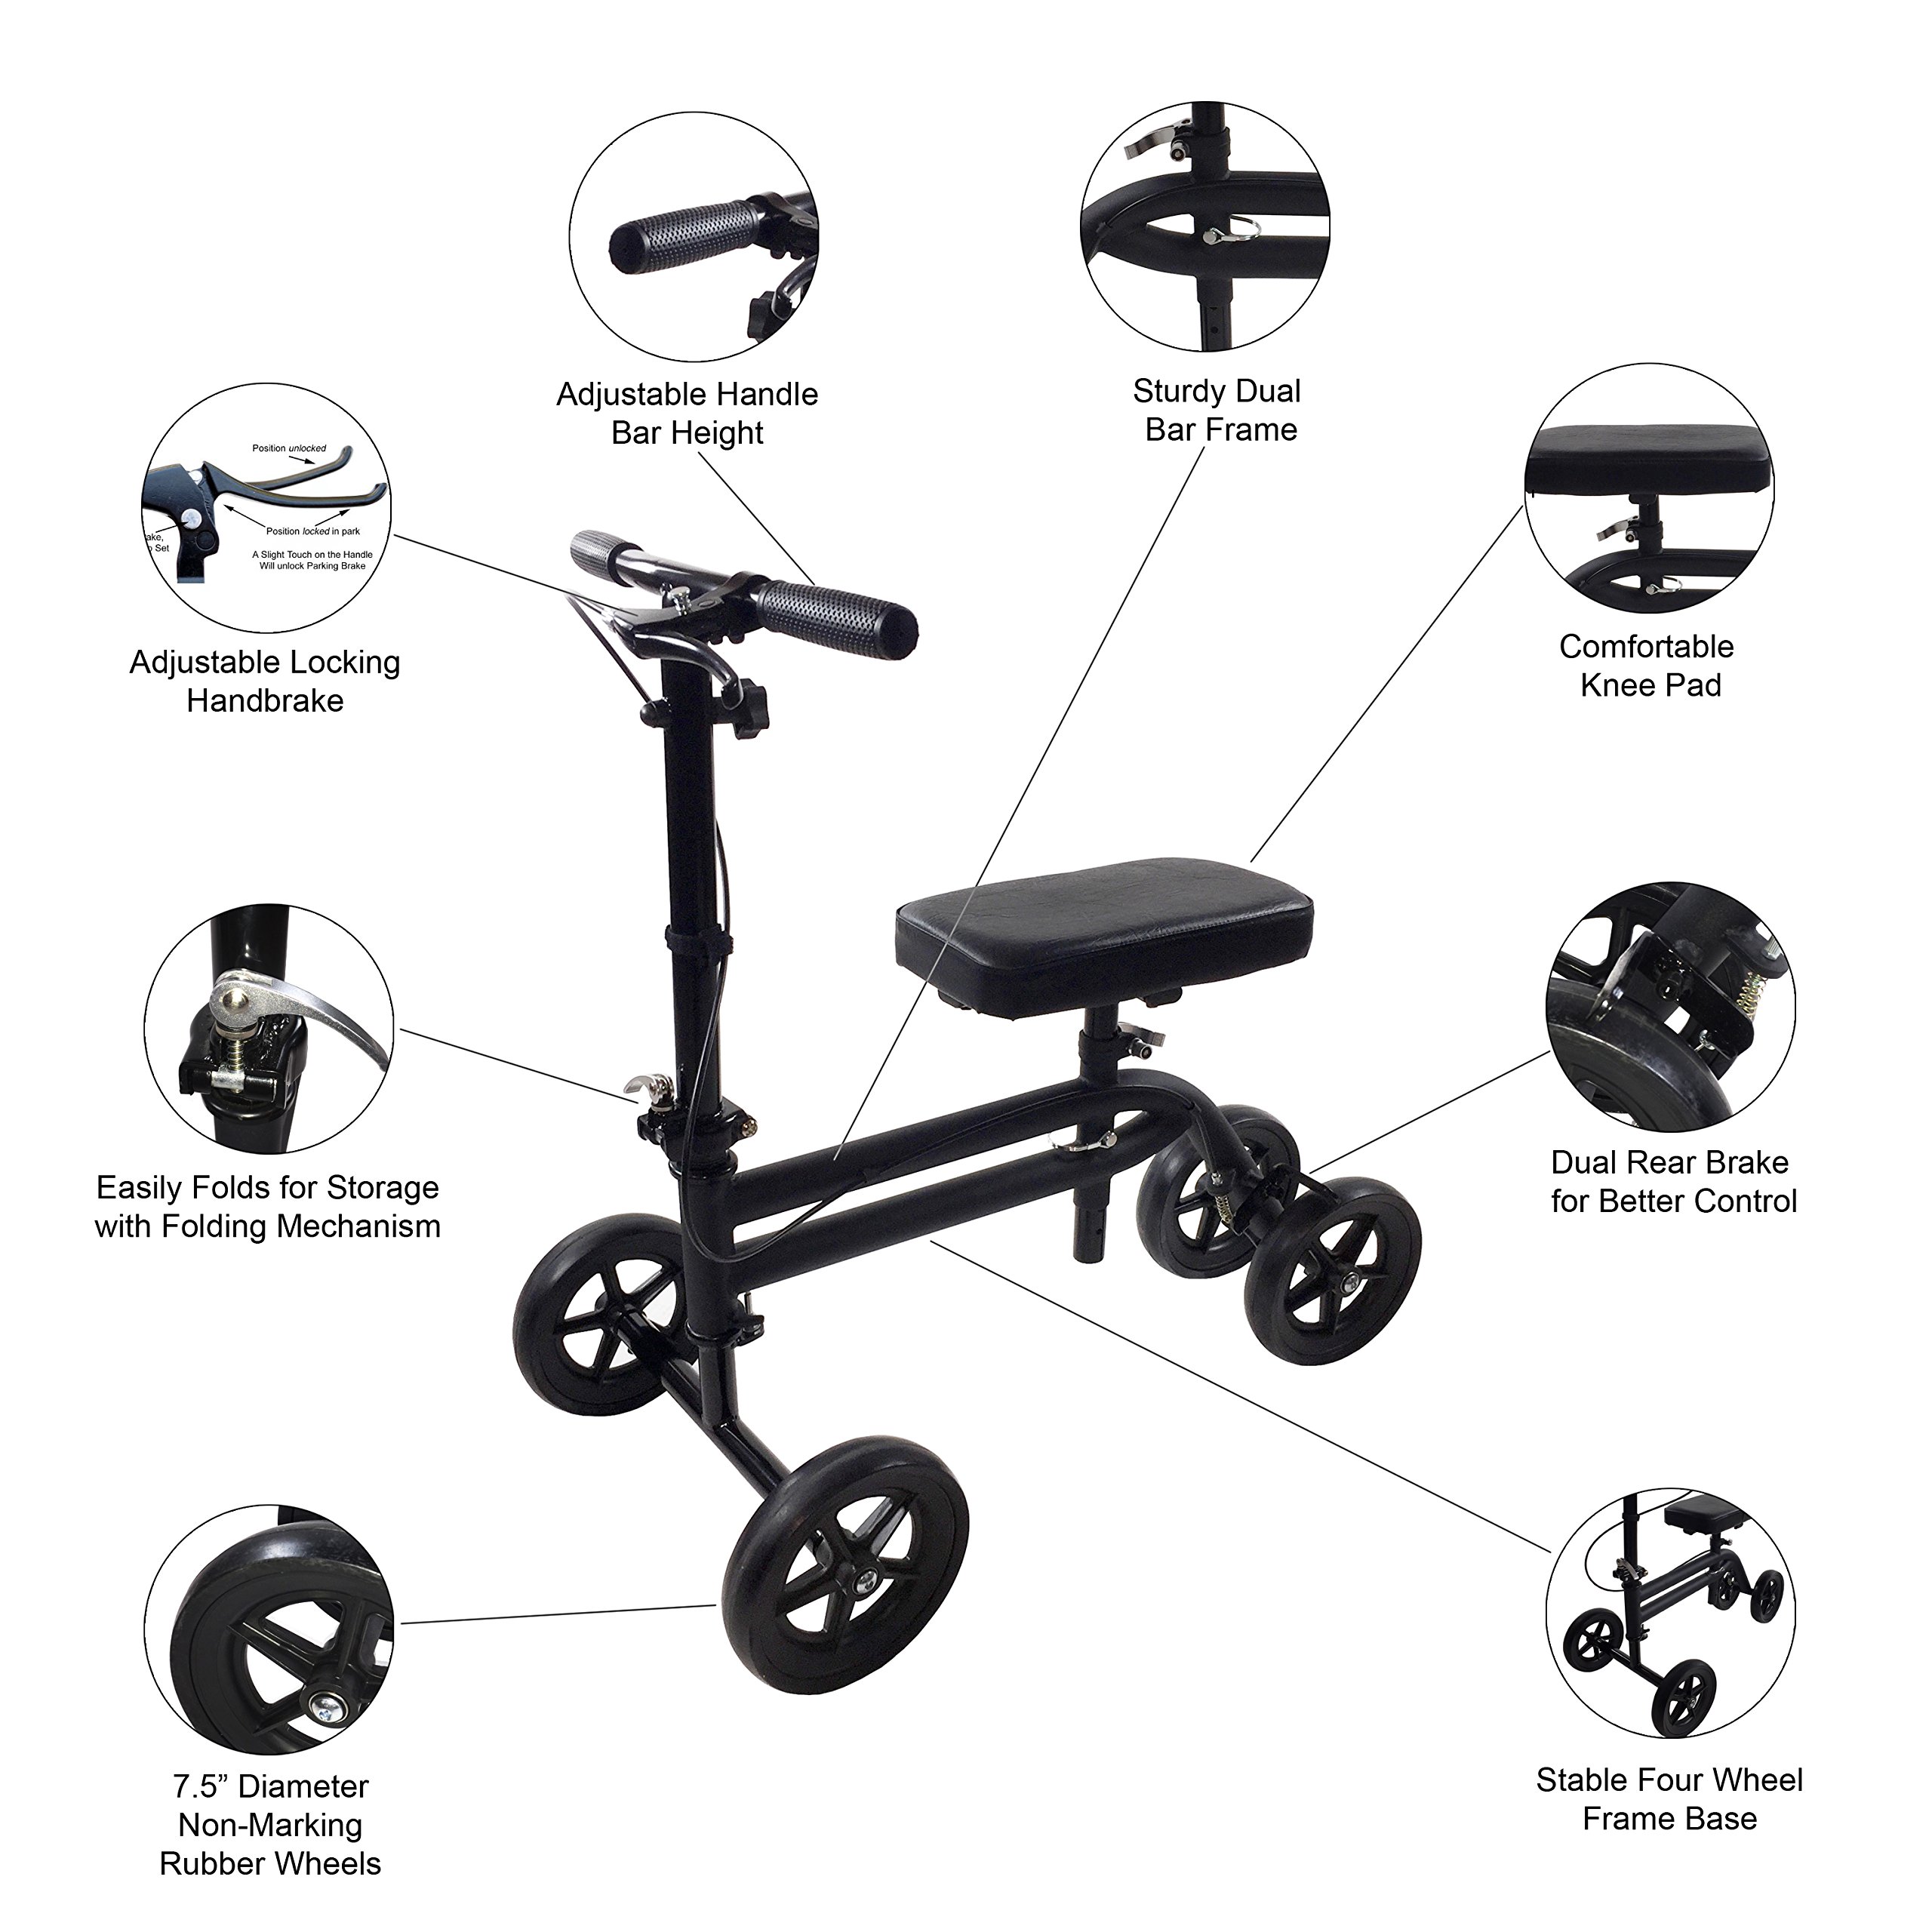
Before placing any weight on the scooter, you must verify the lock is secure. This step applies every single time you unfold your scooter, without exception.
Quick Safety Check
- Stand beside the scooter and place one foot lightly on the footplate
- Grasp handlebars and gently shake side-to-side and front-to-back
- Look for no wobbling in the steering column
- Look for no vertical play or grinding sounds
- Look for no looseness in the locking mechanism
If any instability exists, repeat the locking procedure immediately. A loose column is a fall hazard that can cause serious injury.
Expert Note: Test stability every single time, even if you folded and unfolded just hours earlier. Vibration during transport can loosen components unexpectedly.
Adjust Tension for Smooth Operation
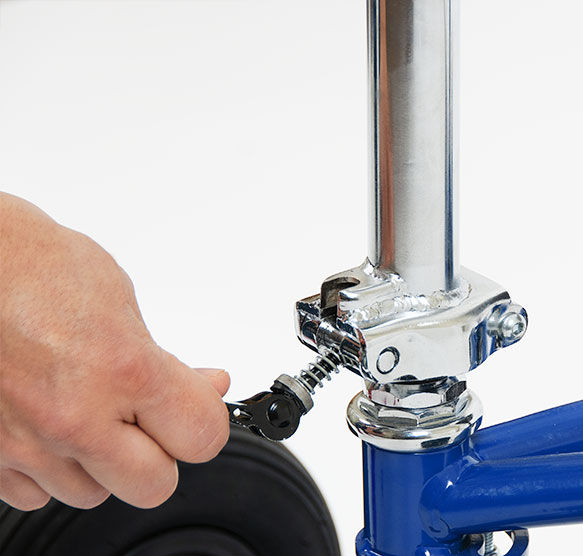
Improper tension causes either wobbling when too loose or difficulty folding when too tight. Learning to adjust this is essential for maintaining your scooter’s performance.
Fix a Wobbly Column
- Disengage the lever completely
- Twist it clockwise one full turn to increase tension
- Re-engage and test stability by shaking the handlebars
- Repeat if needed until the wobble disappears
Most users need one to two full turns beyond hand-tight for optimal security. Test after each adjustment.
Loosen an Over-Tight Lever
- Pull the lever out fully to disengage it
- Twist counterclockwise slightly, about one-quarter to one-half turn
- Re-engage and check ease of movement
- The lever should move smoothly but hold firm when locked
The goal is a lever that moves smoothly during operation but secures tightly when locked in place.
Troubleshoot Common Folding Issues
Even with proper steps, problems can occur. Here’s how to fix them fast when learning how to fold a knee scooter.
Lever Won’t Turn
Cause: Brake engaged incorrectly or lever not pulled out fully
Fix: Disengage brakes completely and ensure lever is fully extended before twisting
Column Won’t Fold Down
Cause: Basket still partially attached or debris in the hinge
Fix: Remove basket entirely and inspect for dirt, grass, or small objects blocking motion
Clicking or Grinding Noises
Clicking is normal and indicates the pin seating into the groove. Grinding is a sign of misalignment or lack of lubrication. Clean the hinge area with a dry cloth and apply light machine oil sparingly to pivot points. Avoid grease, as it attracts dust and grime.
Maintain the Folding Mechanism Long-Term
Regular care keeps your scooter folding smoothly for years. A few minutes of maintenance prevents expensive repairs and ensures safety.
Monthly Inspection Checklist
• Check the lever for cracks or stripped threads
• Inspect the locking pin and groove for wear
• Clean the hinge area of dirt and moisture
• Verify brake function before each fold
Metal fatigue can develop over time. Replace worn parts immediately rather than waiting for failure.
Follow Best Usage Practices
Smart habits prevent accidents and extend scooter life significantly. Make these practices part of your routine.
Key Recommendations
• Practice folding at home before needing it on the go
• Always use flat, dry surfaces and never fold on carpet or gravel
• Refer to your owner’s manual for model-specific details
• Store folded scooters in dry areas to prevent rust
Did You Know? Over 30% of knee scooter failures stem from improper locking, not mechanical defects.
Store Your Folded Scooter Safely
Once collapsed, protect your scooter during transport or storage to maintain its condition and functionality.
Secure for Transport
• Confirm the lever is locked in the folded position if applicable
• Place in a car trunk or back seat where it won’t shift during driving
• Use a blanket or mat to prevent scratches on vehicle interiors
For long-term storage, keep the scooter in a cool, dry place and cover with a breathable fabric. Fold and unfold monthly to prevent stiffness in the mechanisms.
Frequently Asked Questions About Folding a Knee Scooter
Can all knee scooters be folded?
Most modern knee scooters are designed to fold, but the mechanism varies by model. Standard models use a lever system, while others use quick-release or clasp systems. Always check your owner’s manual to confirm folding capability.
How long does it take to fold a knee scooter?
With practice, the entire folding process takes less than 60 seconds. This includes engaging brakes, removing the basket, folding the column, and performing a stability check.
Why won’t my steering column fold down?
The most common reason is a partially attached basket blocking the folding path. Check that the basket has been completely removed. Debis in the hinge or an engaged brake can also prevent folding.
Is it safe to transport a folded knee scooter in a car?
Yes, folded knee scooters are compact enough for car transport. Secure the scooter to prevent it from shifting during driving, and ensure the locking mechanism is fully engaged.
How often should I check the folding mechanism?
Inspect the folding mechanism before every use. Regular monthly inspections for wear and tear are also recommended to catch potential issues early.
What should I do if the lever feels loose after folding?
Adjust the tension by pulling the lever out and twisting it clockwise to increase tightness. Test stability after each adjustment until the wobble disappears.
Key Takeaways for Folding Your Knee Scooter
Knowing how to fold a knee scooter correctly is not just about convenience, it is a safety imperative that protects you from falls and protects your scooter from damage. The essential steps include engaging the parking brakes first, removing the storage basket to clear the folding path, and releasing the steering column lever using the correct technique for your specific model. Always perform a stability test after unfolding and re-lock the mechanism properly before placing any weight on the scooter.
With practice, the entire process takes less than 60 seconds and becomes second nature. Regular maintenance, including monthly inspections and tension adjustments, keeps your scooter folding smoothly for years. Always refer to your owner’s manual for model-specific details, and store your folded scooter in a dry place to prevent rust and damage.



