
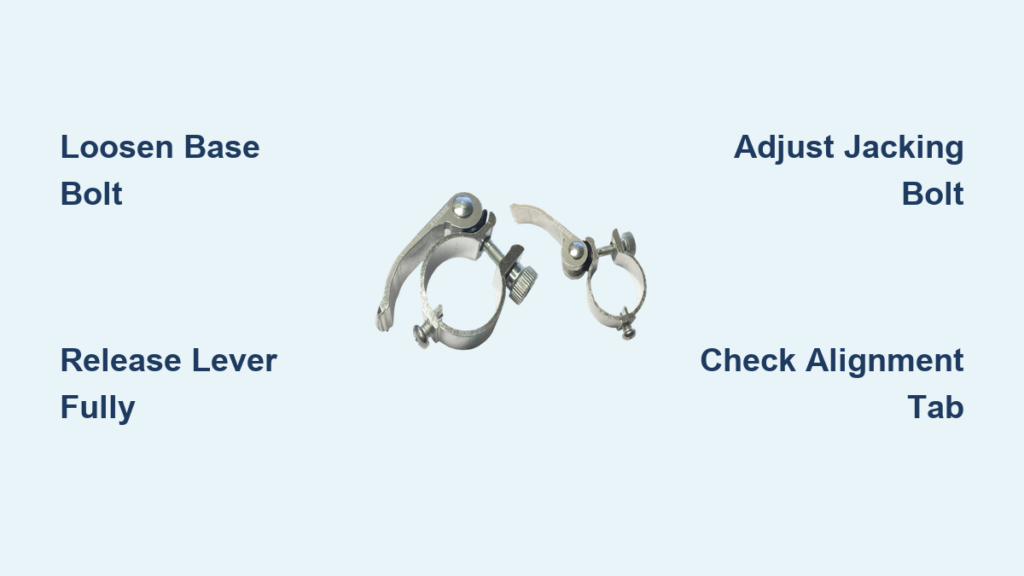
If your electric scooter’s handlebars feel stuck or the stem won’t fold properly, the issue likely lies with the stem clamp. Knowing how to loosen up the clamp for electric scooter is essential for adjusting height, folding, or replacing components. A clamp that’s too tight prevents smooth operation, while one that’s too loose risks handlebar wobble or failure. This guide walks you through model-specific methods to safely loosen and adjust stem clamps using the correct tools and techniques.
Whether you own a Pure Electric, Micro, or Apollo model, each uses a different clamp mechanism requiring unique steps. We’ll break down the exact process for each, highlight common mistakes, and show you how to avoid damaging critical parts. By the end, you’ll know how to release tension, maintain alignment, and re-secure your clamp with confidence.
Pure Electric Air Pro & LR 2nd Gen Clamp Adjustment

This model uses a dual-bolt system where one bolt aligns the stem and another adjusts clamp tension. Loosening must be done in sequence to prevent misalignment.
Loosen the Base Bolt First
Start by inserting a 2mm or 2.5mm hex key into the bolt at the base of the stem clamp. Turn it counterclockwise to partially loosen. Do not remove it completely. This bolt maintains structural alignment. If accidentally removed, reinsert it and tighten about two full turns before proceeding.
Removing it fully can shift internal components, making reassembly difficult. Keep this bolt snug enough to hold position but loose enough to allow adjustment.
Adjust the Top Tension Bolt
Use a flathead screwdriver on the top bolt to control clamp tightness. This bolt bends the clamp slightly to create friction. To loosen the stem for folding or adjustment, turn this bolt counterclockwise in quarter-turn increments.
After each adjustment, test the folding mechanism. If the stem still won’t fold, continue loosening slightly. Over-loosening causes play, so stop as soon as movement is smooth.
Finalize with Lower Bolt Tightening
Once the stem folds correctly, fully tighten the lower bolt with the hex key. This locks the alignment. Ensure it’s snug but do not over-tighten. Excessive force can strip threads or deform the stem.
After tightening, test the handlebar for stability. There should be no wobble, but the stem should still fold with moderate effort.
Pro Tip: Check clamp tightness after every ride on bumpy terrain. Vibration can gradually loosen bolts.
Micro Scooter (Mini & Maxi) Clamp Release
Micro scooters use a spring-loaded over-center clamp with a push-button release. The process involves releasing tension, removing fasteners, and preserving alignment.
Open the Clamp Lever Fully
Flip open the clamp lever on the side of the stem. This releases the cam-action mechanism that holds the T-bar in place. The lever should move freely past the over-center point, reducing pressure on the handlebar tube.
If the lever is stiff, do not force it. Dirt or corrosion may be present. Clean around the pivot first.
Remove the Self-Tapping Screw
Extend the handlebar opposite the clamp to access the rear. Use a crosshead screwdriver to remove the self-tapping screw at the back of the clamp. This screw is unique to your scooter. Do not lose it or replace it with a standard screw.
This screw ensures proper thread engagement. Using a substitute can lead to stripping or failure.
Loosen the Clamp Lever Slightly
With the screw out, use a 5mm Allen key to loosen the clamp lever bolt. You do not need to remove it. Just loosen enough to allow the clamp to slide. This gives you room to lift the T-bar out.
Lift Out the T-Bar
Pull up on the handlebars while pressing the black release button. Slide the clamp and T-bar upward and off the stem tube. If replacing the clamp, thread the T-bar through the new unit, pressing the button as needed to align.
Warning: Never interchange Mini and Maxi clamps. They differ in size and load capacity. Using the wrong one creates a safety hazard.
Reinstall with Tab Alignment
When reassembling, press the black button and slide the T-bar back down. The metal tab on the clamp’s back must fit into the groove on the stem tube. This tab prevents rotation.
If the tab is broken or missing, replace the entire clamp. It cannot function safely without it.
Secure and Test Tension
Reinsert the self-tapping screw and hand-tighten. Close the clamp lever until it clicks past the over-center point. Then fully tighten the screw.
Test the handlebar by twisting and pulling. There should be zero movement. If the clamp slips, realign the tab and retighten.
Expert Note: A properly tightened clamp is hard to close. If it folds easily, the tension is too low.
Apollo Pro & Rugged Folding Clamp Adjustment

The Apollo Pro and similar models with the Rugged Folding Clamp use a jacking bolt system for precision tuning. This design allows smooth folding without sacrificing rigidity.
Prepare by Loosening Main Bolts
Fold the scooter to access the stem. Use a 6mm Allen key to slightly loosen the main clamp bolts. This reduces resistance when adjusting or removing the clamp.
Do not remove them completely. Just enough to allow movement.
Install the Stainless Steel Shim
If upgrading to the rugged clamp, slide the stainless steel shim under the folding stem. Ensure it is fully seated and follows the stem’s curve. This shim prevents wear and improves alignment.
Never skip the shim. It is critical for long-term performance.
Mount Clamp with Correct Orientation
Install the clamp with bolts facing forward and the slot at the back facing upward. Incorrect orientation prevents proper clamping and can lead to failure.
The fit will be tight. To seat it fully, place the scooter on the ground, step on the rear fin, and lift the stem while pushing forward. This forces the clamp into the correct position.
Adjust the Jacking Bolt for Folding
The jacking bolt controls the folding gap. To loosen the clamp for folding, slightly loosen the jacking bolt to create a small gap. This allows the stem to fold smoothly.
Once adjusted, tighten the red clamps over the stem. After confirming no wobble or squeak, fully tighten the jacking screw to lock everything in place during riding.
Fix It Sticks Tip: Use a Fix It Sticks tool with 6mm and 4mm bits for better torque and access in tight spaces.
Common Clamp Problems and Fixes
Even with proper adjustment, clamps can develop issues. Here is how to diagnose and fix them fast.
Stem Won’t Fold
Cause: Over-tightened tension bolt on Pure Electric models or insufficient gap in jacking bolt on Apollo models.
Fix: For Pure Electric, loosen the top bolt in quarter-turns. For Apollo, adjust the jacking bolt to create a slight gap. For Micro, ensure the clamp lever is fully open and the button is pressed.
Handlebar Wobble or Play
Cause: Loose lower bolt, broken alignment tab, or worn clamp.
Fix: Tighten the lower bolt on Pure Electric models. Replace the clamp if the rear tab is broken on Micro models. Fully tighten the jacking screw on Apollo models. Recheck all bolts after 10 miles of riding.
Squeaking or Creaking Noise
Cause: Metal-on-metal friction or wrong lubricant.
Fix: Apply silicone-based lubricant to the clamp-stem interface. Avoid WD-40 or oil. These attract dust and worsen wear.
Pro Tip: Lubricate only when disassembled. Wipe off excess to prevent grit buildup.
Handlebar Rotates During Ride
Cause: Missing or broken alignment tab on Micro models or loose self-tapping screw.
Fix: Replace the clamp if the tab is damaged. Ensure the screw is tight and the tab engages the groove. Never ride with a rotating handlebar. It is a crash risk.
Stripped Bolt or Thread Damage
Cause: Over-tightening or using the wrong tool.
Fix: Replace the bolt with an identical one. Use the correct-sized hex key to avoid cam-out. Apply thread locker on reassembly if needed.
Safety Rules and Maintenance Tips
Adjusting your scooter’s clamp is not just about function. It is about safety. Follow these rules to avoid injury or failure.
Never Over-Tighten
Excessive force on any bolt can strip threads, crack the stem, or warp the clamp. Tighten until snug, then stop. Use a torque-sense grip. Your hand should feel resistance, not strain.
Use the Right Lubricant
Only use silicone-based lubricants on metal interfaces. Oil and WD-40 degrade performance by attracting dirt. They may quiet noise temporarily but cause long-term damage.
Check Clamp Every Few Weeks
Vibration and impacts loosen bolts over time. Recheck clamp tightness after riding on rough roads, after folding and unfolding frequently, or every 2 to 3 weeks for daily riders.
Replace Damaged Parts Immediately
A broken alignment tab, bent clamp, or stripped bolt compromises safety. Do not ride with compromised hardware. Replace it before your next trip.
Match Components Correctly
Micro Mini and Maxi clamps are not interchangeable. They are not the same. Rugged clamp bolts must face forward. Reverse installation fails. Use original self-tapping screws. Substitutes strip easily.
Final Adjustment Checklist

Before every ride, run through this quick verification.
Check that the stem folds smoothly without resistance. Check that the handlebar is rigid with no wobble or rotation. Check that the clamp lever is fully closed and locked. Check that all bolts are snug with no visible gaps. Check that the alignment tab is engaged on Micro models. Check that there is no squeaking during movement.
If all boxes are checked, your clamp is properly adjusted and safe to ride.
Frequently Asked Questions About Loosening Electric Scooter Clamps
Why won’t my electric scooter stem fold after loosening the clamp?
Your stem may not fold if the tension bolt is still too tight on Pure Electric models. Loosen the top bolt in quarter-turn increments until movement is smooth. On Apollo models, the jacking bolt may need adjustment to create a small folding gap.
Can I use any screwdriver to loosen my scooter clamp?
No. Pure Electric models require a 2mm or 2.5mm hex key and flathead screwdriver. Micro models need a crosshead screwdriver and 5mm Allen key. Apollo models require a 6mm Allen key. Using the wrong tool can strip the bolts.
What happens if I interchange Mini and Maxi Micro clamps?
Mini and Maxi clamps are not interchangeable. They differ in size and load capacity. Using the wrong clamp creates a serious safety hazard. The handlebar could slip during riding.
Why does my handlebar squeak after adjusting the clamp?
Metal-on-metal friction causes squeaking. Apply a silicone-based lubricant to the clamp-stem interface. Do not use WD-40 or oil. They attract dirt and accelerate wear.
How often should I check my scooter clamp tightness?
Check clamp tightness after every ride on rough terrain. For daily riders, recheck every 2 to 3 weeks. Vibration gradually loosens bolts over time.
Key Takeaways for Loosening Your Electric Scooter Clamp
Knowing how to loosen up the clamp for electric scooter is a essential skill that keeps your ride safe and functional. Each scooter brand uses a different mechanism. Pure Electric relies on a dual-bolt system. Micro uses a spring-loaded over-center lever. Apollo uses a jacking bolt system. Always loosen in the correct sequence to avoid misalignment.
Never over-tighten bolts. Stripped threads and damaged stems result from excessive force. Use silicone lubricant only. Check tightness regularly, especially after rough rides. Replace damaged components immediately. Your safety depends on a properly secured clamp.



