
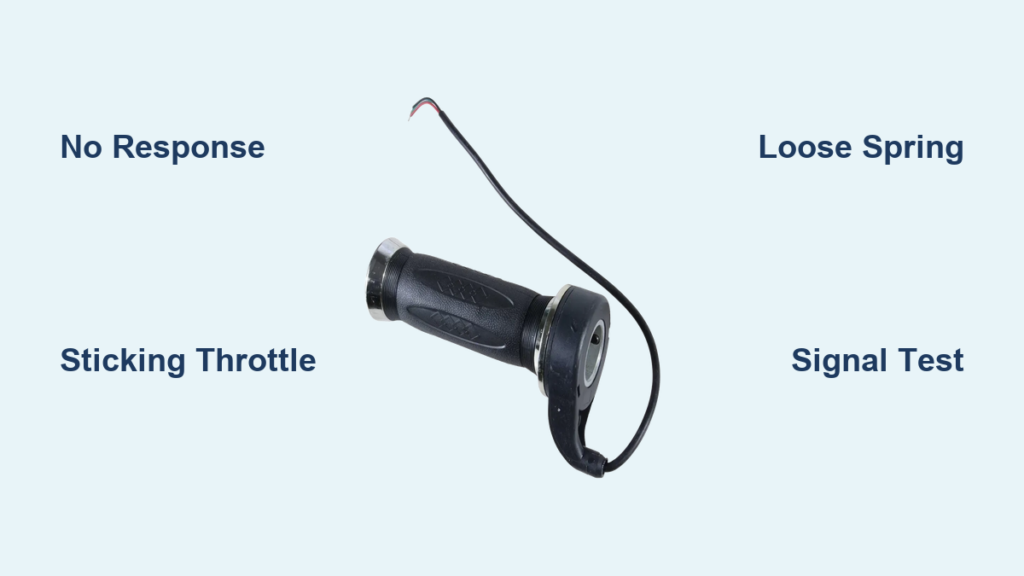
If your electric scooter won’t accelerate when you twist or press the throttle, or if it sticks and won’t return to idle, you’re dealing with one of the most common and potentially dangerous issues in e-scooter ownership. The scooter throttle repair process is often simpler than it seems, especially when you know how to diagnose whether the problem is mechanical, electrical, or a mix of both. Most modern scooters use a Hall effect sensor to send speed commands to the motor controller, and when this system fails, performance suffers immediately.
A faulty throttle can leave you stranded or cause sudden uncontrolled acceleration. But with basic tools and a methodical approach, many throttle problems can be fixed at home in under 30 minutes. This guide walks you through real-world fixes for non-responsive, sticky, or loose throttles.
Decode Common Throttle Symptoms
Before disassembling anything, identify what your scooter is trying to tell you. Each symptom points to a specific type of failure.
No Response When Twisting
If nothing happens when you engage the throttle, the issue is likely electrical. Start by checking whether the scooter powers on and displays battery level. Verify if other functions like brakes, lights, and display work normally. Look for any error codes on the dashboard. A dead throttle with an otherwise functional scooter usually means broken wiring, disconnected connectors, or a failed Hall effect sensor.
Throttle Sticks in “On” Position
This is a serious safety hazard. If the motor keeps running after releasing the throttle, do not ride until fixed. Immediately cut power using the key switch or emergency stop. Check for physical obstructions or misaligned internal components. Sticking is often caused by dirt buildup, a dislodged return spring, or magnet and sensor misalignment.
Intermittent Power Delivery
When the throttle works sometimes but cuts out randomly, suspect loose connections or frayed wires. These issues are often movement-dependent. Jiggling the handlebars might briefly restore function. Focus your inspection on connector joints near the handlebars and areas where wires bend repeatedly.
Loose Feel With No Spring Back
If the throttle lever or twist grip moves freely without tension, the internal spring has likely come loose or broken. Without proper return force, the throttle cannot reset safely. This requires opening the housing to inspect and reseat the spring mechanism.
Uncontrollable Acceleration at Startup
If the scooter lurches forward as soon as powered on, the Hall sensor may be stuck in full-output mode. This can be caused by mechanical binding preventing idle return, sensor calibration drift, or a short circuit in the signal wire. This condition demands immediate attention.
Essential Tools for Diagnosis
You do not need a full workshop to fix most throttle issues. A few basic tools will get you started.
Required Repair Kit
Gather these before beginning:
- 3 mm hex wrench for handlebar mounting screws
- Phillips and flathead screwdrivers for housing and panel screws
- Multimeter to test voltage, continuity, and signal output
- Compressed air and soft brush for cleaning debris
- Isopropyl alcohol for cleaning corroded contacts
- Wire cutters and small pointed tool for connector handling
Having the right tools prevents damage during disassembly and ensures accurate testing.
Visual Inspection Checklist
Start every repair with a thorough visual check:
- Look for cracks or deformation in the throttle housing
- Inspect wires for fraying, cuts, or pulled connectors
- Ensure all electrical plugs are fully seated
- Check for corrosion or moisture inside connectors
Even minor physical damage can disrupt the signal.
Auditory Cues During Operation
While twisting the throttle slowly, listen closely. Grinding or catching sounds suggest internal mechanical obstruction. Clicking noises may indicate gear damage or spring misplacement. Silent but stiff movement points to dried lubricant or dirt buildup.
Test Voltage and Signal Output

Electrical testing confirms whether the throttle is sending correct signals to the controller.
Verify Battery Voltage First
Before connecting any new throttle, set your multimeter to DC voltage. Measure between the Red wire and Black wire. Confirm the reading matches the labeled system voltage. This matters because connecting a throttle to a higher-than-expected voltage can fry the controller.
Check Power and Ground at Throttle
With the scooter powered on, probe the Red and Black wires at the throttle connector. Confirm the appropriate voltage is present. If no voltage, trace back to the controller or fuse. No power means the issue lies upstream.
Measure Signal Wire Response
The signal wire should vary voltage as you twist. Connect multimeter between Black and Green or Blue wires. Power on the scooter and twist throttle slowly from idle to full. A healthy throttle outputs approximately 0.8V at idle and ramps up to approximately 4.2V at full twist with smooth, linear increase.
Continuity Testing for Broken Wires
Use multimeter in continuity mode. Disconnect throttle from controller and probe each wire from end to end. Listen for a beep indicating complete circuit. Intermittent beeping or no continuity means a broken conductor.
Fix Xiaomi M365/ES1/ES2 Throttles

These popular models share a common throttle design prone to sticking and connection issues.
Quick Fix: Release Internal Friction
For throttles that stick or feel tight, pull back the rubber handlebar grip. Gently push the throttle assembly forward and release. It should snap back smoothly. This often frees minor misalignments without full disassembly.
Realign Housing Without Replacement
If the throttle binds, remove the front 3 mm hex screw. Take out the two inner Phillips screws under the headlight. Gently push the internal mechanism to the left to reset spring tension. Reinstall screws and test.
Full Throttle Replacement Steps
When replacement is needed, slide off the rubber handlebar cover with twisting motion. Remove the 3 mm hex screw at the front and two inner screws. Push headlight forward and disconnect its plug carefully. Remove the two Phillips screws behind the headlight securing the throttle housing. Insert 3 mm wrench into the front hole and gently push the throttle out. Note and save the rubber gasket. Identify wire sets and disconnect the green-wire connector. Feed it through the handlebar hole. Install the new unit in reverse order, ensuring the connector clip snaps securely into place.
Pro Tip: Loosen the brake and throttle housing slightly during reassembly to give wire slack and prevent strain.
Repair Loose Throttle on TravelScoot
This model often develops loose throttles due to wire pulling during transport.
Disassemble Housing Safely
Gently pry apart the throttle housing. Watch for spring ejection and retrieve it immediately if it pops out. Remove the Phillips screw securing the inner panel.
Manage Wire Strain With Proper Zip Tie
Locate the zip tie securing the wiring bundle. If damaged, install a new one. Wrap the zip tie around the black housing, not the wires. Place it inside the housing to maintain tension without pinching.
Reinstall Return Spring Correctly
This is the most critical step. Identify the E shape, silver tab, and black extending piece. Fit one end of the spring between the tab and the black piece. Locate the magnet with the small hole at the bottom left. Insert the spring’s protruding end into the hole. Push in slightly and twist like a key until it snaps into place. Test by pulling the throttle. It must return crisply.
Replace Sensor on Turboant and Generic Scooters

For models with no spring resistance or damaged sensors, replacement is straightforward.
Remove Throttle Assembly
Unscrew mounting hardware and carefully extract the unit from the handlebar. Disconnect the wiring harness. Refer to model-specific visuals if access is tight.
Install 49E Hall Effect Sensor
Most mini scooters use the 49E linear Hall sensor. Note that the sensor has a numbered side and a flat side. Insert with the numbered side facing down. Secure with the mounting bracket. Reinforce with a metal washer or plate to prevent loosening.
Connect Wires by Color Code
Standard wiring uses Red for 36V power, Black for Ground, and Green or Blue for Signal. Some models use Blue instead of Green. Verify with a multimeter if unsure.
Calibrate Magnet-to-Sensor Gap
Optimal distance is 1 to 2 mm. Adjust the housing so the magnet passes close to the sensor. Too far results in weak or no signal. Too close causes erratic response or constant activation.
Handle Key Switch Wiring
Some throttles integrate with key switches for power control.
Identify Key Switch Wires
Common configuration uses White for battery input, Yellow for output to LED indicator and control board, and Red for input to controller. Miswiring can prevent startup or damage electronics.
Test Before Final Assembly
With connectors loose, insert the key and turn to on. Check for 5V on the Yellow wire. Confirm the Red wire activates only when the key is turned.
Clean and Lubricate Moving Parts
Prevent future issues with regular maintenance.
Remove Dirt and Debris
Disconnect the battery first. Use compressed air to blow out the housing. Wipe with a soft brush and isopropyl alcohol. Focus on pivot points and the spring area. Avoid water, which leads to corrosion.
Apply Lubricant Sparingly
Only if the mechanism feels stiff, use light synthetic lubricant. Apply one drop to moving joints and work through the full range of motion. Excess grease attracts dust and worsens sticking over time.
Prevent Future Throttle Failures
Small habits extend throttle life and prevent emergencies.
Protect From Moisture and Dust
Avoid riding in rain or wet conditions. Store indoors when possible. Cover handlebars during long-term storage. Internal corrosion kills sensors and wiring over time.
Inspect Screws and Housing Regularly
Every few weeks, check for loose mounting screws. Look for cracks or wear on the housing. Ensure wires are not strained at bends. Catch problems early before they become failures.
Secure Wires With Housing-Only Zip Ties
Never let zip ties clamp directly on wires. Instead, loop the tie around the housing structure. Use it to anchor the bundle without compressing insulation.
Avoid Critical Safety Risks
Throttle repairs involve real dangers if done incorrectly.
Never Skip Voltage Verification
Always test battery output before installing a new throttle. A 36V system might actually be 42V when charged. Mismatched voltage can destroy the controller instantly. Use a multimeter and never assume.
Test Brake Cut-Off Function
After any repair, engage the brake lever and try to twist the throttle. The motor should not respond. If it does, the brake cut-off wire is disconnected. This is a major safety flaw that must be fixed before riding.
Stop Riding With Stuck Throttle
If the throttle sticks, release immediately and apply brakes firmly. Cut power via the key switch. Do not attempt to ride until repaired. Uncontrolled acceleration causes serious accidents.
Seek Professional Help When Needed
If you have tried cleaning, realignment, spring reseating, and voltage testing and the problem persists, the fault may be deeper. Local e-scooter repair shops offer advanced diagnostics and component-level fixes.
Frequently Asked Questions About Scooter Throttle Repair
Why does my scooter throttle not respond at all?
A non-responsive throttle usually indicates an electrical fault. Check for broken wiring, disconnected connectors, or a failed Hall effect sensor. Use a multimeter to verify power and signal output at the throttle connector.
How do I fix a sticky throttle that will not return to idle?
A sticky throttle is often caused by dirt buildup, a dislodged spring, or magnet and sensor misalignment. Clean the housing thoroughly, reseat the spring if dislodged, and verify the magnet-to-sensor gap is between 1 and 2 mm.
Can I replace the throttle myself at home?
Yes, most throttle repairs can be done at home with basic tools. You will need a 3 mm hex wrench, Phillips screwdriver, multimeter, and isopropyl alcohol. Follow model-specific guides for your scooter brand.
What voltage should the throttle signal wire output?
The signal wire typically outputs approximately 0.8V at idle and ramps up to approximately 4.2V at full twist. Use a multimeter to verify the smooth linear increase as you twist the throttle.
How do I know if the Hall effect sensor is bad?
If the throttle shows full voltage constantly or no voltage change when twisted, the sensor is likely failing. Test the signal wire with a multimeter while slowly engaging the throttle. Erratic readings or no response indicates sensor replacement is needed.
Is it safe to ride with a malfunctioning throttle?
No. A stuck throttle causes uncontrollable acceleration. A loose throttle with no spring return cannot safely control speed. Always repair throttle issues before riding.
Key Takeaways for Successful Scooter Throttle Repair

Most scooter throttle problems are fixable with basic tools and careful troubleshooting. Start by identifying the exact symptom, whether it is no response, sticking, intermittent power, or loose feel. Use a multimeter to test voltage and signal output before replacing any parts. Follow model-specific procedures for Xiaomi, TravelScoot, and generic scooters. Always verify battery voltage matches the throttle specifications. Test the brake cut-off function after any repair to ensure safety. With proper care, your repaired throttle can last for thousands more miles.



