
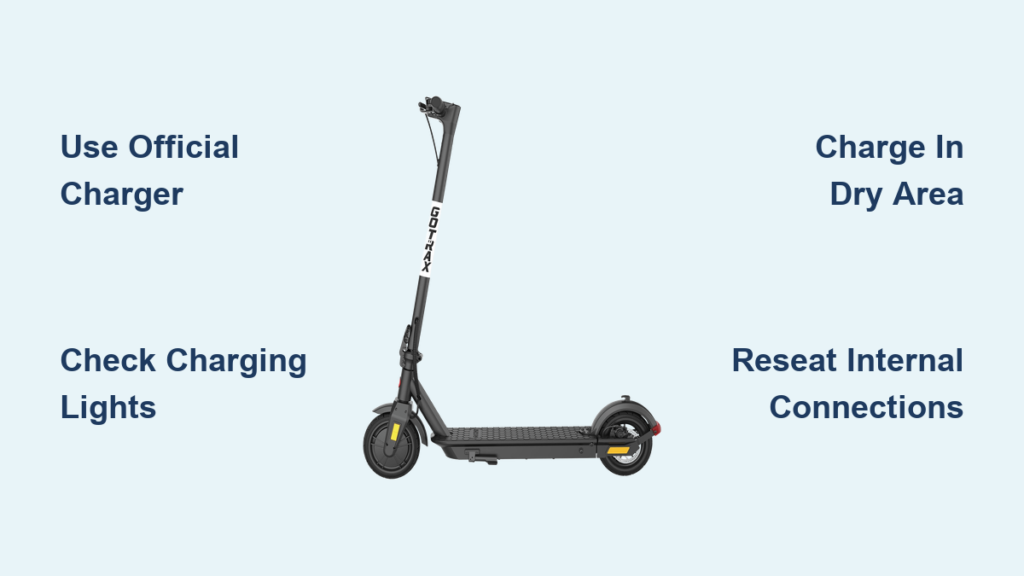
You just unboxed your new GOTRAX electric scooter and are ready to ride, only to find the battery is dead. Or maybe your scooter won’t turn on, and you’re not sure if it’s charging properly. One of the most common questions from new and experienced riders alike is how to charge GOTRAX scooter correctly and safely. The good news is that charging is simple when you follow the right steps. But using the wrong charger, leaving it plugged in overnight, or charging in wet conditions can damage your scooter or create a fire hazard. This guide walks you through the exact charging process for all major GOTRAX models, explains what the indicator lights mean, shows how to troubleshoot when it won’t charge, and shares critical safety tips to protect your investment.
Locate the Charging Port on Your GOTRAX
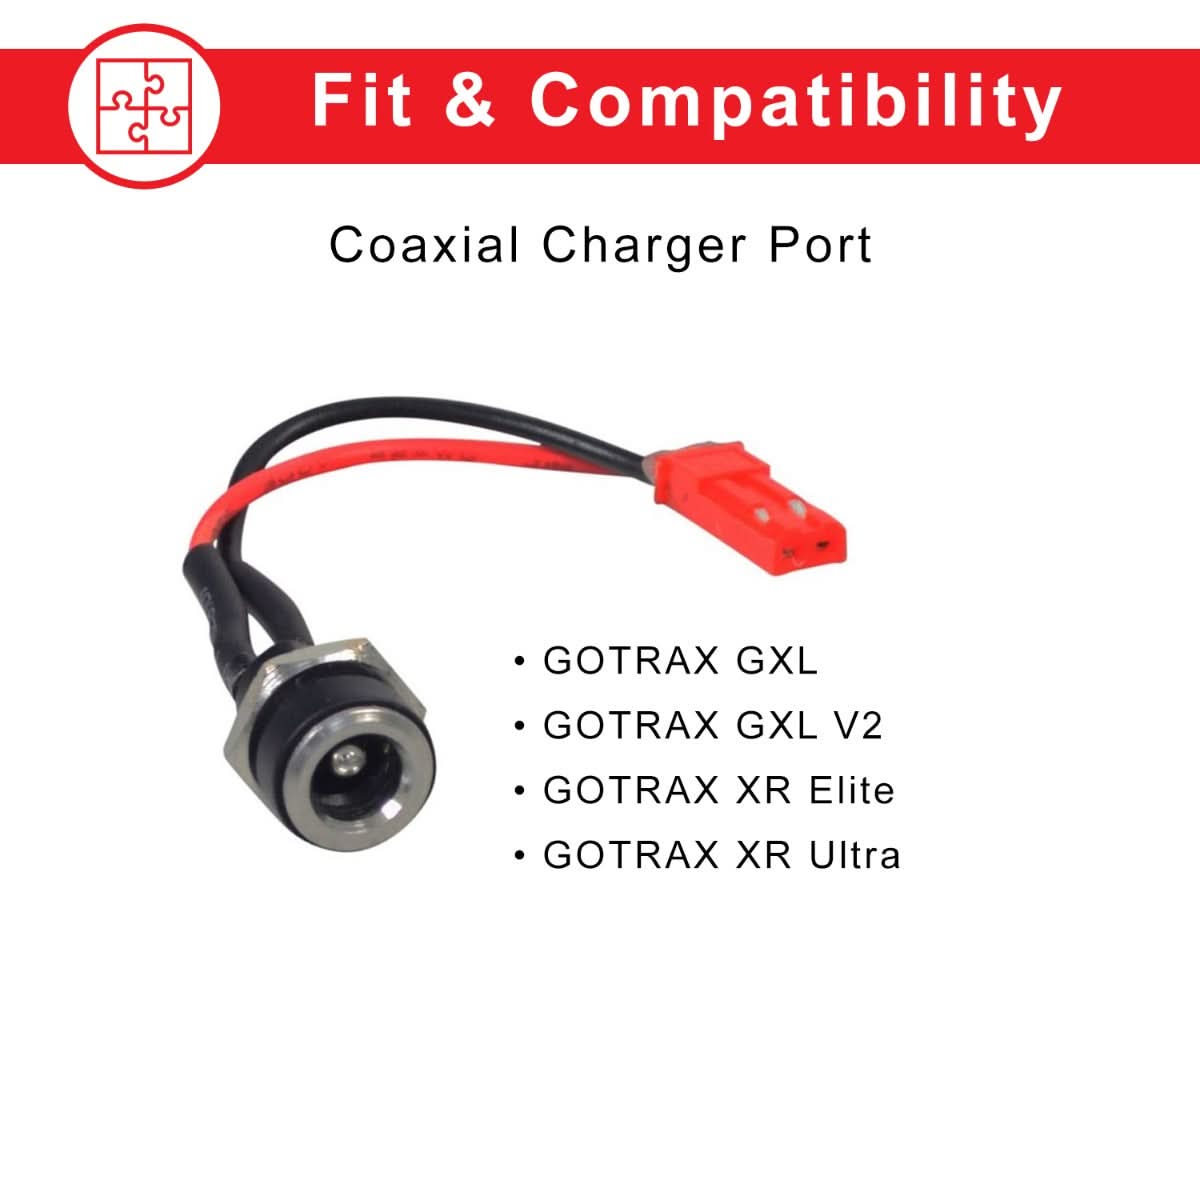
The first step in charging your GOTRAX scooter is finding the charging port. Unlike some brands, GOTRAX doesn’t use a single location across all models. Depending on your scooter, the port may be on the tiller (stem) or the deck (base platform).
Find Your Model’s Port Location
GOTRAX uses two different port placements depending on the model. Check the user manual or visually inspect both areas if you’re unsure of your specific model.
- Tiller-mounted ports are found on the XR Ultra, XR Elite, and GXL V2
- Deck-mounted ports are found on the G4, GMAX, Apex, Apex XL, and G3 Plus
- Look for a small rubber cover, usually black or gray, protecting the charging port
- The cover keeps dust and moisture out, so always ensure it’s closed when not charging
Tiller-mounted ports make wall charging more convenient since you don’t need to bend down. Deck-mounted ports may require more effort to access, but both work identically once connected.
Connect the Charger Properly
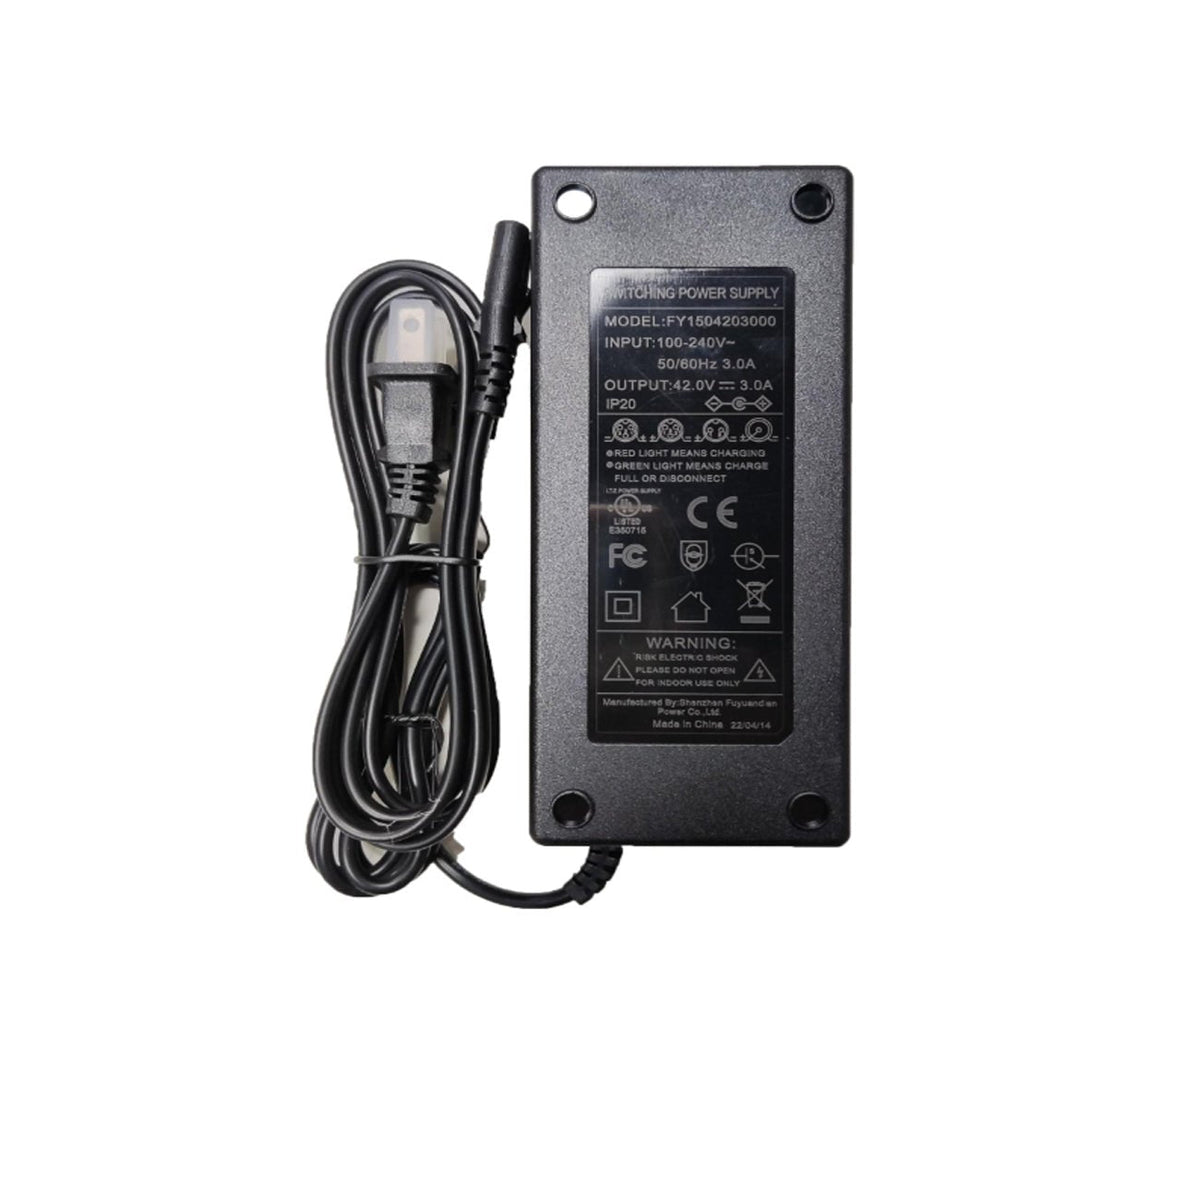
Using the correct charger and connecting it properly is essential for safe, effective charging. A poor connection can prevent charging entirely or damage your battery.
Use Only the Official GOTRAX Charger
Always use the official 42V 1.5A GOTRAX charger that came with your scooter. Third-party or generic chargers may deliver incorrect voltage or current, leading to battery damage, overheating, or permanent failure.
- The official charger has a dual-color LED indicator
- Red light means the battery is actively charging
- Green light means the battery is full or the charger is in standby
- Never assume a green light means charging is in progress—it only confirms the charger has power
Always verify the scooter’s display to confirm charging is actually happening. A green charger light alone doesn’t guarantee the battery is receiving power.
Step-by-Step Connection Process
Follow these steps to connect your charger safely every time.
- Power off the scooter before connecting the charger
- Open the rubber charging port cover
- Insert the charger plug firmly into the port until it clicks or feels secure
- Plug the other end into a standard wall outlet (110-120V)
- Look for the red light on the charger brick to confirm charging has started
If the light stays green or doesn’t turn on at all, there may be a connection issue. Do not force the plug. If it feels loose, stop and inspect for debris or damage before trying again.
Monitor Charging Status and Indicators

Understanding what the lights mean helps you know exactly when your scooter is ready to ride. Relying on only one indicator can lead to overcharging or removing the charger too early.
Read Both Charger and Display Lights
Two indicators confirm your GOTRAX scooter is charging properly.
- Charger light turns red when actively charging and green when full
- Scooter display shows two battery bars when charging current is detected
- If the charger light is red but the display shows no bars, the battery isn’t receiving charge
Never rely solely on the charger light. Always check the scooter’s display to verify that charging current is actually reaching the battery. A loose internal connection is often the culprit when the charger shows red but the display shows nothing.
Know the Full Charge Time
Most GOTRAX scooters take 4 to 5 hours to charge from empty to full. This timeframe varies based on several factors.
- Remaining battery level when you start charging
- Ambient temperature in your charging area
- Charger condition and age
Avoid guessing whether charging is complete. Always wait for the charger light to turn green and the display to show full bars before unplugging. Overcharging is a real risk if you leave the scooter plugged in for hours after reaching full charge.
Charge in a Safe Environment
Where you charge your scooter matters as much as how you charge it. The wrong environment can reduce battery performance, damage components, or create fire hazards.
Avoid Extreme Temperatures
Charge your scooter in a dry, temperature-controlled space between 50°F and 86°F (10°C-30°C). Charging in freezing or hot environments reduces efficiency and can damage the lithium-ion battery.
- Never charge in direct sunlight
- Avoid garages without climate control
- Do not charge outdoors in winter weather
- Extreme temperatures stress the battery and shorten its lifespan
Prevent Fire and Water Hazards
Following these safety rules protects your scooter and your home.
- Never charge on flammable surfaces like beds, sofas, or near curtains
- Do not charge in rain or damp areas since GOTRAX scooters are not waterproof
- Keep the charging port dry and always replace the rubber cover after use
- Never leave charging unattended or charge while sleeping
- Overnight charging is strictly discouraged as it increases the risk of overcharging, battery swelling, and fire
Set a timer or reminder to unplug your scooter after 5 hours maximum. This simple habit prevents overcharging damage and extends battery life.
Troubleshoot Charging Problems
If your GOTRAX scooter won’t charge, the issue is usually a loose connection rather than a dead battery or defective charger. Most charging failures can be resolved without buying new parts.
Fix No-Charge Issues Fast
When your scooter won’t charge, try reseating the internal connections before assuming the battery or charger is dead. This fixes approximately 90% of charging problems.
- Power off the scooter and unplug the charger from both the wall and the scooter
- Use an L-wrench to remove the two screws on the battery panel
- Carefully lift the panel, watching for a spring inside that may pop out
- Do not touch metal contacts since residual charge can cause sparks
- Locate the charging cable connector, usually near the charging port
- Unplug and firmly reconnect both ends: one connection to the battery, one to the circuit board
- Reassemble the panel and test charging again
This simple reseating often restores charging function within minutes.
Test Charger and Battery
If reseating the connections doesn’t work, test the individual components.
- Try a known-working GOTRAX 42V 1.5A charger from official parts
- Check if the charger light turns red when plugged into the wall without the scooter connected
- If the light doesn’t turn on at all, the charger may be faulty
- If the light turns red but the scooter doesn’t respond, the battery or internal wiring may need replacement
Note that chargers and batteries are final sale with no returns, so test carefully before purchasing replacement parts.
Power On and Off Your Scooter Correctly
Proper power cycling ensures safe operation and accurate battery readings. Different GOTRAX models use different button combinations.
For XR Ultra, XR Elite, GXL V2, and Apex Models
These models use the red power button on the tiller.
- Power on by pressing and holding the red button for 1 second
- Power off by pressing and holding for 5 seconds
- Turn on the headlight by pressing and holding the red button for 1 second while the scooter is on
- Change gears by pressing the red button for 2 seconds to toggle between first and second gear
For G4 and GMAX Models
These models have a dedicated power button and use the display controls.
- Power on and off by long pressing the dedicated power button
- Turn on the headlight by pressing and holding the “+” button
Always power off your scooter when not in use to prevent accidental throttle activation and unnecessary battery drain.
Avoid Common Charging Mistakes
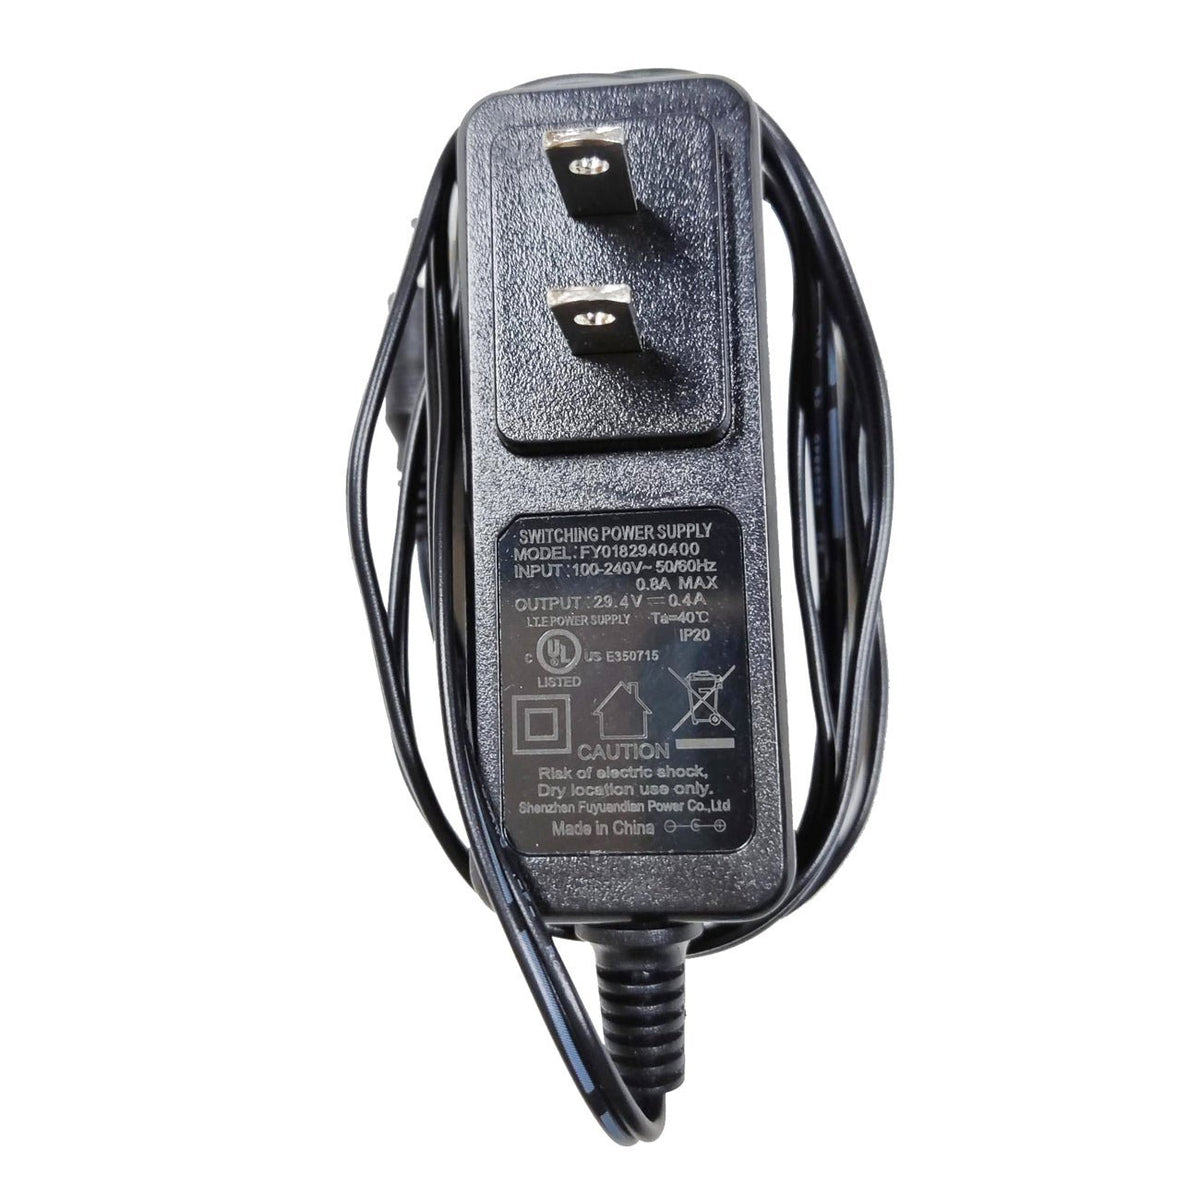
Even experienced riders make errors that damage their scooters or void their warranty. Avoid these costly mistakes.
Common Errors That Damage Scooters
- Using non-OEM chargers damages the battery and voids the warranty
- Leaving the scooter on the charger overnight causes overcharging and fire risk
- Charging in wet conditions leads to water damage, which isn’t covered under warranty
- Ignoring display indicators means you might miss a charging failure
- Forcing the plug can bend pins or damage the port permanently
Always double-check connections and the charging environment before starting a charge. A few seconds of preparation prevents hours of frustration.
Extend Your Battery Lifespan
GOTRAX batteries are designed to maintain approximately 80% of their original capacity after 500 charge cycles. Proper charging habits maximize this lifespan.
- Charge after every ride, even short ones
- Avoid draining the battery to 0%; recharge when at 10-20% remaining
- Store the scooter partially charged (50%) if not using it for weeks
- Keep the charging port clean and dry; wipe the cover regularly
- Charge in a cool, dry location away from direct sunlight
Lithium-ion batteries degrade faster when overcharged, overheated, or deeply drained. Small habits make a big difference in how long your battery lasts.
GOTRAX Warranty and Support
Understanding warranty coverage helps you avoid voiding your protection and know when to seek help.
Warranty Coverage Details
GOTRAX offers a 2-year warranty on scooters and eBikes for manufacturer defects only. The warranty does not cover several common issues.
- Water damage is explicitly excluded
- Damage from overnight charging isn’t covered
- Using non-official chargers voids the warranty
- Physical impact or misuse isn’t covered
To file a warranty claim, you’ll need proof purchase (receipt or order number), photos or videos of the issue, and completion of the online warranty form. Keep your original charger and packaging in case you need service.
Contact GOTRAX Support
If troubleshooting fails, contact official support for help.
- Phone, email, and live chat are available
- Support hours are Monday through Friday, 8:30 AM to 5:00 PM CST
- Live chat is available 10 AM to 5 PM MST
- The support team is based in Dallas/Carrollton, Texas
- Digital manuals for all models are available on the official GOTRAX website
Have your model number and serial number ready before contacting support for faster service.
Frequently Asked Questions About Charging GOTRAX Scooters
How long does it take to fully charge a GOTRAX scooter?
Most GOTRAX scooters take 4 to 5 hours to charge from empty to full. The exact time depends on the remaining battery level, ambient temperature, and charger condition. Always wait for the green light on the charger and full bars on the display before unplugging.
Can I use a third-party charger for my GOTRAX scooter?
No. Using non-Official chargers can damage the battery, cause overheating, and void your warranty. Always use the official 42V 1.5A GOTRAX charger that came with your scooter. Third-party chargers may deliver incorrect voltage or current.
Why is my charger showing green but my scooter isn’t charging?
A green light on the charger only means the charger is receiving power from the outlet, not that it’s successfully charging the battery. Check the scooter’s display to see if two battery bars appear. If not, the issue is likely a loose internal connection that needs reseating.
Can I charge my GOTRAX scooter overnight?
No. Overnight charging is strictly prohibited and increases the risk of overcharging, battery swelling, and fire. Set a timer to unplug after 5 hours maximum. Never leave charging unattended or while sleeping.
Where is the charging port on my GOTRAX scooter?
The charging port location depends on your model. Tiller-mounted ports (on the stem) are found on the XR Ultra, XR Elite, and GXL V2. Deck-mounted ports (on the base platform) are found on the G4, GMAX, Apex, Apex XL, and G3 Plus.
What should I do if my GOTRAX scooter won’t charge at all?
First, try reseating the internal connections. Power off the scooter, remove the battery panel with an L-wrench, unplug and reconnect the charging cable at both ends, then reassemble and test. This fixes approximately 90% of charging failures.
Key Takeaways for Charging Your GOTRAX Scooter

Charging your GOTRAX scooter correctly ensures safety, performance, and long battery life. Always use the official 42V 1.5A charger, charge in a dry and cool environment between 50°F and 86°F, and monitor both the charger light (red for charging, green for full) and the scooter’s display (two bars confirm active charging). Never charge overnight or leave the scooter unattended while plugged in. If the scooter won’t charge, reseat the internal connections first—this simple fix resolves most charging problems. With proper care and attention, your GOTRAX scooter will deliver reliable rides for years to come.



