
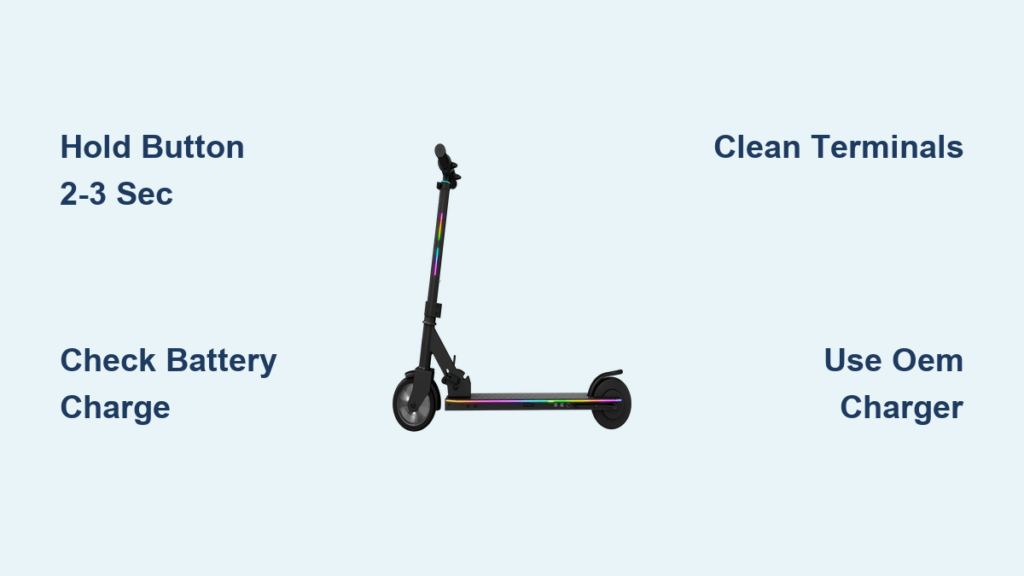
You’ve unboxed your new Jetson electric scooter, charged it overnight, and now you are ready to roll, but nothing happens when you press the button. You are not alone. Many riders struggle with how to turn on a Jetson electric scooter, especially if they are new to the brand or unfamiliar with the specific power-up sequence required.
This guide walks you through the exact steps to power on your Jetson electric scooter, covering models like the Quest, Ember, Ryder, Knight, Eris Pro, Loomis, Echo X, and more. You will learn where the power button is located, how long to hold it, what signs indicate successful startup, and what to do if your scooter refuses to turn on.
Locate the Power Button on Your Jetson Scooter

Find the Handlebar Control Panel
The power button is located on the handlebar assembly, just below the digital display screen. This display shows real-time data including speed, battery percentage, and distance traveled. The power button is separate from the throttle and brake levers and is typically a small, recessed button labeled with a power symbol.
On models like the Jetson Quest and Ember, the button may blend in with the control cluster. Look carefully beneath the display for a tactile button you can press with your thumb.
Confirm Your Scooter Model Is Electric
Before troubleshooting, verify that your model is part of the electric scooter lineup. The following are confirmed electric models that require power-on activation:
• Ember Electric Scooter
• Eris Pro Electric Scooter
• Knight Folding Electric Scooter
• Loomis Light-Up Electric Scooter
• Ryder Pro Electric Scooter
• Quest Electric Scooter
• Echo X Kids Light-Up Electric Scooter
• Joust Kids Light-Up Electric Scooter
• Omega Kids Light-Up Electric Scooter
Kick scooters like the Amber, Aria, Bloom, or Galaxy are manually powered and do not have a power button. Attempting to turn them on will not work.
Activate Your Jetson Scooter Correctly
Press and Hold for 2 to 3 Seconds
The most common reason a Jetson scooter appears dead is incorrect button pressing. A quick tap does nothing. You must press the power button firmly and hold it continuously for 2 to 3 seconds. Then wait for the display to light up.
This sustained press signals the battery management system to close the circuit and initiate system boot-up. Releasing too early interrupts the sequence and the scooter will not power on.
Allow Full System Initialization
After the display lights up, wait 3 to 5 seconds before using the throttle. The scooter performs internal diagnostics during this time. Riding immediately after power-on can cause erratic behavior or sudden acceleration.
The success signal is clear: the digital display turns on, cycles through battery level and model info, then stabilizes with speed at 0 and battery percentage visible.
Power On Jetson Light-Up Models

Loomis, Echo X, Joust, and Omega Activation
Kids models like the Loomis Light-Up, Echo X, Joust, and Omega follow the same power-on logic. Press and hold the button for 2 to 3 seconds. Once activated, the digital display turns on and LED lights in the wheels, deck, or stem illuminate automatically.
Some models allow cycling through light modes via a secondary button. If the display works but lights do not turn on, check for a dedicated light switch or mode button.
If lights flicker or fail after startup, the battery may be low or connections may be loose. Inspect the terminals and recharge fully.
Fix a Jetson Scooter That Will Not Turn On

Verify Charging and Battery Status
If the scooter does not respond at all, start with the charger. A red or orange light on the charger indicates it is actively delivering power. A green light indicates the battery is full or not accepting charge.
A green light immediately when plugging into a dead scooter often means the battery is not charging. It could be in deep discharge or failed.
Deep Discharge Recovery Procedure
If the scooter was stored for weeks or shut down randomly, follow these steps:
- Plug in the charger
- Leave connected for 6 to 12 hours, even if no lights appear
- Try powering on again
The battery management system may need time to wake up a deeply drained battery.
Inspect Connections and Wiring
Check Battery Terminals
Loose or corroded connections prevent power delivery, even with a good battery. Locate the battery compartment and open the cover to inspect the terminals. Look for white or green corrosion. Clean with a wire brush or terminal cleaner, then reconnect firmly and test.
Shiny metal contacts indicate a good connection. Fuzzy or discolored contacts mean the terminals need cleaning.
Test Charger and Outlet
Rule out simple failures by trying a different wall outlet. Check if the charger gets warm, which indicates operation. Use a multimeter to test output voltage, which should match the label: 42V for 36V battery, 54.6V for 48V battery.
If no light appears on the charger, the charger may be faulty and require replacement with an OEM unit.
When to Repair or Replace Components
Check Wiring and Power Switch
Physical damage can break the circuit. Inspect the wiring harness from deck to handlebars. Look for pinches, cuts, or frayed wires. Ensure connectors inside the stem are seated properly.
If the button feels loose or unresponsive, the switch may be broken. Advanced users can test continuity with a multimeter.
Suspect Controller or BMS Failure
If battery voltage is correct, terminals are clean, charger works, but there is no display and no response, then the main controller or battery management system may be faulty. This requires professional repair or replacement.
Random shutdowns before total failure suggest battery management system lockout due to over-discharge or cell imbalance.
Prevent Startup Problems

Follow Proper Charging Habits
Always charge after use. Never store at 0% or 100%. The ideal storage charge level is 50% to 70%. Recharge every 4 to 6 weeks if the scooter is not in use.
This prevents deep discharge, which triggers battery management system protection and makes the scooter appear dead.
Protect from Moisture and Debris
Water and dirt in the display or button area can cause shorts. Avoid riding in rain. Wipe down controls after use. Store indoors.
Never hose down the scooter. Use a damp cloth only.
Secure All Connections After Rides
Vibrations loosen internal plugs over time. Periodically check folding joints and stem connections. Retighten screws if needed. Ensure display and wiring remain secure.
Final Power-On Checklist
Before every ride, verify these items:
• Scooter is upright and stable
• Battery is charged (check charger light)
• Power button is accessible and clean
• Press and hold for 2 to 3 seconds
• Wait for display to stabilize
• Test throttle gently
Frequently Asked Questions About Turning On Jetson Electric Scooters
Why does my Jetson scooter not turn on even when fully charged?
The most common cause is not holding the power button long enough. You must press and hold the button for 2 to 3 seconds continuously. A quick tap is insufficient to trigger the battery management system.
How long should I hold the power button on my Jetson scooter?
Hold the power button for 2 to 3 seconds. This sustained press is required to activate the battery management system and close the circuit.
What do I do if my Jetson scooter is completely dead and won’t charge?
Try the deep discharge recovery method. Plug in the charger and leave it connected for 6 to 12 hours, even if no lights appear. The battery management system may need time to recover sufficient voltage.
Why does my Jetson charger show green light but scooter won’t turn on?
A green light immediately on a dead scooter typically means the battery is not accepting charge. This could indicate a failed battery cell or battery management system lockout. Try the deep discharge recovery procedure.
How do I turn on a Jetson Loomis or Echo X scooter?
The process is identical to adult models. Press and hold the power button for 2 to 3 seconds. The display will turn on, followed by LED lights in the wheels or deck.
What does it mean if my Jetson scooter powers on but then shuts off randomly?
Random shutdowns before total failure often indicate battery management system issues due to over-discharge or cell imbalance. This typically requires professional diagnostics or battery replacement.
Key Takeaways for Turning On Your Jetson Scooter
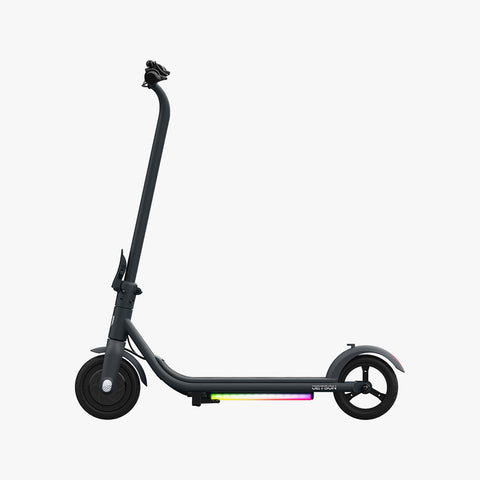
Turning on a Jetson electric scooter requires executing a precise 2 to 3 second hold that activates the entire electrical system. Most scooters that appear dead are simply victims of incorrect startup attempts or preventable battery issues like deep discharge.
Always verify your model is electric before troubleshooting. Check the handlebar area below the display for the power button. Hold it firmly for the full 2 to 3 seconds and wait for the display to stabilize before riding.
Following proper charging habits and storage protocols will prevent battery management system lockouts and extend your scooter’s lifespan. If problems persist after trying these troubleshooting steps, consult the official Jetson support portal or consider professional diagnostics for component replacement.



