
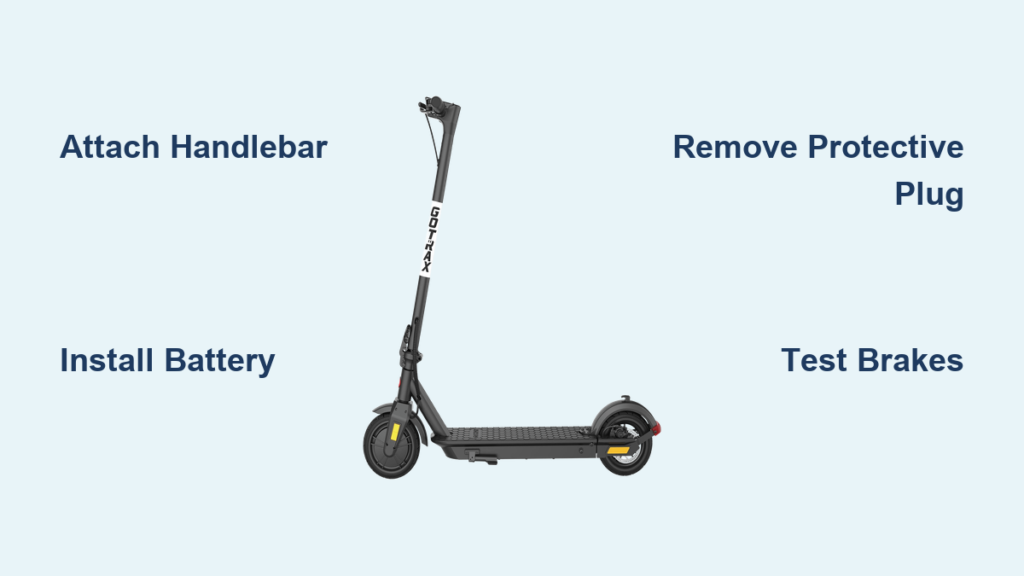
You just unboxed your new GOTRAX scooter and are eager to ride, but first, you need to assemble it. Whether you own a GOTRAX Eclipse with front suspension or a G2 model requiring console installation, this guide walks you through every step with clear, model-specific instructions. We’ll cover everything from handlebar attachment to battery installation and final safety checks, so you can get rolling safely and confidently in under 30 minutes.
No guesswork. No missing parts. Just a smooth, tool-included setup backed by official GOTRAX technical data. Let’s get your scooter ready for the road.
GOTRAX Eclipse: Handlebar and Battery Setup
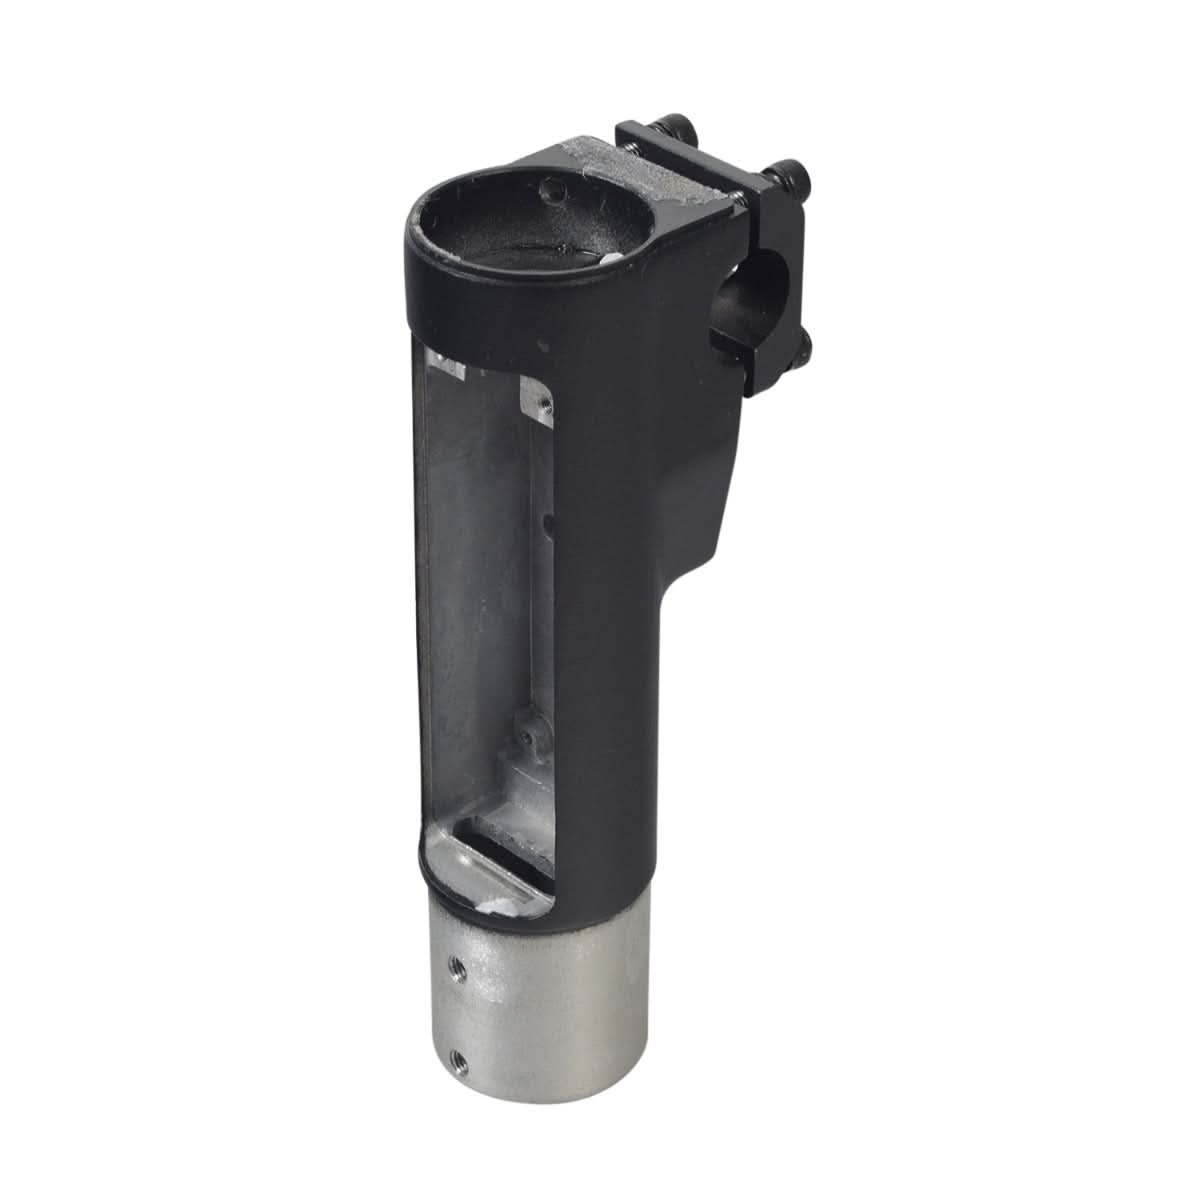
The GOTRAX Eclipse is designed for quick assembly with minimal tools. Most components come pre-attached, so your job is mainly structural and electrical integration.
Attach the Handlebar Stem Securely
Insert the handlebar stem into the deck’s vertical tube until it seats fully. Align the handlebars straight with the front wheel for balanced control. Use the included Allen wrench to tighten the clamp bolt on the side of the tiller. Do not overtighten. Snug is sufficient.
Once secured, test the one-touch folding mechanism by releasing the latch and folding the stem down, then relocking it upright. The tiller should lock firmly in place with an audible click. This ensures stability during riding and prevents accidental collapse.
Pro Tip: If the folding latch feels loose, adjust the tension via the pivot bolt at the base of the stem. This maintains long-term reliability.
Install the Battery Pack Correctly
Locate the battery compartment on the rear deck. Slide the 36V 10.4Ah lithium-ion battery into the slot with the connector facing inward. Push firmly until you hear a distinct click, confirming mechanical and electrical locking.
Immediately after insertion, check the dashboard indicator light. It should turn on automatically. A solid light means power is connected. If no light appears, remove and reseat the battery, ensuring the internal pins align properly.
Warning: Never force the battery. If it does not slide smoothly, double-check orientation before proceeding.
Calibrate Front Suspension
The Eclipse features a dual shock-absorbing front suspension system for a smoother ride over bumps and cracks. While pre-assembled, the preload can be adjusted using the provided tool, usually a small Allen key.
Tighter preload equals a firmer ride, better for lighter riders or smooth pavement.
Looser preload equals softer cushioning, ideal for heavier riders or rough terrain.
Adjust both shocks evenly. Make quarter-turn adjustments and test the compression by pressing down on the front end. Aim for balanced responsiveness without bottoming out.
GOTRAX G2: Console Installation Steps

Unlike the Eclipse, the GOTRAX G2 requires attaching the digital display console. This step is simple but critical for operation.
Unlock and Extend the Tiller
Unfold the scooter completely. Pull the tiller upward to its full extension and engage the locking pin at the base. You should hear a click and feel resistance when trying to fold it back. This stabilizes the frame for console installation.
Critical Check: Never attempt console setup with a loose or partially locked tiller. It could collapse during assembly.
Remove the Original Hook Assembly
At the top of the tiller, locate the two screws holding the hook in place. Use the included Allen wrench to loosen and remove them. Carefully lift off the hook and set it aside. Keep the screws safe. You will reuse them in the final step.
Common Mistake: Discarding these screws thinking they are extras. Without them, you cannot secure the console.
Extract the Protective Plug
Look inside the top of the tiller stem, just below where the hook was mounted. You will see a small rubber or plastic plug covering the wiring port. This protects the connectors during shipping.
Remove it completely. If left in place, the console’s electrical pins will not make contact, rendering the display and scooter inoperable.
Visual Cue: Once removed, you should see metal contacts or a socket ready for the console plug.
Mount the Display Console
Take the tiller console and align it with the tiller’s mounting area. Match the electrical connector on the console’s base with the exposed port in the stem.
Press down firmly until the console sits flush against the housing. There should be no gaps or wobbling. The display may light up briefly if the scooter is powered, but full function comes after reassembly.
Reattach Hook Over Console
Place the original hook assembly back over the installed console. It now serves as a cover and stabilizer. Insert the two saved screws through the hook and into the tiller frame.
Tighten securely with the Allen wrench. The hook should feel rigid, and the console must not shift when pressed.
Final Test: Power on the scooter. The display should illuminate, showing battery level and speed. If not, power off, remove the hook, and verify the console is fully seated.
Pre-Ride Safety and Function Checks
Before your first ride, perform a quick verification routine to ensure everything is secure and operational.
Inspect All Fasteners
Go over all visible bolts including the handlebar clamp, stem folding mechanism, hook assembly screws on G2 models, and deck and fender mounts. Tighten any that feel loose using the Allen wrench included in the toolkit. Overtightening can strip threads, so apply firm but controlled pressure.
Test the Folding Mechanism
Fold and unfold the scooter two to three times. The latch should engage smoothly and lock without wiggling. On the Eclipse, confirm the fender hook catches the stem when folded, preventing accidental unfolding during transport.
Verify Lighting and Brakes
Turn on the scooter. The headlight should illuminate, and the taillight should glow red. Squeeze brake levers, and the brake light must activate.
Check both front and rear brakes. Levers should return quickly when released with no excessive travel before engagement. If brakes feel soft, use the adjustment nuts on the brake lines to increase tension.
Pro Tip: For Eclipse models, test dual brake line responsiveness. Adjust for balanced stopping power. Uneven tension can cause pulling to one side.
Model Comparison: Eclipse vs G2 Setup
| Feature | GOTRAX Eclipse | GOTRAX G2 |
|---|---|---|
| Assembly Time | 10 to 15 minutes | 15 to 20 minutes |
| Main Task | Battery insertion, handlebar lock | Console wiring, hook reattachment |
| Tools Needed | Allen wrench only | Allen wrench only |
| Critical Step | Battery click confirmation | Protective plug removal |
| Folding Mechanism | One-touch with fender hook | Manual latch with pin lock |
| Display Setup | Pre-installed | User-installed with wiring |
Choose your workflow based on your model. The Eclipse prioritizes battery and suspension setup, while the G2 demands careful attention to electrical connections.
Troubleshooting Common Assembly Issues
Even with clear instructions, minor problems can occur. Here is how to fix them fast.
No Power After Battery Insertion
Possible Causes
- Battery not fully seated
- Protective plug still in place on G2 models
- Internal connector misalignment
Fix
- Remove battery and inspect compartment
- For G2, confirm the protective plug is removed
- Reinsert battery with firm, straight pressure until it clicks
- Listen for indicator light activation
If still no power, contact GOTRAX support. Do not attempt internal repairs.
Display Not Turning On (G2)
Checklist
- Protective plug removed
- Console fully pressed into socket
- Screws tightened, which ensures grounding
- Scooter powered on via button or kick-start
Try wiggling the console slightly while powered. If it flickers, the connection is loose. Remove and reseat it.
Handlebar Feels Loose or Wobbly
Solutions
- Tighten stem clamp bolt with Allen wrench
- Check folding latch mechanism for debris
- Ensure tiller is fully extended and locked before tightening
If wobbling persists, inspect for bent components. Contact support for replacement parts.
Performance Specs: Know Your Scooter

Understanding your model’s limits ensures safe, efficient riding.
GOTRAX Eclipse Key Metrics
- Motor: 500W rear hub motor
- Top Speed: 18 mph
- Max Range: Up to 30 miles (real-world: 20 to 25 miles)
- Weight Limit: 265 lbs
- Battery: 36V 10.4Ah lithium-ion
- Warranty: 2 years (defects only)
Note: Range varies with rider weight, terrain, and speed. Heavy use at top speed on hills reduces battery life significantly.
Final Ride-Ready Checklist
Before hitting the pavement, run through this final verification.
- Handlebar securely tightened and locked
- Battery clicked into place on Eclipse models
- Console flush and powered on G2 models
- Protective plug removed on G2 models
- All screws reinstalled and tightened
- Folding mechanism tested and secure
- Headlight, taillight, brake light working
- Brakes responsive with no drag
- Suspension adjusted to rider weight on Eclipse models
- Helmet worn and local laws followed
Once complete, take a short test ride in a safe area. Check acceleration, braking, and steering feel. If anything seems off, power down and recheck connections.
Maintenance Tips to Prevent Assembly Issues
Keep your scooter in top shape with these simple habits.
Monthly Bolt Check: Re-tighten handlebar, stem, and console screws.
Clean Connectors: Wipe battery and console ports with dry cloth every 3 months.
Avoid Moisture: Never wash with a hose. Damp electronics cause connection failures.
Store Upright: This prevents stress on the folding mechanism.
Register Your Scooter: This is required for the 2-year warranty activation.
Frequently Asked Questions About Gotrax Scooter Assembly
How long does Gotrax scooter assembly take?
The Eclipse model takes approximately 10 to 15 minutes for full assembly. The G2 requires about 15 to 20 minutes due to the additional console installation steps. Both times assume you have the included Allen wrench and a clear workspace.
Do I need any special tools to assemble my Gotrax scooter?
No. All GOTRAX scooters come with the required tools in the box. The Allen wrench included handles all fastener adjustments. You do not need to purchase additional tools.
Why is my G2 display not turning on after assembly?
The most common cause is the protective plug inside the tiller stem not being removed. This plug blocks the electrical connection. Remove it completely before mounting the console. Also verify the console is fully seated and the screws are tightened.
Can I adjust the suspension on my Gotrax Eclipse?
Yes. The Eclipse features adjustable preload on the dual front shocks. Use the included tool to tighten for a firmer ride or loosen for more cushioning on rough terrain. Adjust in quarter-turn increments for best results.
What should I do if my handlebar feels wobbly after assembly?
Tighten the stem clamp bolt using the Allen wrench. Make sure the tiller is fully extended and locked before tightening. If wobbling continues, check for debris in the folding mechanism or inspect for bent components.
Key Takeaways for Gotrax Scooter Assembly
Whether you are assembling a GOTRAX Eclipse or G2, the process is straightforward when you follow the correct sequence. Focus on three critical areas. First, confirm battery seating with an audible click and indicator light activation. Second, ensure console alignment and protective plug removal on G2 models. Third, retain all screws during disassembly, as they are needed for final reassembly.
With this guide, you have not only built your scooter but also learned how to maintain and troubleshoot it. Register your product for the 2-year warranty, perform monthly bolt checks, and always test brakes before riding. Now, ride smart, stay safe, and enjoy the journey.



