
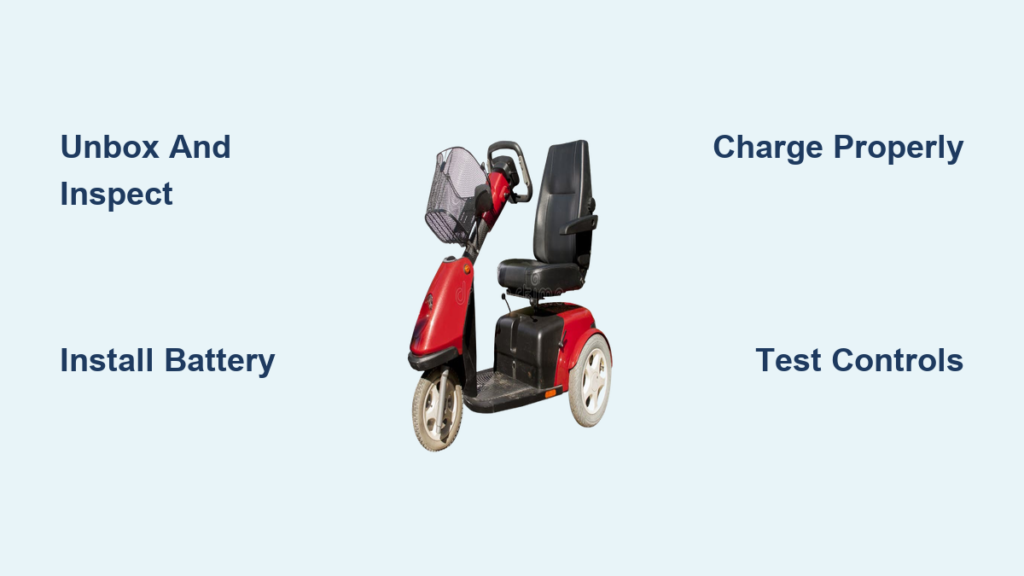
Setting up a mobility scooter doesn’t have to be complicated, but doing it right is essential for safety, performance, and longevity. Whether you have just received your new scooter or are helping a loved one get started, following a clear step-by-step process ensures everything functions as intended from day one. Most mobility scooters arrive partially assembled, which means proper unboxing, battery installation, charging, and control familiarization are critical steps that cannot be skipped.
This guide walks you through every phase of how to set up a mobility scooter, from unboxing and mechanical assembly to power management, controls, safety setup, and maintenance. You will learn how to securely connect parts, charge correctly, operate safely, and avoid common mistakes that can lead to poor performance or premature wear.
Unbox and Inspect Your Mobility Scooter
Before assembly begins, verify that your scooter arrived safely and with all components present.
Check Packaging for Damage
Inspect the outer box for dents, tears, or water damage before opening. If visible damage is present, document it with photos and contact the carrier or seller immediately. Once opened, use scissors or a box cutter carefully to avoid scratching the scooter frame or plastic parts. Most units are protected with foam inserts or plastic wrap, so remove these gently to prevent accidental scrapes.
Lay Out and Verify All Parts
Place all components on a clean, flat surface. A standard mobility scooter typically includes the main chassis/base unit, front tiller and wheel assembly, seat with armrests, battery pack, charger, and optional accessories like baskets or mirrors. Cross-reference each item with the included parts list. Missing pieces should be reported to the manufacturer or retailer before proceeding with assembly.
Confirm Tool Requirements
Many modern scooters require no tools for setup. However, some models need bolts tightened with a wrench or Allen key. Refer to your model manual to determine if tools are required, and ensure they are included in the package. Skipping this step could result in loose connections during operation.
Assemble the Major Structural Components
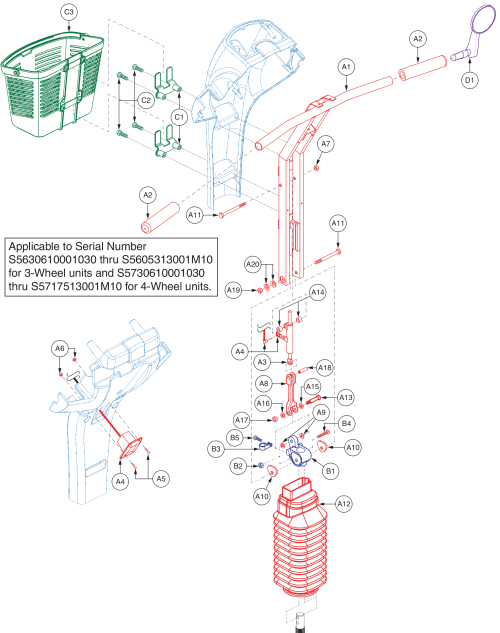
With all parts verified, begin connecting the scooter main sections securely.
Connect Chassis and Front Tiller
Align the front tiller assembly with the main chassis. Push them together firmly until you hear a distinct click, indicating the locking mechanism has engaged. On models requiring hardware, insert and tighten the bolts using the provided tools. Do not overtighten. Follow the torque specifications in the manual to avoid damaging threads or brackets.
Install and Adjust the Seat
Position the seat over the seat post and lower it fully into place. Secure it using clamps or screws as specified by the manufacturer. After tightening, test stability by gently rocking the seat side to side. It should not wobble.
Set the Correct Seat Height
Adjust the seat so your feet rest flat on the footrests with knees slightly bent. This promotes circulation and control. If the seat is too high or too low, reposition it and retighten the securing mechanism.
Position Armrests and Tiller
Set armrests so your elbows form a 90-degree angle when resting on them. Adjust the tiller angle if it is adjustable, so all controls are within easy reach without stretching. Proper ergonomics reduce fatigue and improve handling during use.
Attach Accessories Securely
Mount any included accessories now to avoid imbalance later. Install mirrors at eye level so you can see behind without turning your head. Ensure they are tight enough not to vibrate loose during travel. Secure baskets to designated points on the tiller or rear frame, and avoid overloading. Check weight limits in the manual. An overloaded basket can affect steering and balance.
Install Battery and Charge Properly
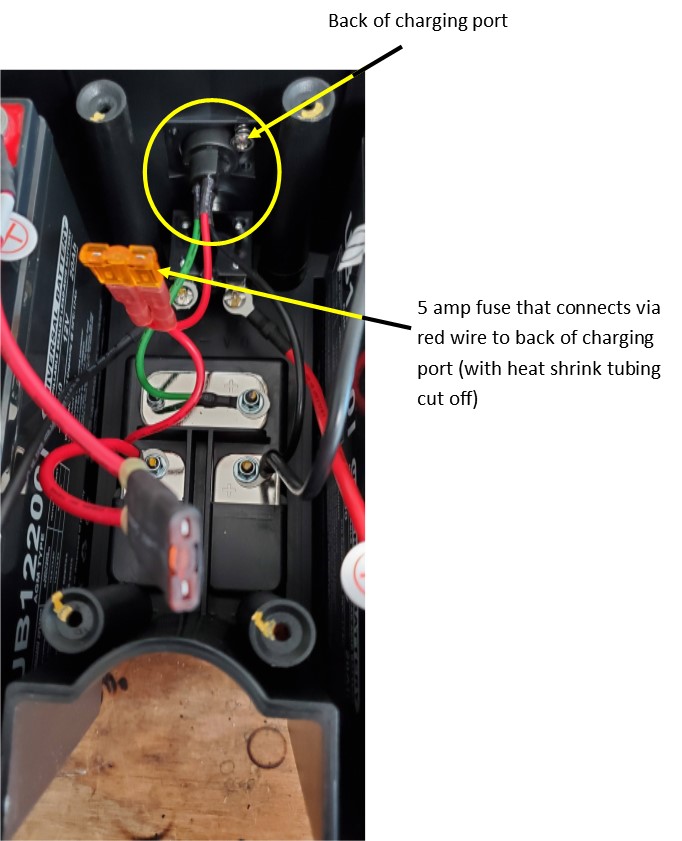
The battery powers everything, so installing and charging it correctly prevents damage and extends lifespan.
Insert the Battery Safely
Locate the battery compartment, usually under the seat or behind a rear panel. Align the battery with the polarity markings, positive and negative, and slide it in until connectors click into place. Secure it with the retention strap or bracket to prevent movement during use.
Follow the Correct Charging Sequence
Charging improperly can damage the port or battery over time. Always follow this sequence. First, connect the charger to the scooter. Second, plug the charger into the wall outlet. Third, unplug from the wall before disconnecting from the scooter. This prevents sparking and protects internal electronics.
Identify the Charging Port and Lights
Most medium and large scooters use a three-pin charging port under the dashboard or on the side. Insert the plug with the middle pin at the bottom, then twist gently until it clicks. Monitor the indicator lights. A red or orange light means charging is in progress. A green light means the battery is fully charged. Do not operate the scooter while charging. For best results, charge with the power switch off.
Complete the Initial Charge
Before first use, charge the battery for 8 to 12 hours, even if it shows partial charge. This ensures maximum capacity and longevity. Regular daily charges should last 8 to 10 hours.
Pro Tip: Avoid charging if the battery still has 80% or more charge. Frequent top-offs reduce battery life over time.
Learn Controls and Start Driving Safely
Once assembled and charged, learn how to operate the scooter confidently.
Power On and Check the Battery Gauge
Insert the key and turn it clockwise to power on. Note that battery readings while stationary can be misleading. A nearly dead battery may still show full bars when the scooter is not moving.
Get Accurate Battery Readings
To see the true charge level, observe the gauge while moving. Only then does the system stabilize and display an accurate estimate of remaining battery power.
Use the Speed Selector and Throttle
Most scooters have a speed selector knob with tortoise and hare settings. The tortoise setting provides slow, controlled movement ideal for beginners, indoor use, or crowded areas. The hare setting allows for higher speeds up to 8 mph, best for open roads or well-maintained pavements.
Operate the Throttle Lever
Push the throttle lever forward to move forward. The speed increases with lever movement. Release the lever to stop instantly. The electromagnetic brake engages automatically when you let go. Pull the throttle lever backward to engage reverse gear. No brakes need to be pressed for normal stops.
Master Steering and Braking

Safe navigation depends on smooth steering and understanding the brake system.
Turn Smoothly at Safe Speeds
Gently turn the handlebars in the desired direction. If a turn feels too sharp or unstable, slow down first. Some models limit the turning radius while in motion to prevent tipping. Use reverse for tight maneuvers instead of forcing sharp forward turns. It is safer and gives better control in tight spaces like doorways or parking spots.
Understand the Automatic Braking System
The scooter uses an electromagnetic automatic brake that is always engaged when stopped. It releases with a click when the throttle is pressed. It re-engages instantly when the throttle is released. No manual braking is needed for normal stops. This system prevents rollaways and improves safety.
Activate Safety Features and Practice

Maximize safety by using built-in features and practicing in a controlled environment.
Turn On Visibility Equipment
Keep headlights on at all times, even during daylight. They make you more visible to drivers and pedestrians. Engage flashing hazard lights in low-light conditions, heavy traffic, or when stopped unexpectedly. Use side mirrors when reversing or changing direction. They help you stay aware of your surroundings without turning your head. The horn is for safety alerts only. Use it sparingly to warn others in tight spaces.
Wear Protective Gear
Consider wearing a helmet, especially at higher speeds or near vehicle traffic. It adds a layer of protection in case of falls or collisions.
Practice in a Safe Area
Begin in a flat, open space with no obstacles, like a parking lot or wide hallway. Practice starting and stopping, turning gently, using reverse, and reading the battery gauge while moving. Only move to busier areas once you feel fully confident.
Perform Basic Maintenance and Storage
Regular care keeps your scooter running smoothly and prevents breakdowns.
Schedule Annual Professional Service
Have the scooter serviced by an authorized dealer once a year. Technicians can inspect wiring, motors, and internal systems that users cannot access.
Conduct Weekly User Checks
Inspect these key areas regularly. Check tire pressure and condition. If your scooter has pneumatic tires, check pressure weekly and inflate to the recommended PSI. Look for punctures, cracks, or wear. Replace damaged tires immediately. Tighten all fasteners. Ensure bolts, clamps, and connections, especially for seat and tiller, are secure. Vibration from use can loosen them over time. Test brake response. At slow speed in a safe area, release the throttle to confirm the brake engages instantly. Delayed stopping may indicate electrical or brake system issues.
Clean Without Damaging Electronics
Always turn off the scooter before cleaning. Use mild soap and water. Avoid high-pressure sprayers. Never soak the control panel, charging port, or motor areas. Cover the dashboard with a plastic bag if washing near controls to prevent water intrusion. Let the scooter air dry fully before use or storage. Moisture inside electrical components can cause permanent damage.
Store the Scooter Properly
Correct storage prevents weather damage and battery degradation. Store in a dry, moderate environment like a garage, basement, or shed. Avoid extreme cold, heat, rain, or snow. Cover the scooter or at least the control panel during storage or transport. If not using the scooter for more than a few days, charge to 80-100% and recharge every 1-2 months. Follow manufacturer guidelines to prevent battery degradation. Never store with a fully depleted battery.
Frequently Asked Questions About Setting Up a Mobility Scooter
How long does it take to set up a mobility scooter?
Most mobility scooters can be set up in 30 to 60 minutes if all parts are present and no tools are required. Models needing bolt tightening may take slightly longer. The initial battery charge requires 8 to 12 hours before first use.
Do I need tools to assemble a mobility scooter?
Many modern scooters are designed for tool-free assembly. However, some models include bolts that need tightening with a provided wrench or Allen key. Check your model-specific manual to confirm requirements.
Can I charge the battery while the scooter is on?
It is not recommended to operate the scooter while charging. For optimal results, charge the unit while it is turned off. This protects the electronics and ensures a complete charge cycle.
What should I do if parts are missing from my delivery?
Document any missing items by comparing the received components against the parts list. Contact the manufacturer or retailer immediately to report missing pieces before attempting assembly.
How do I know if my battery is charging correctly?
Most scooters have indicator lights on the charger. A red or orange light means charging is in progress. A green light means the battery is fully charged. If lights do not come on or blink unexpectedly, check the connections and consult the troubleshooting section of your manual.
Key Takeaways for Setting Up Your Mobility Scooter
Setting up a mobility scooter properly ensures safety, reliability, and long-term performance. From unboxing and assembly to charging, controls, and maintenance, each step plays a vital role in your independence and confidence. Take time to verify all parts are present before assembly, and do not skip the critical initial 8 to 12 hour battery charge. Practice in a safe, open area before navigating busy spaces, and always keep visibility equipment on. Regular weekly checks and annual professional servicing will keep your scooter running smoothly for years to come. By following this guide on how to set up a mobility scooter, you are not just assembling a device. You are preparing for freedom of movement. Always refer to your model-specific manual for exact details, and when in doubt, contact your dealer or manufacturer for support.



